K&A V-1 Buzzbomb Build Instructions


kav1/1.jpg
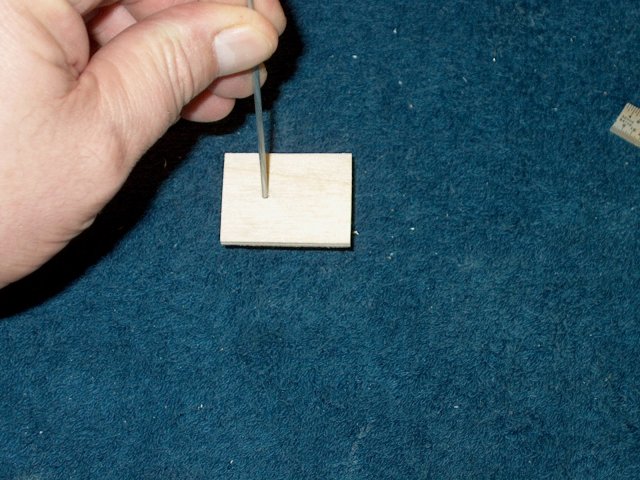
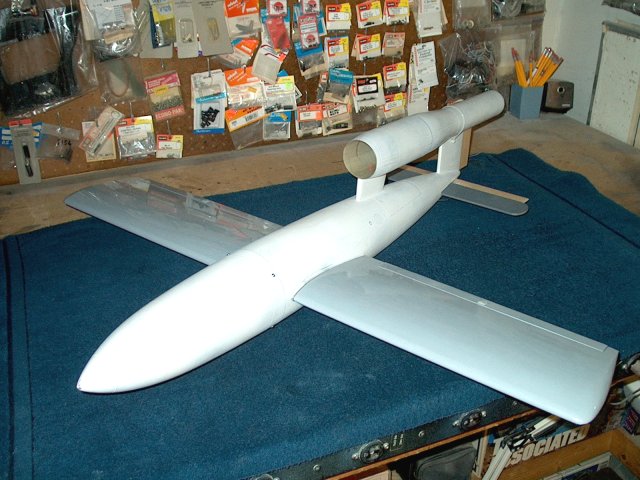
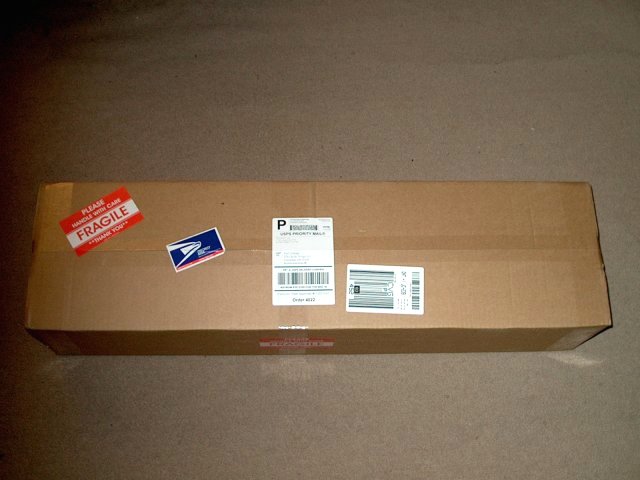
The K&A V-1 BuzzBomb EDF Jet as it comes from Warbirds-RC
kav1/2.jpg
The model arrived well packed
kav1/3.jpg
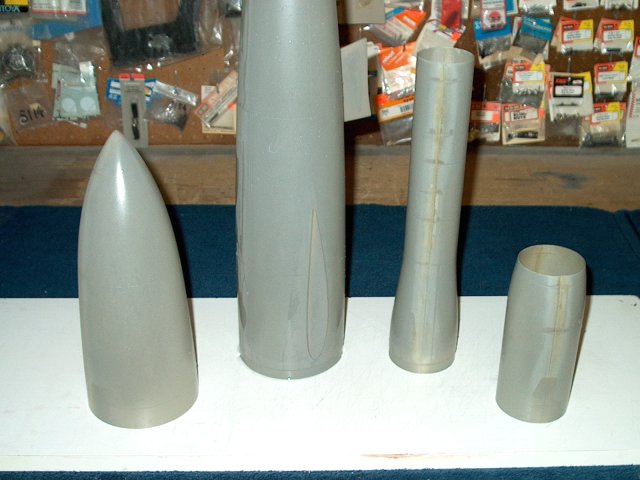
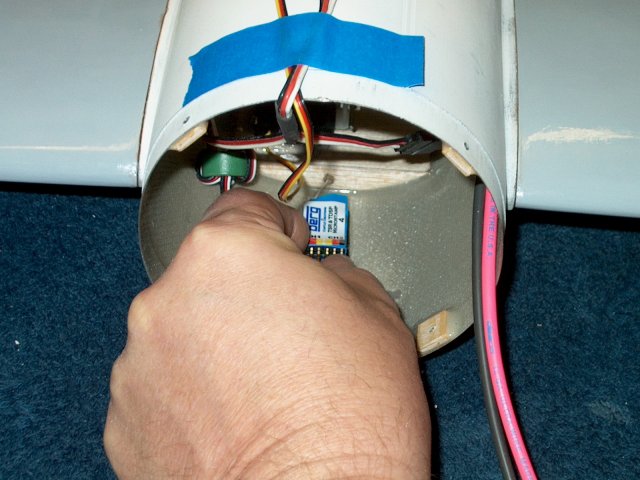
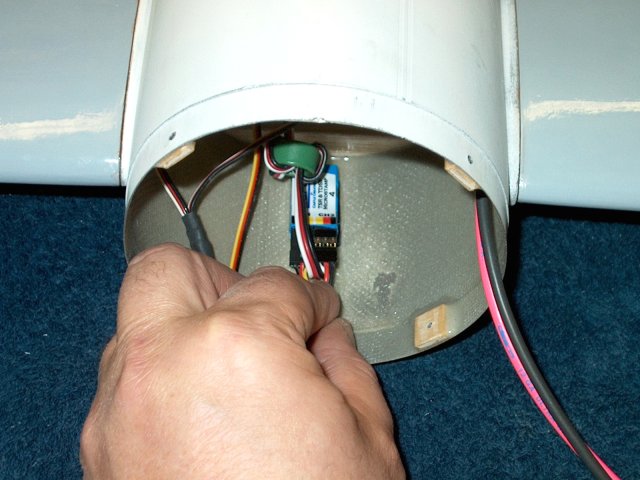
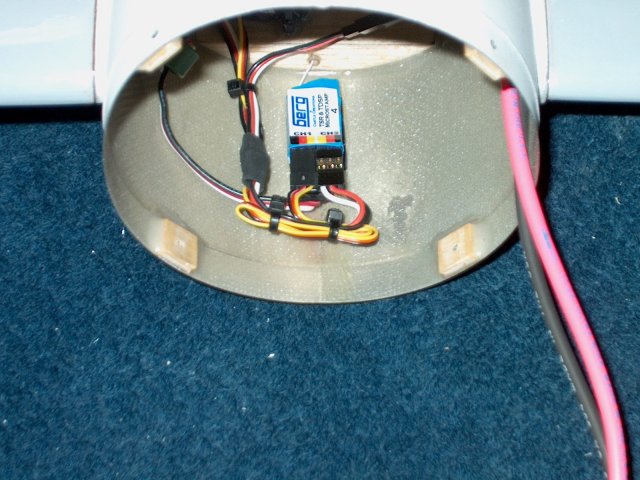
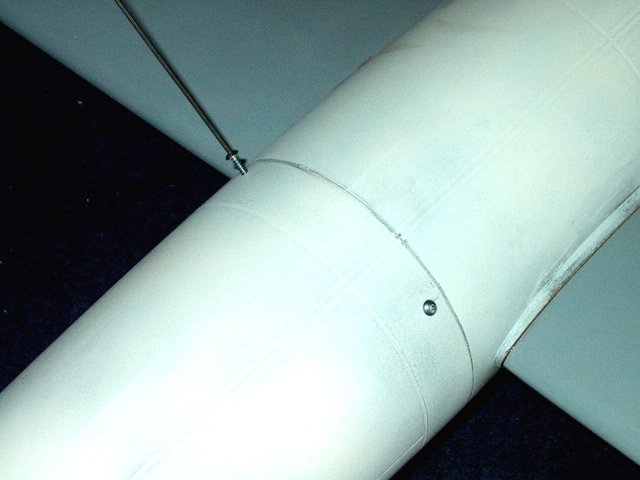
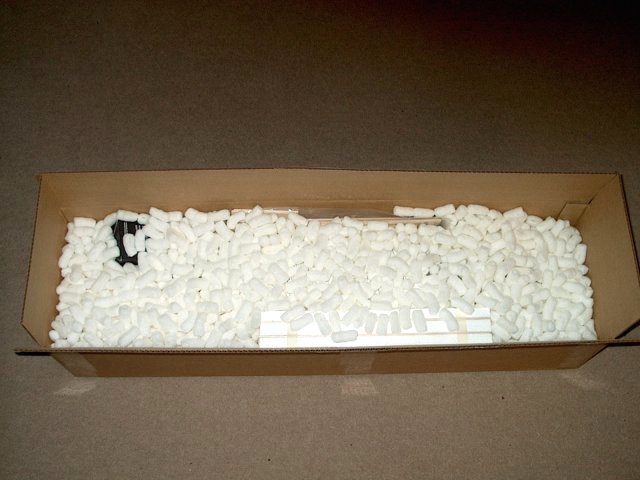
Clearing the buble wrap reveals some of the components
kav1/4.jpg
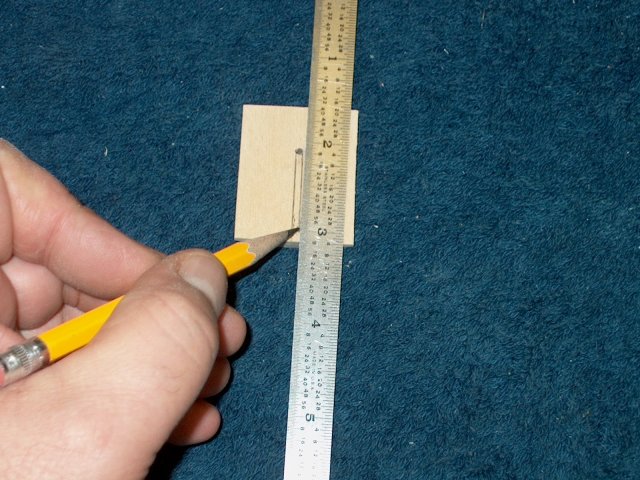
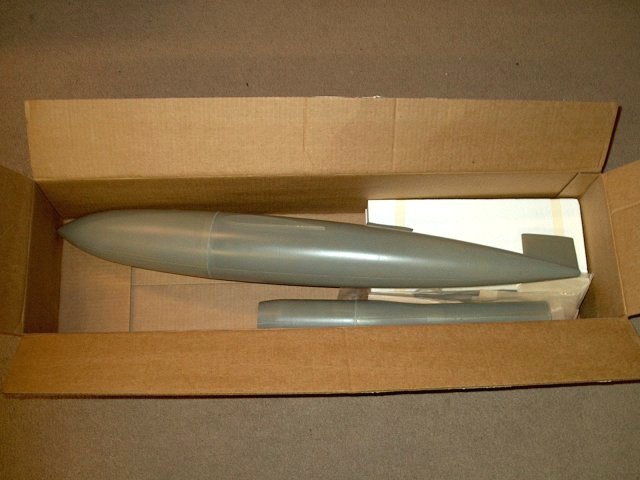
The parts list for the V-1 is shown
kav1/5.jpg
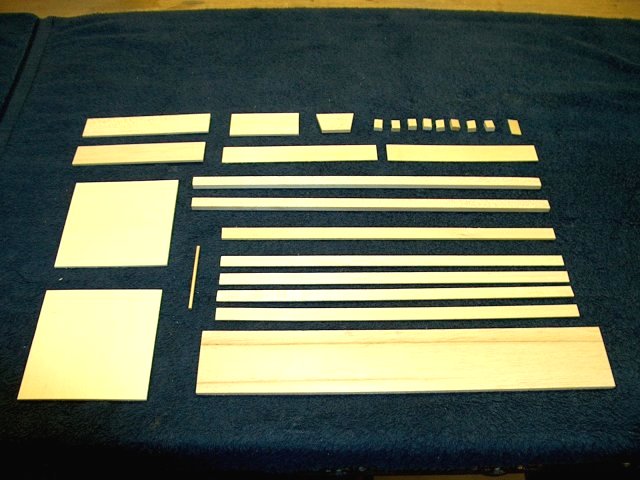
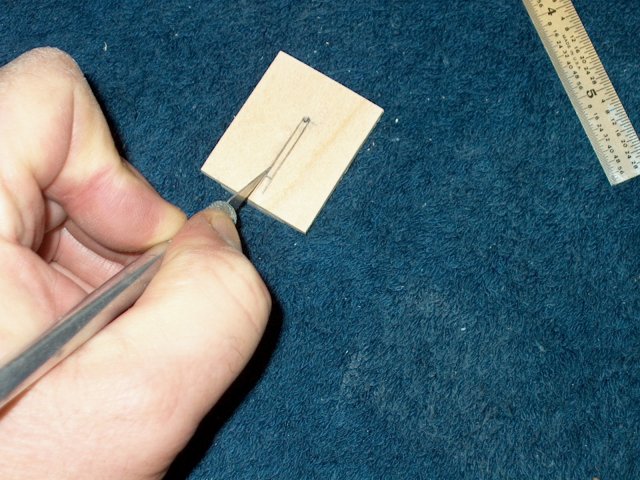
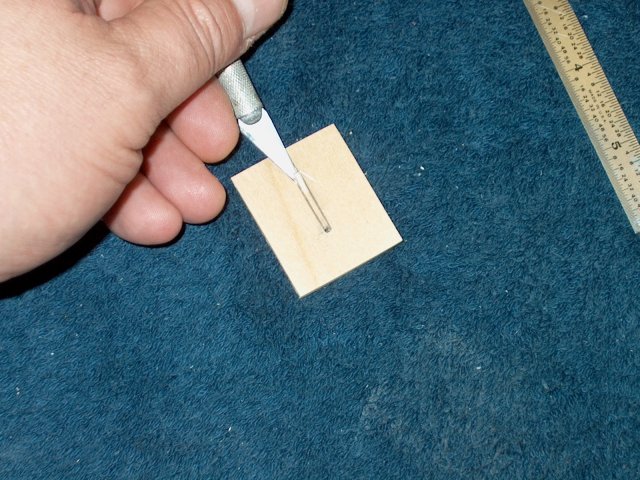
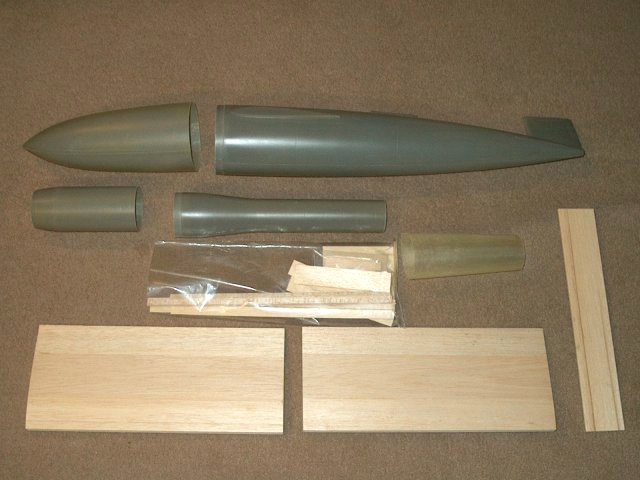
High quality balsa in the parts bag is used throughout the kit
kav1/6.jpg
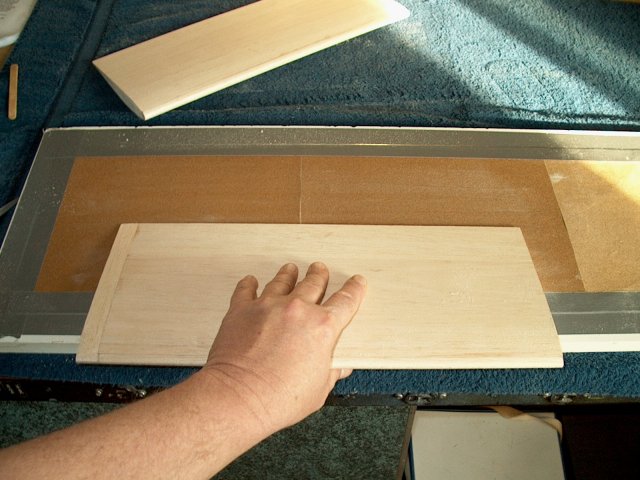
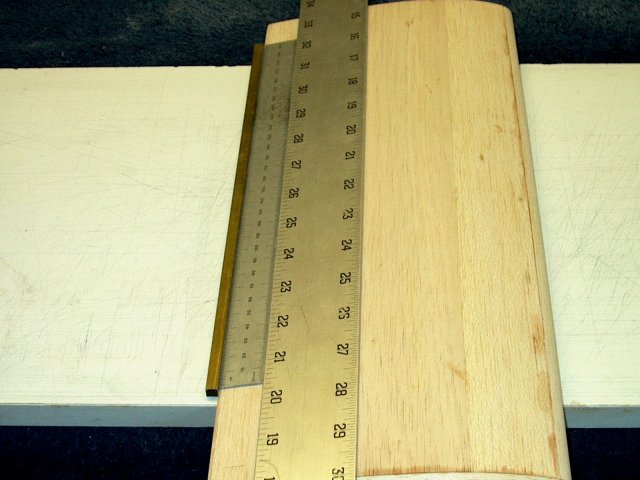
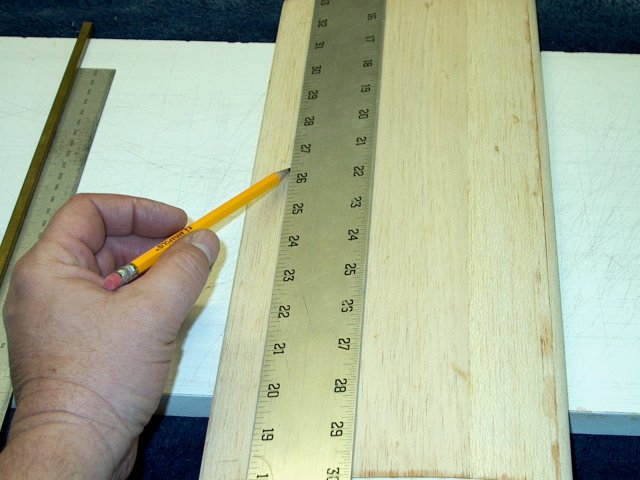
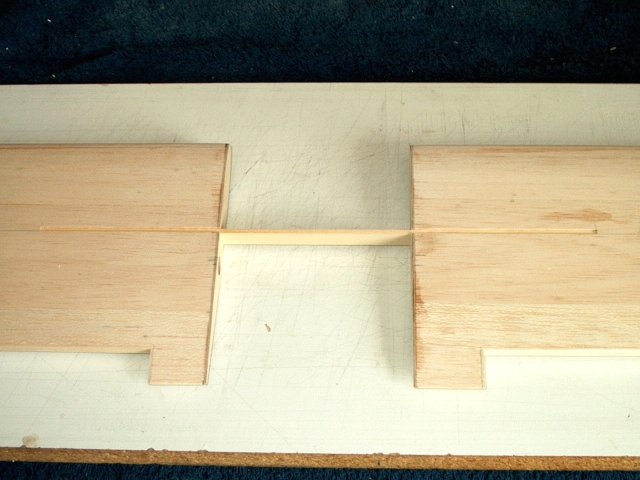
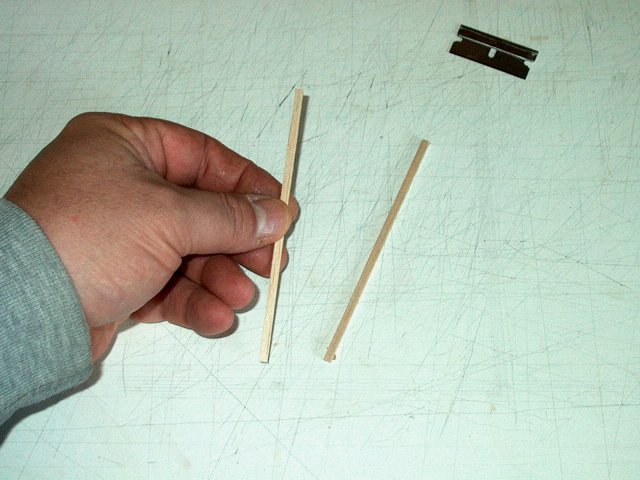
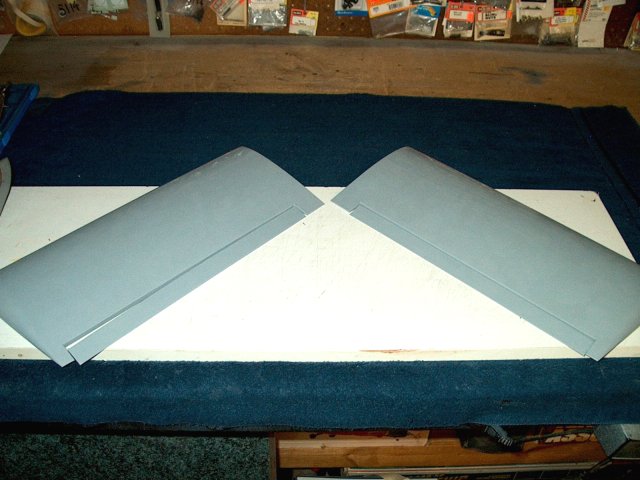
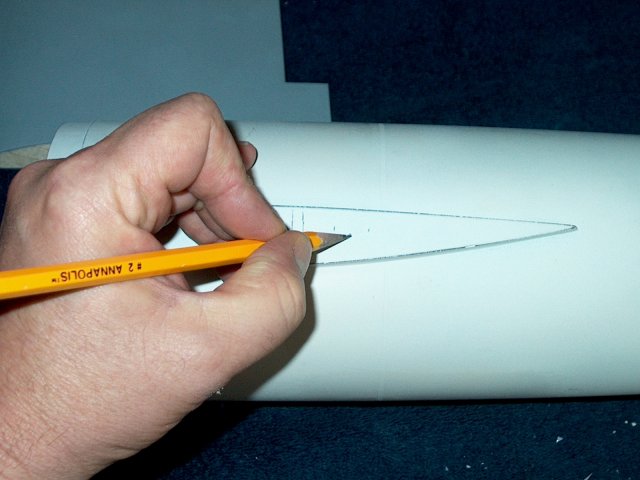
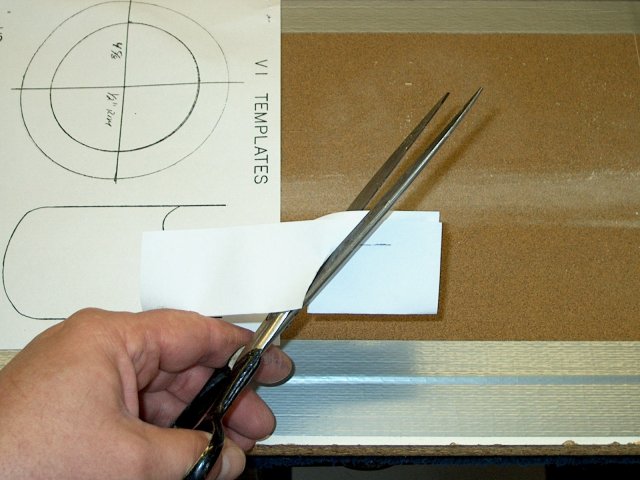
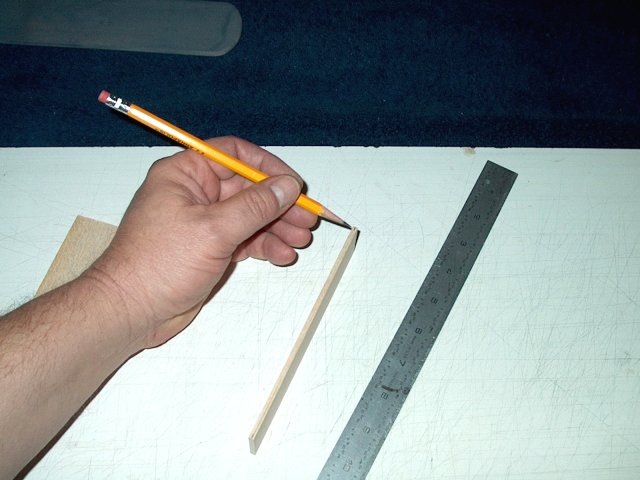
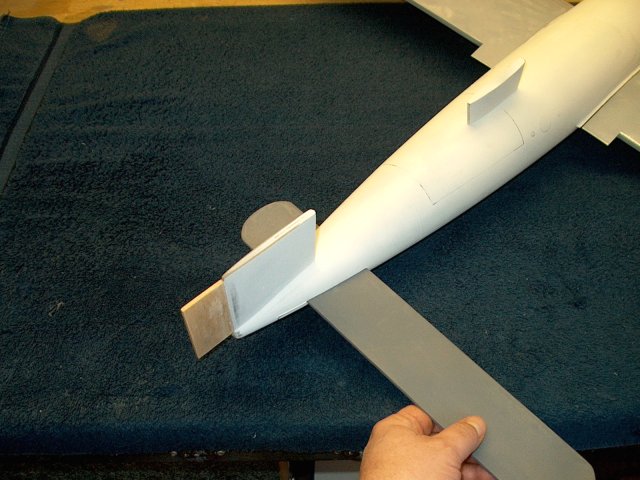
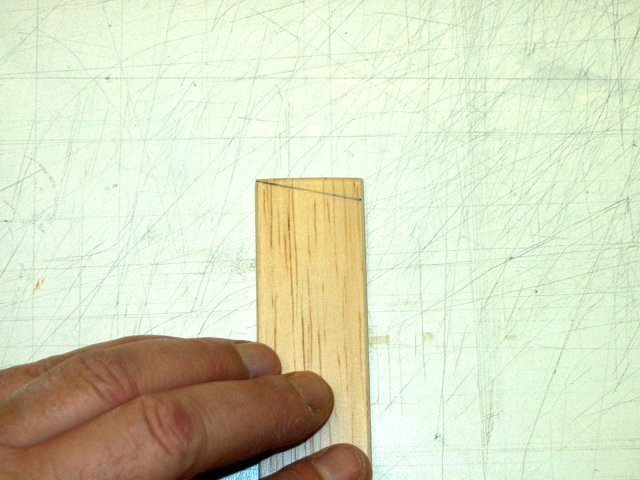
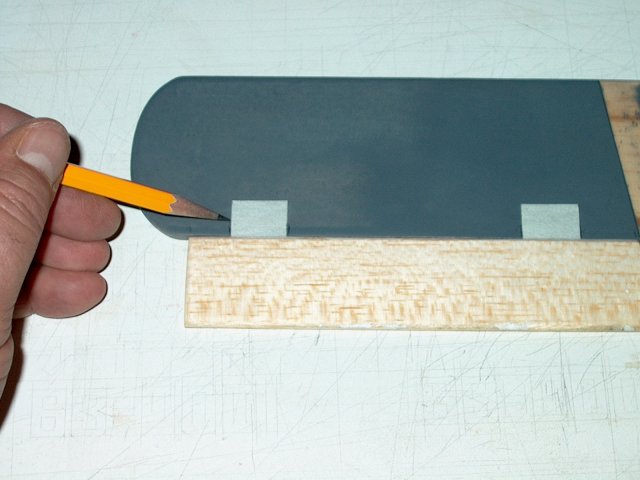
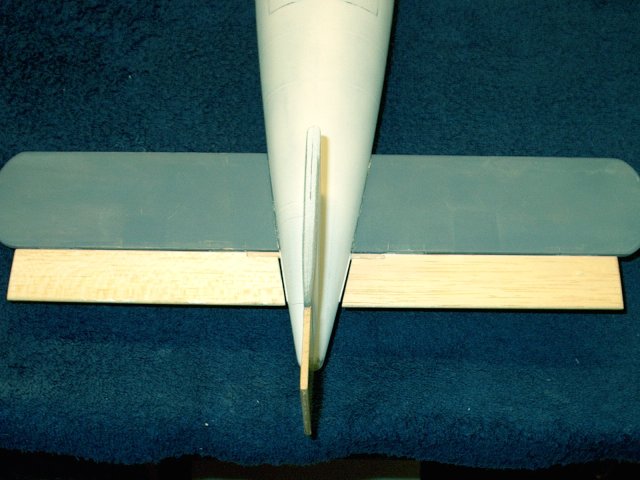
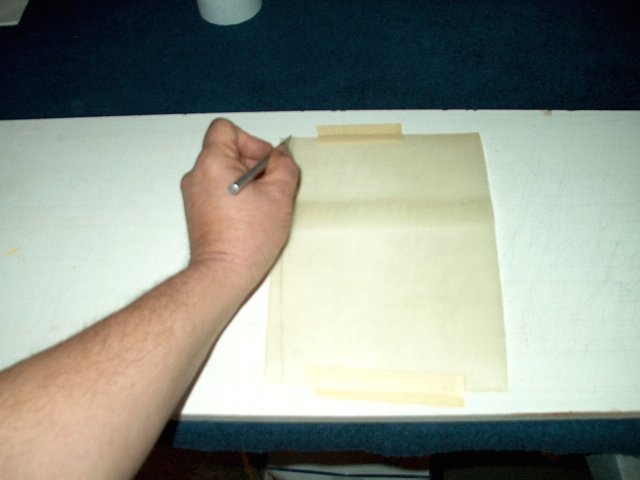
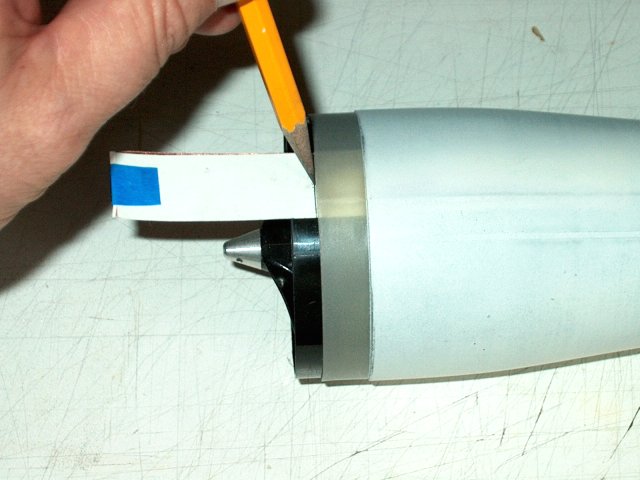
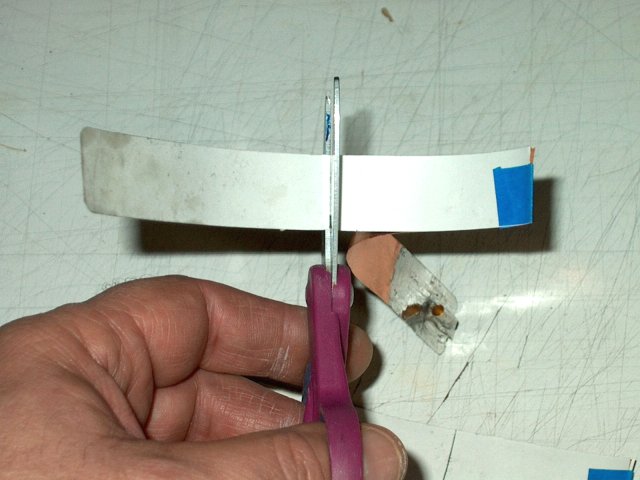
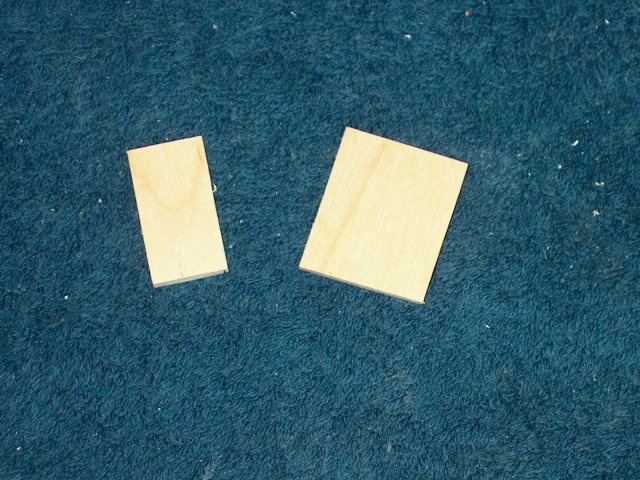
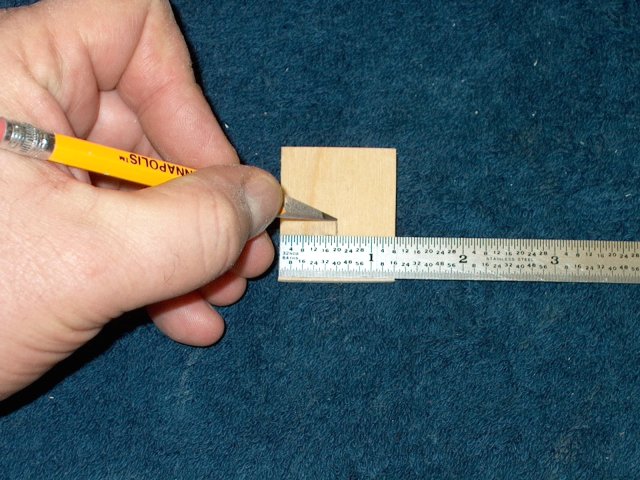
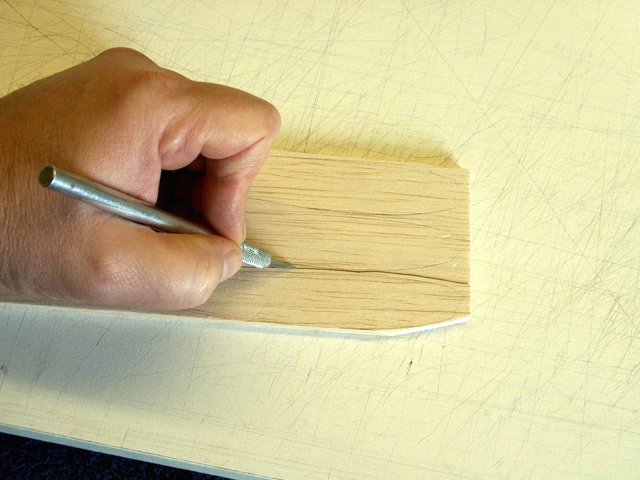
Construction begins with the wings. The kit did not come with ABS wing tips, so I traced the pattern six times on some 1/4" balsa
kav1/7.jpg
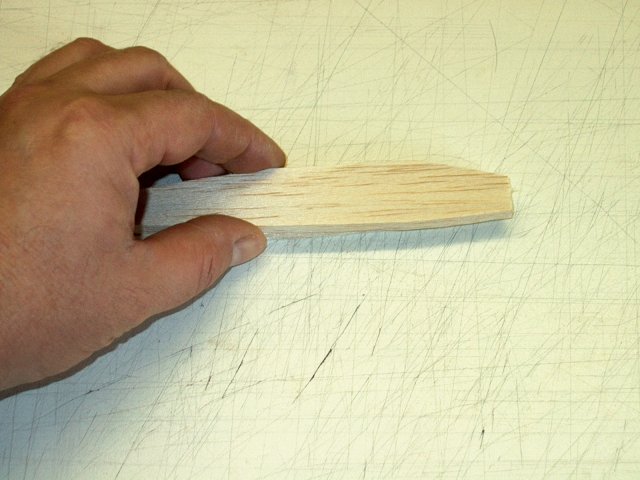
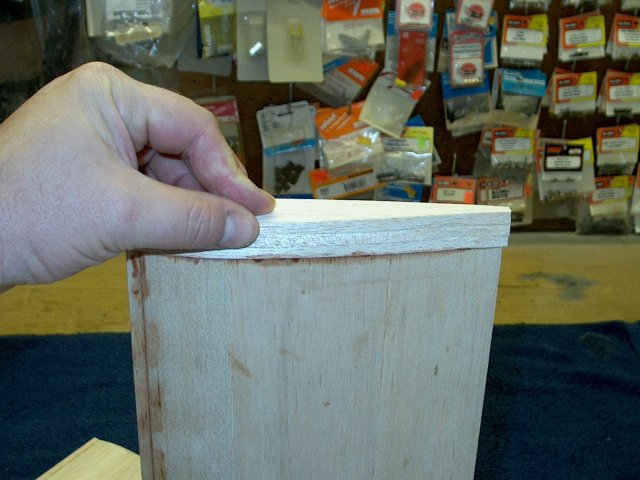
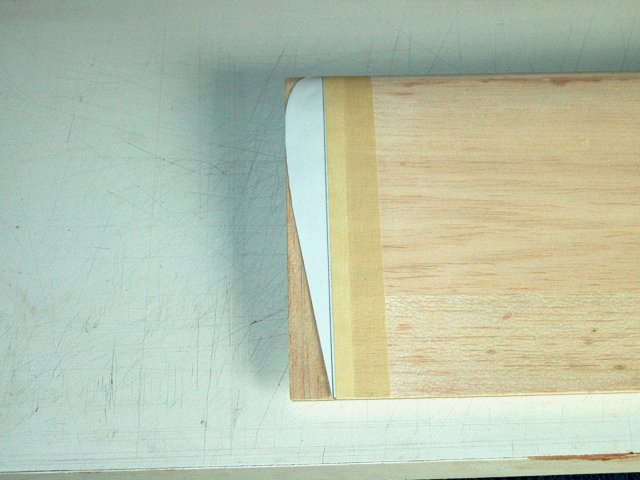
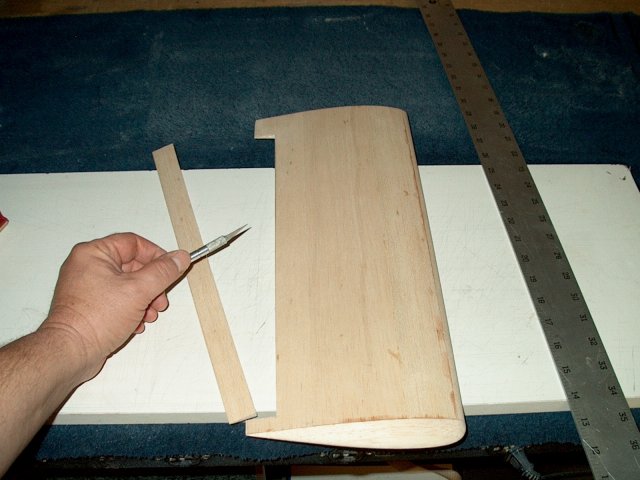
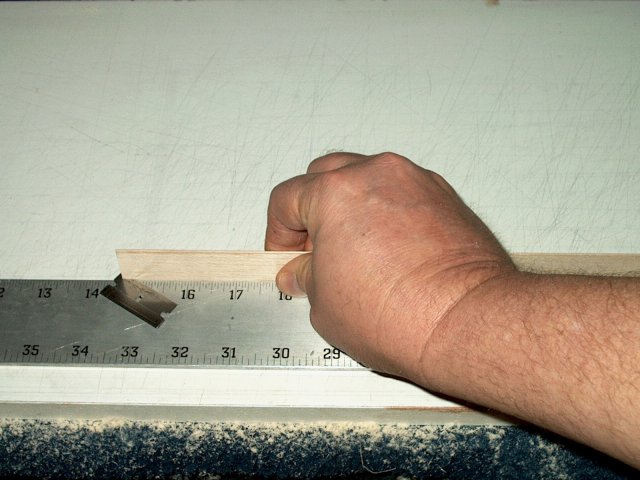
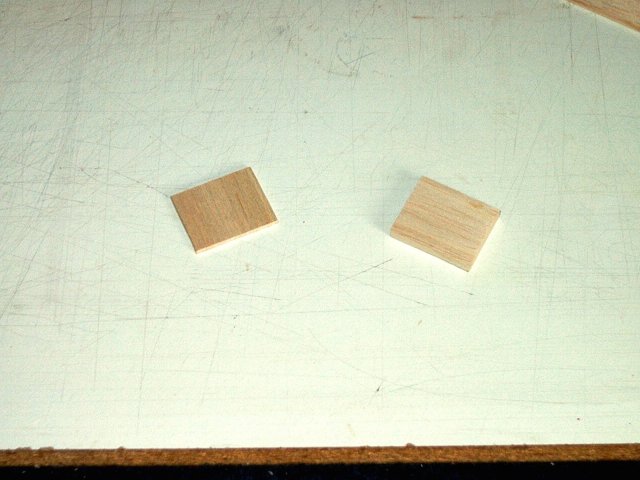
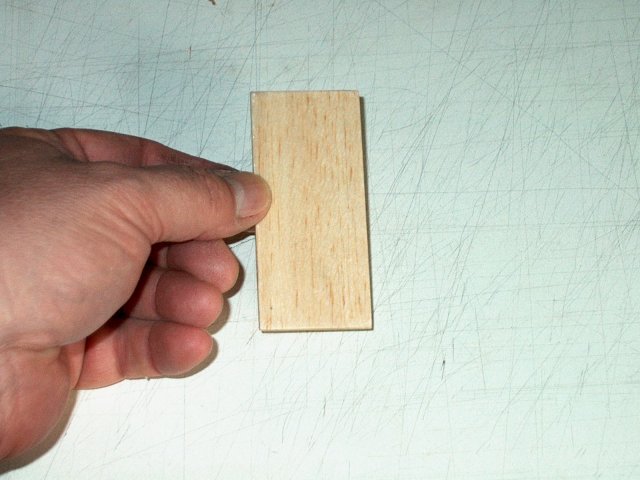
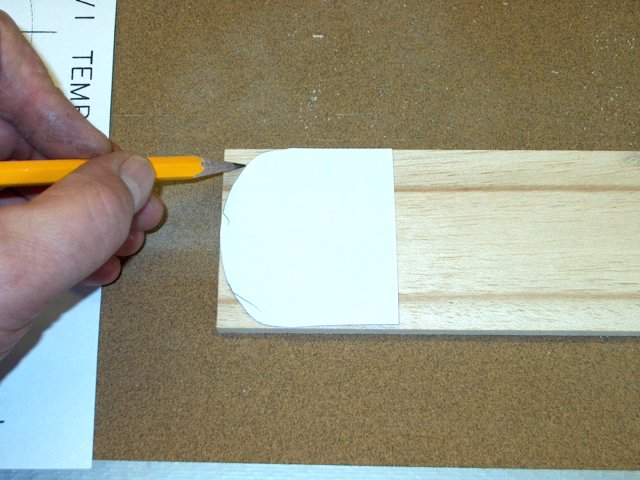
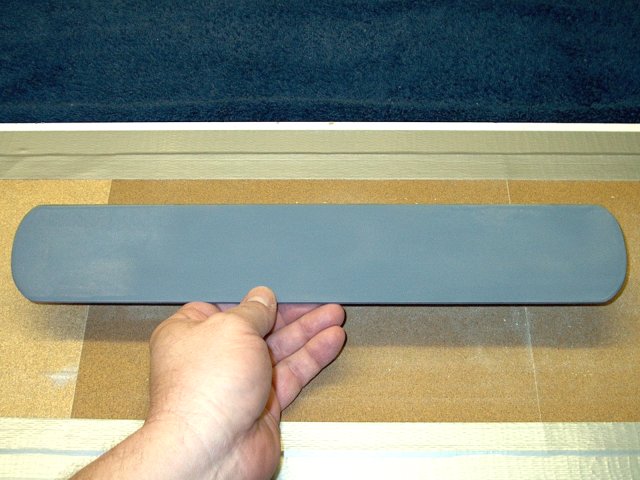
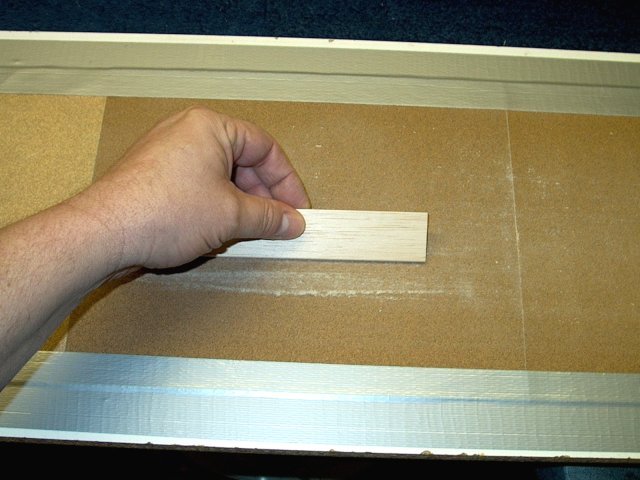
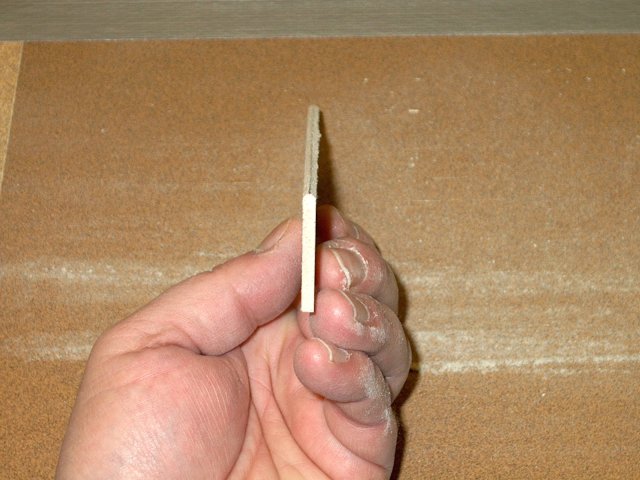
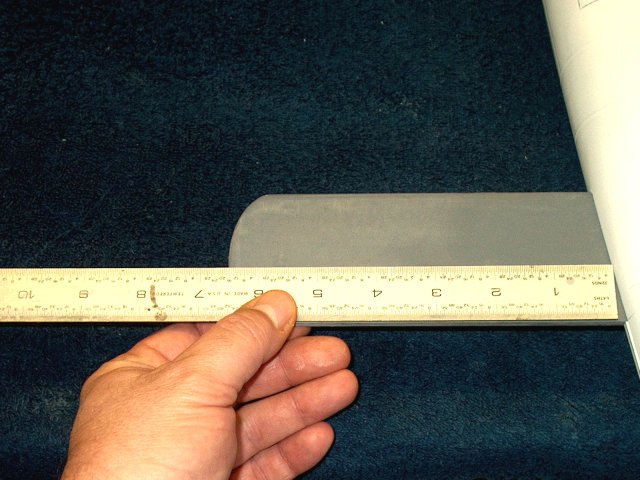
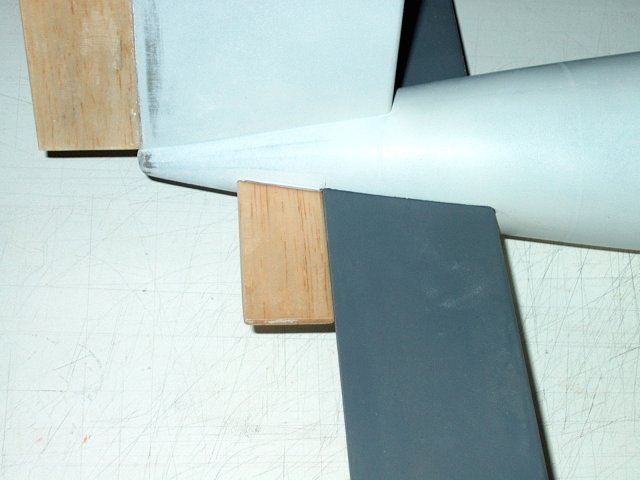
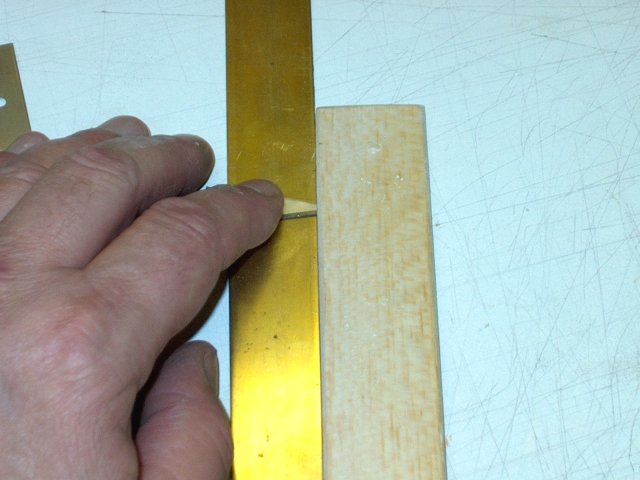
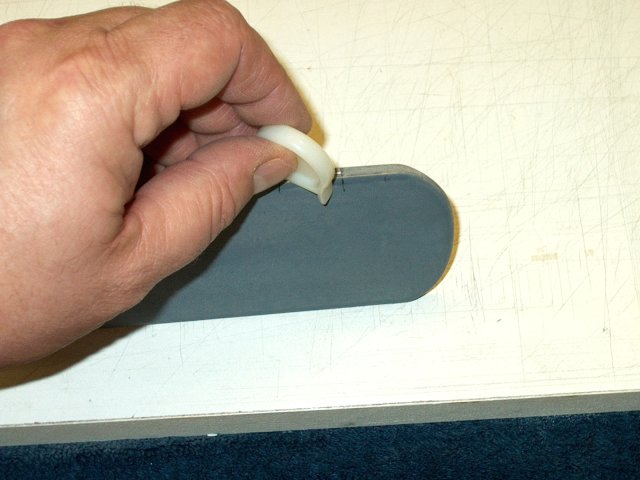
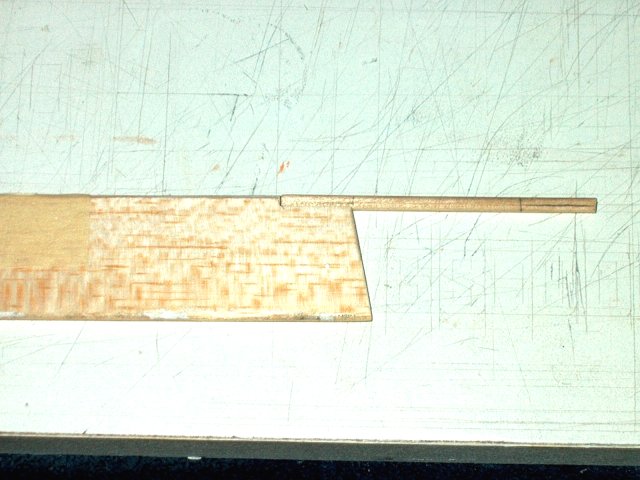
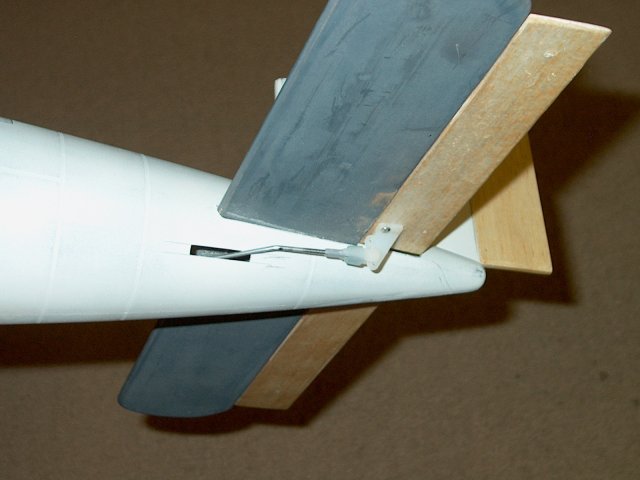
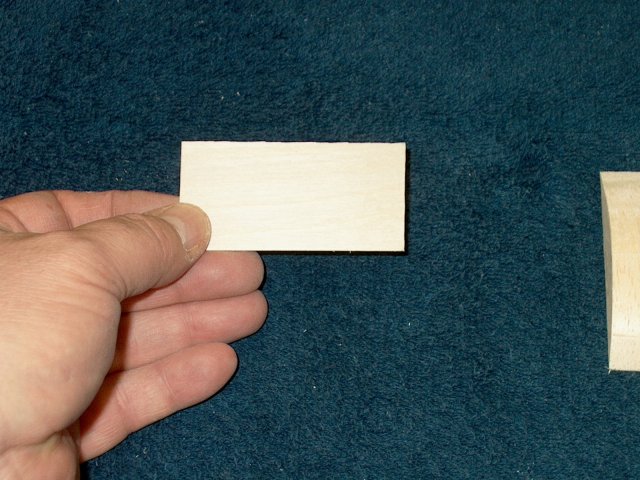
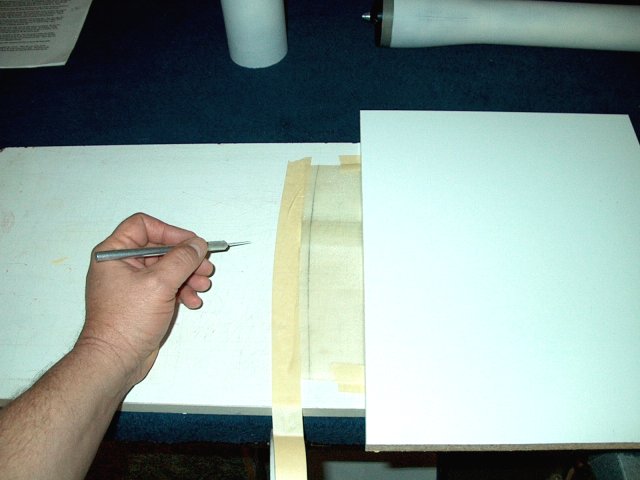
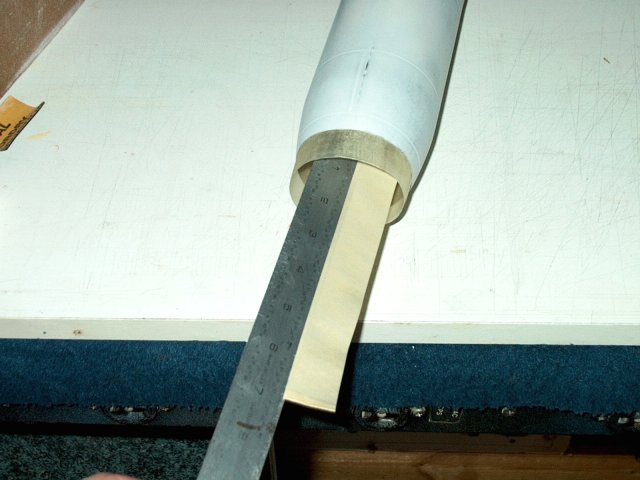
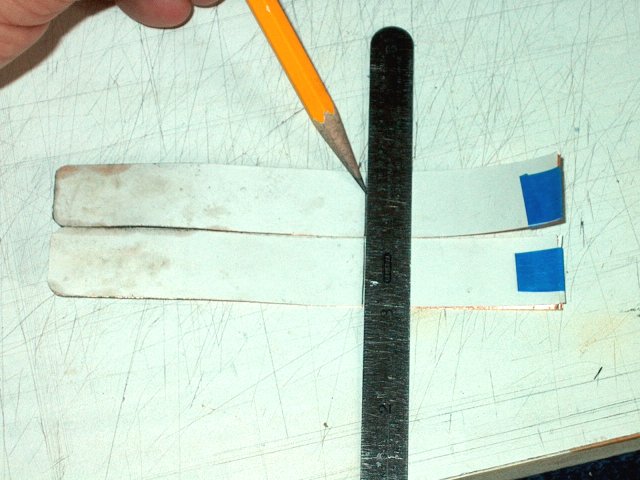
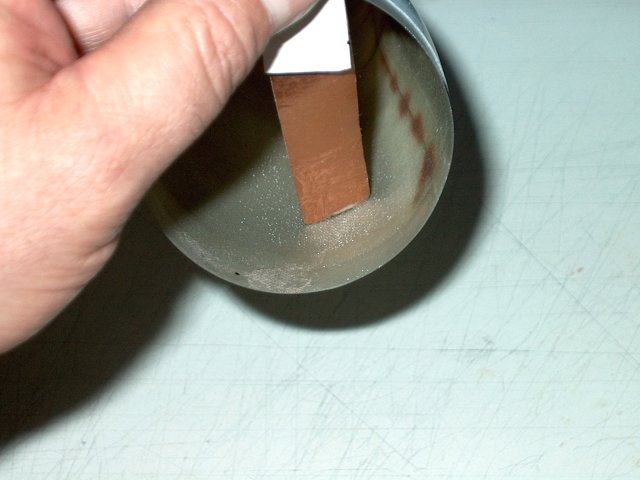
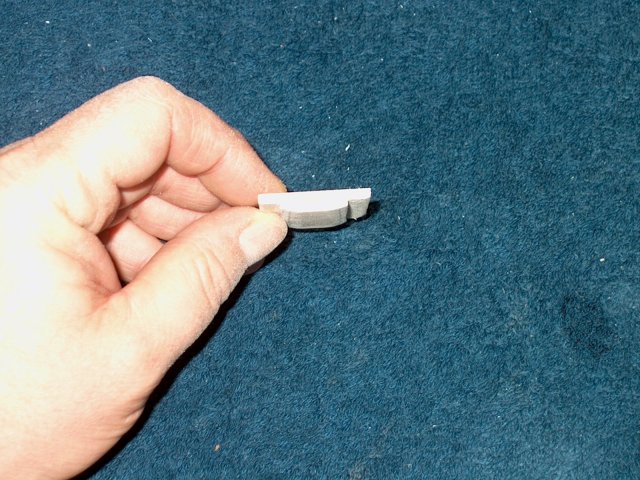
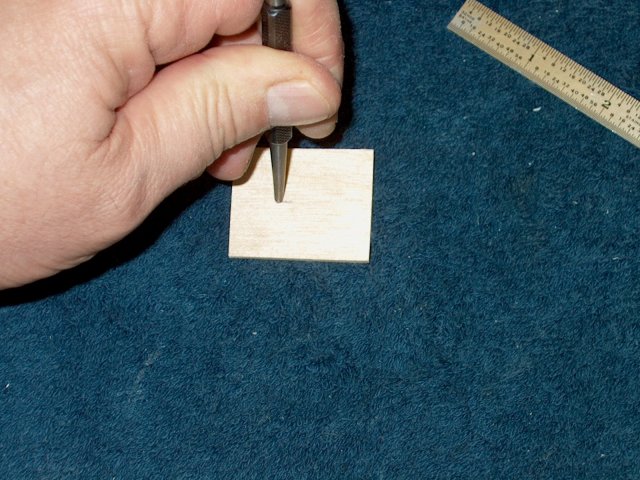
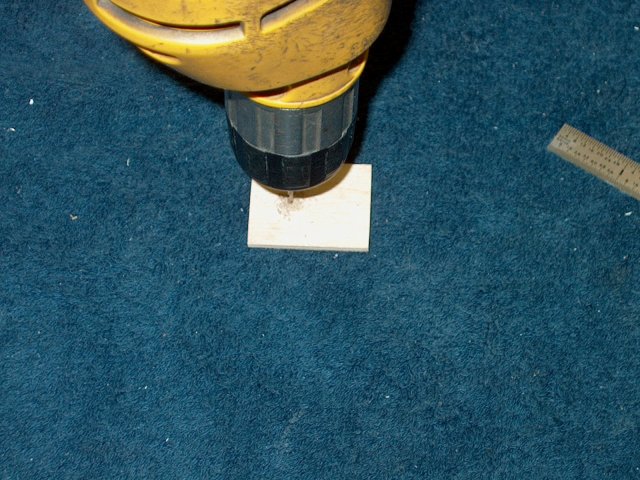
Rough cut out each spar. Three 1/4" thick spars are stacked at each wing end to make the tips
kav1/8.jpg
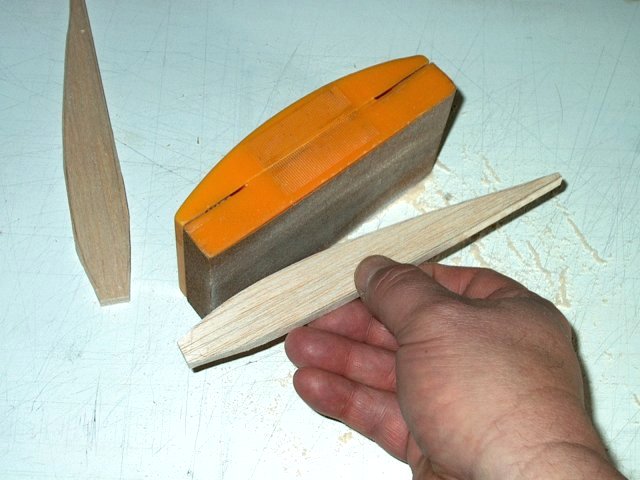
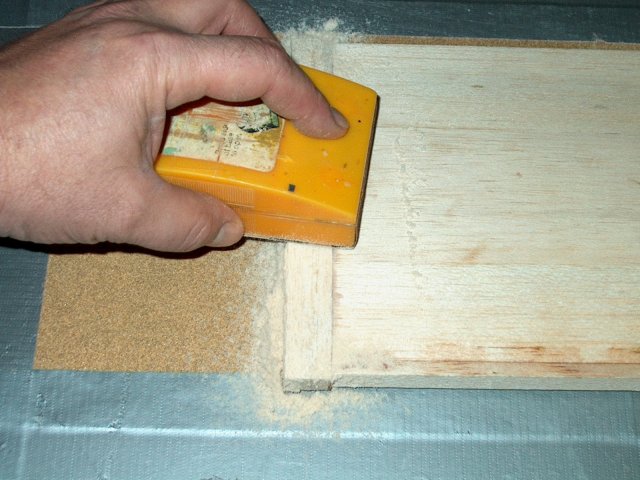
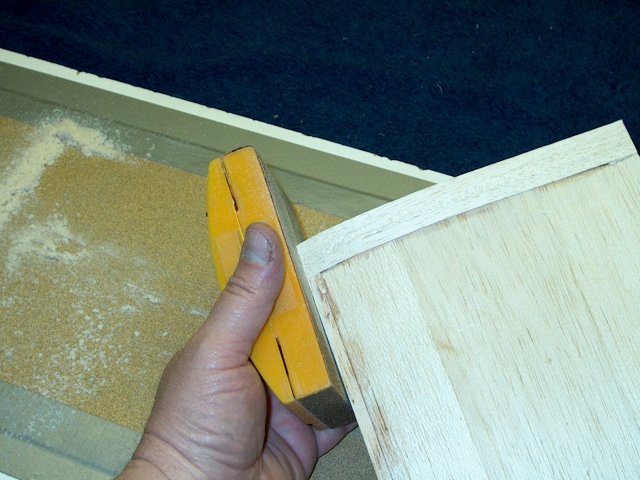
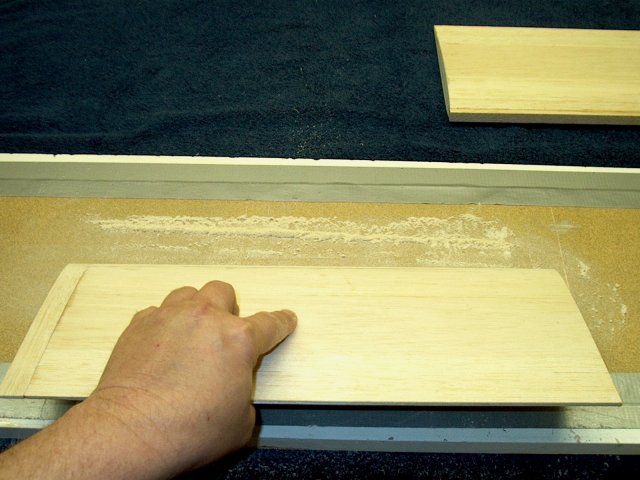
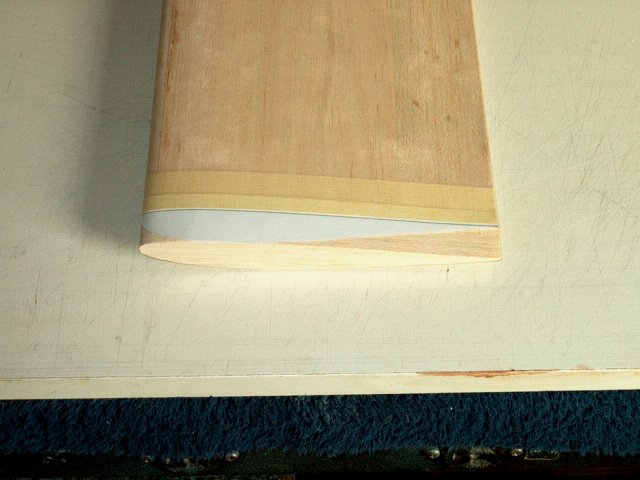
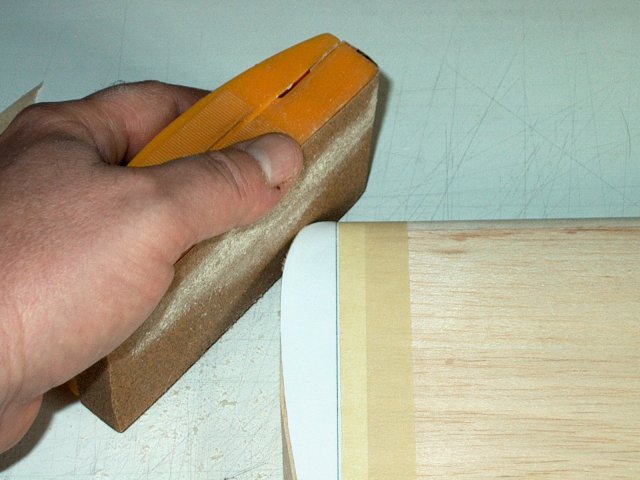
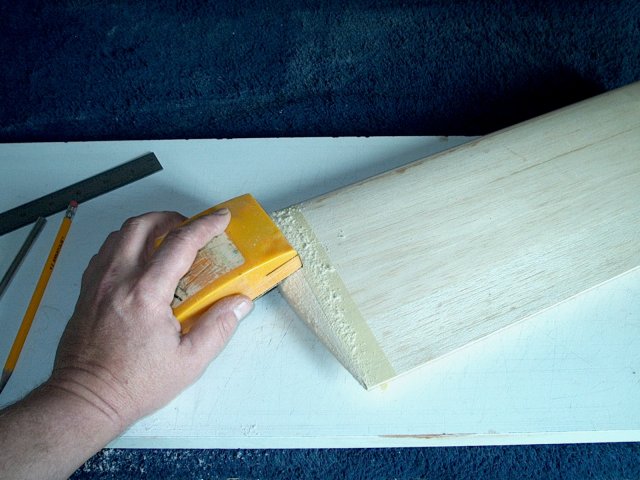
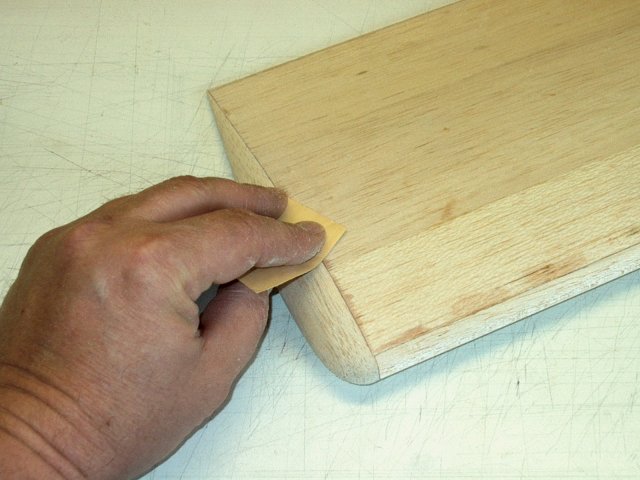
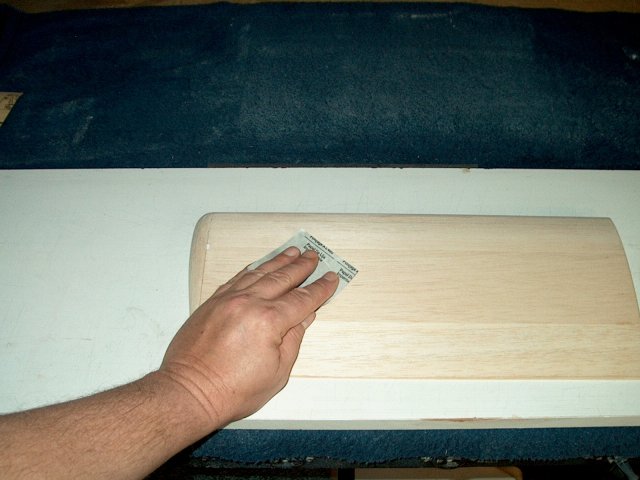
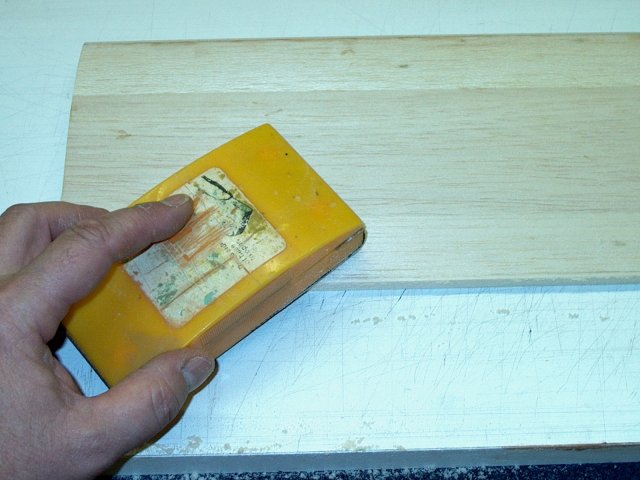
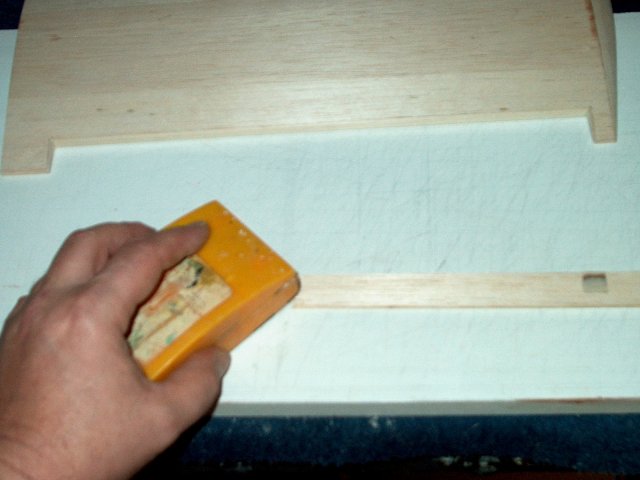
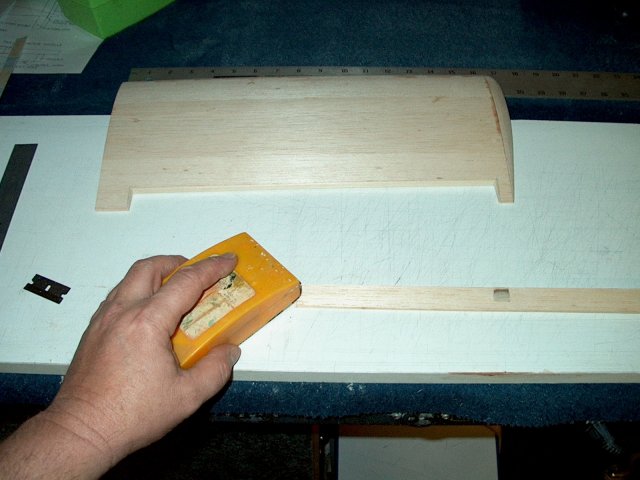
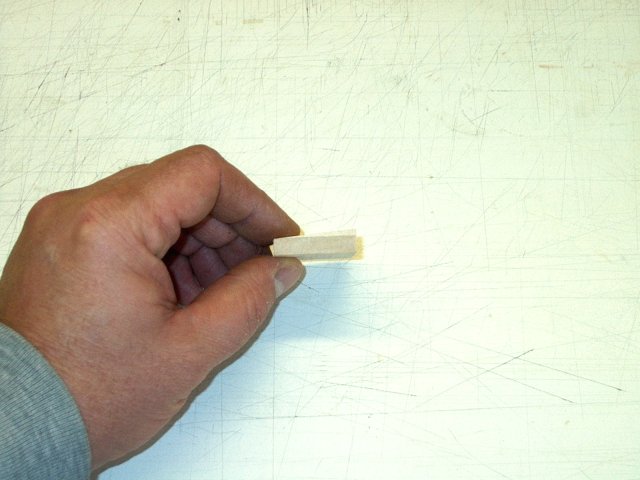
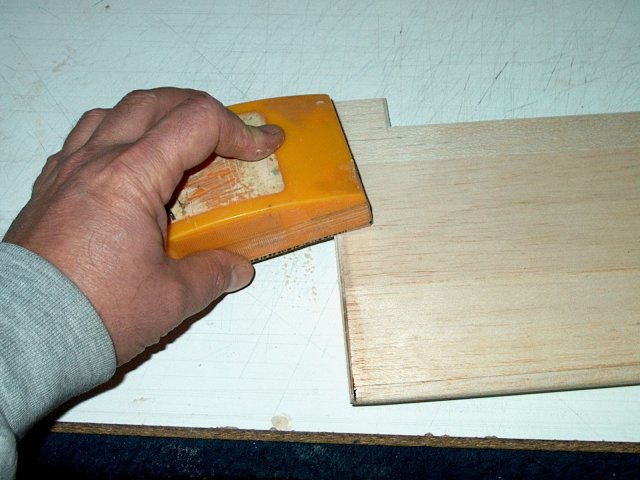
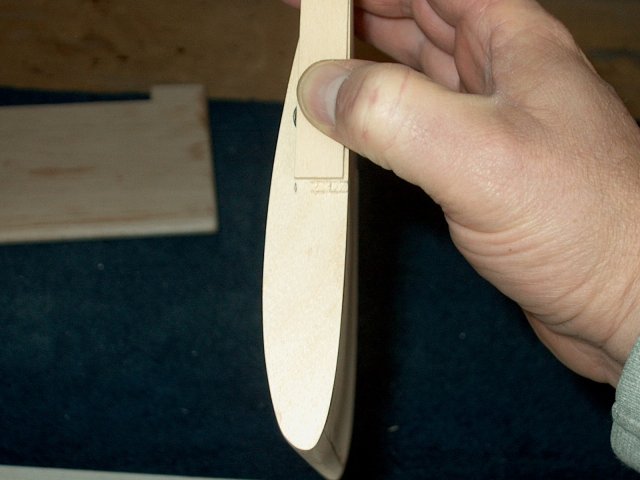
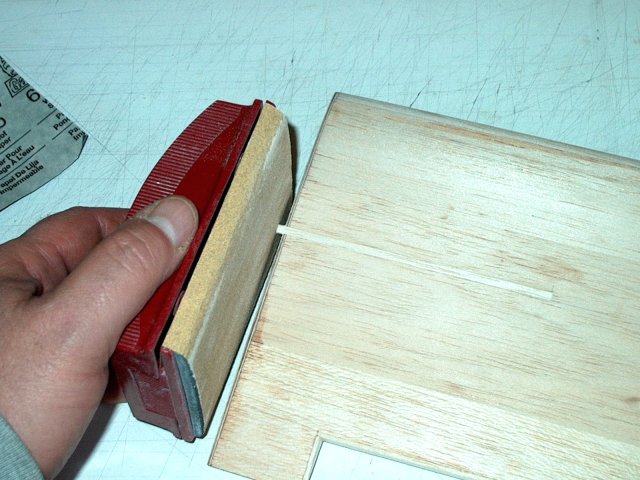
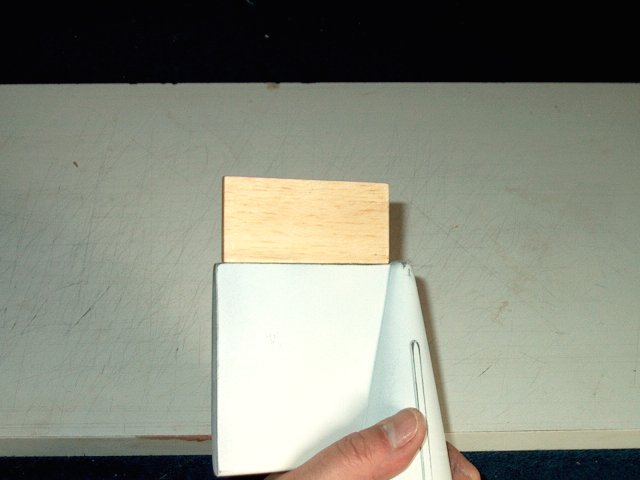
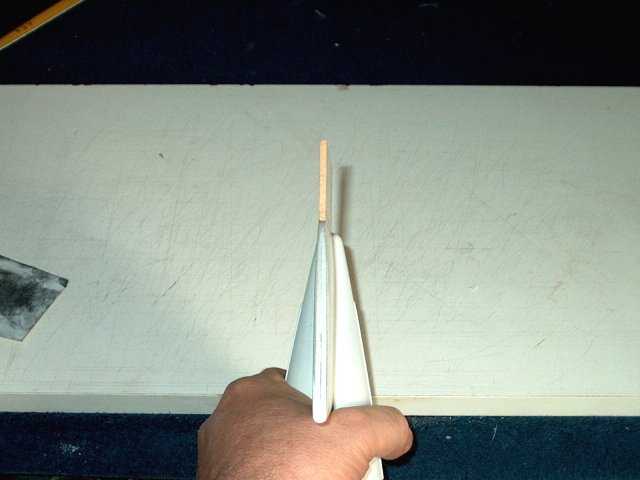
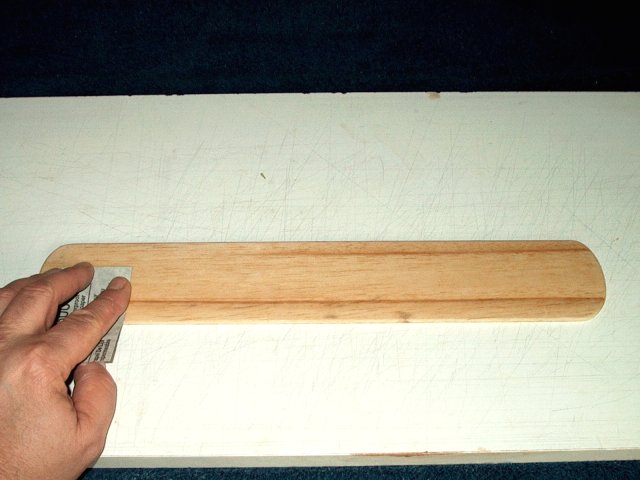
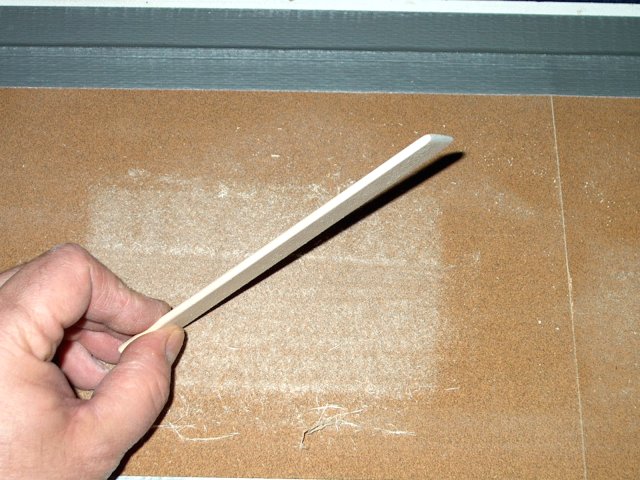
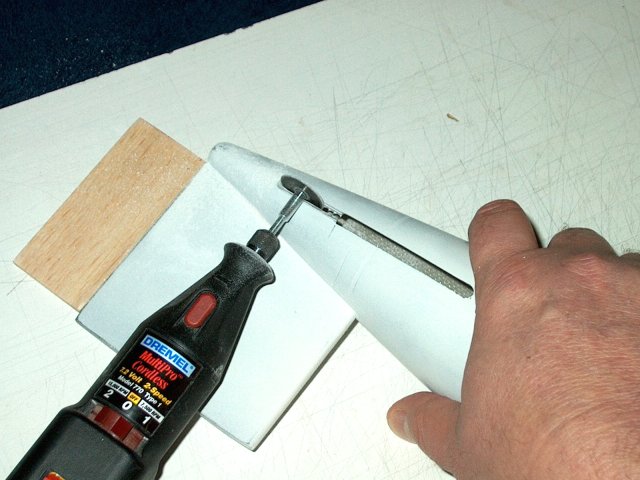
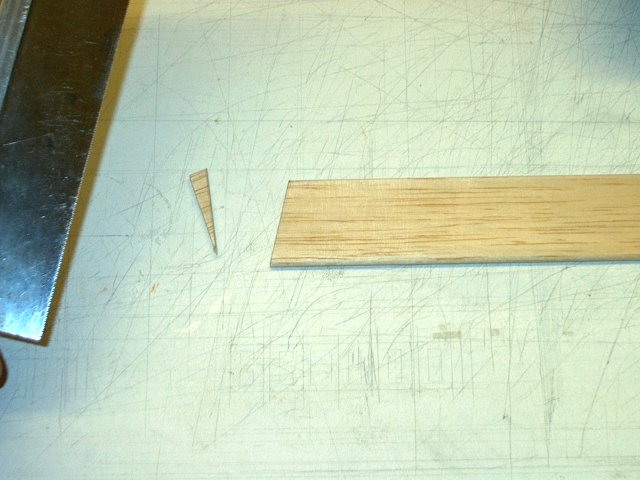
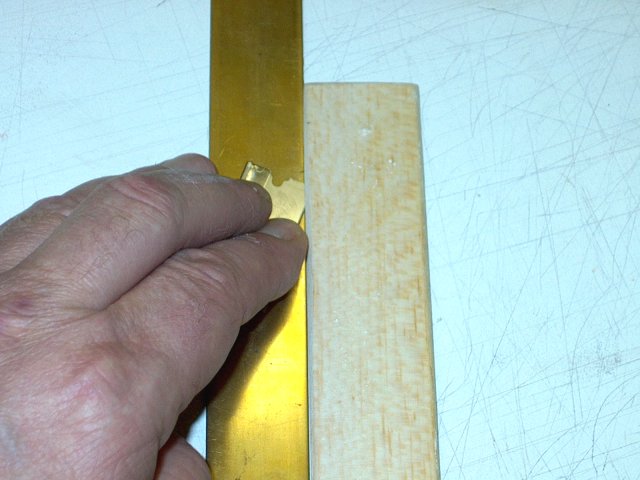
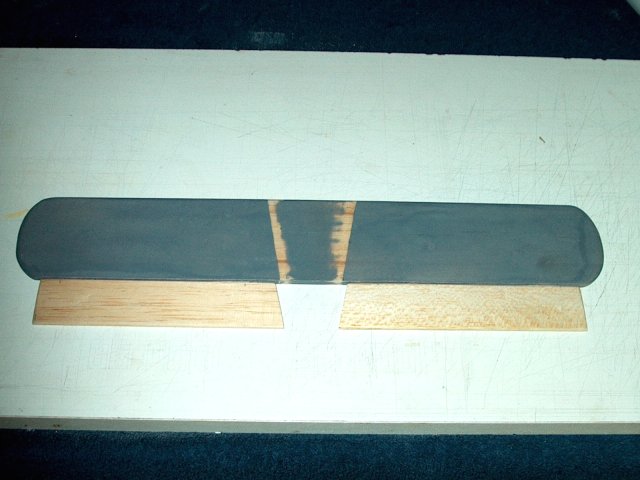
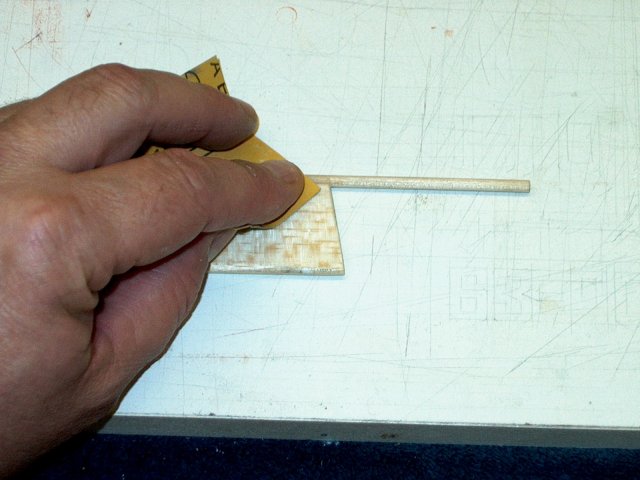
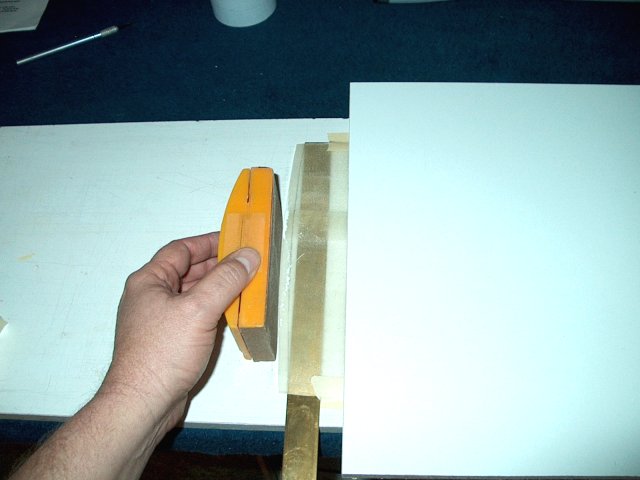
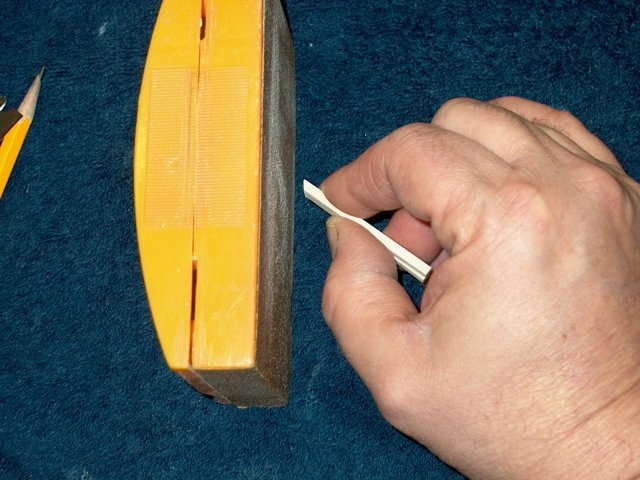
Sand the spars to shape, leaving them a bit oversized
kav1/9.jpg
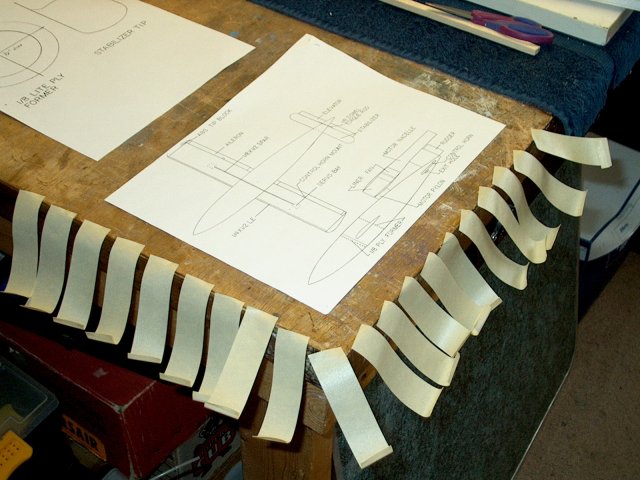
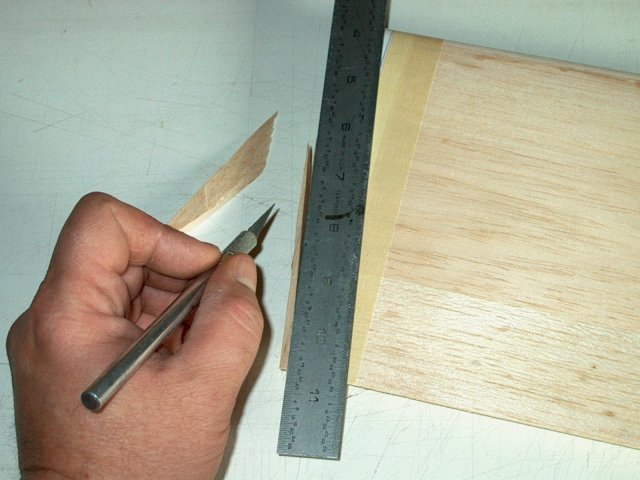
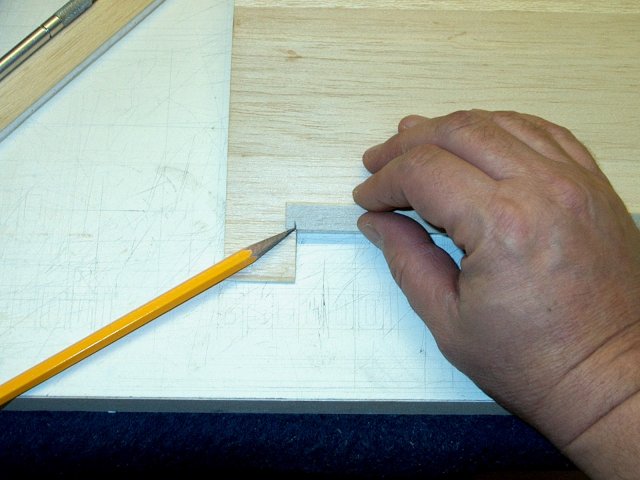
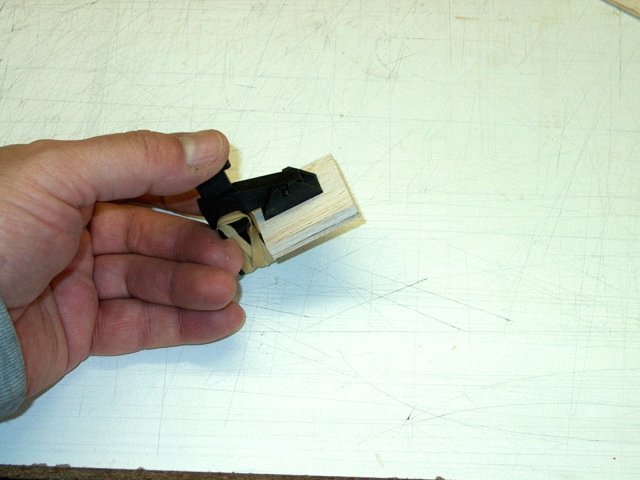
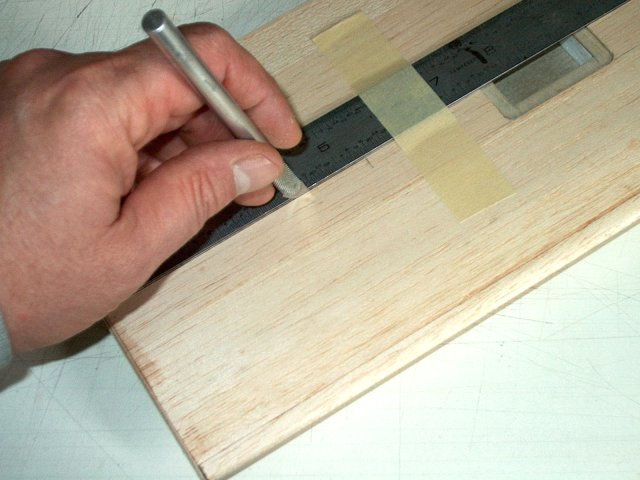
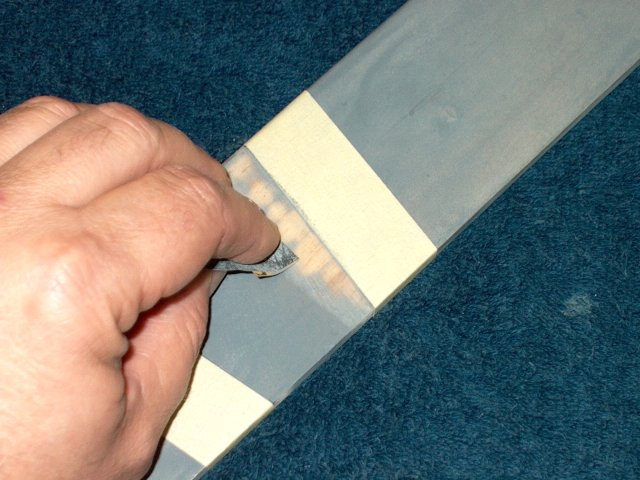
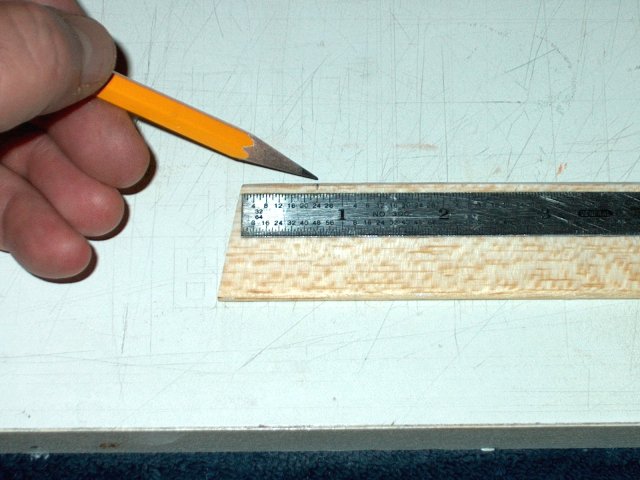
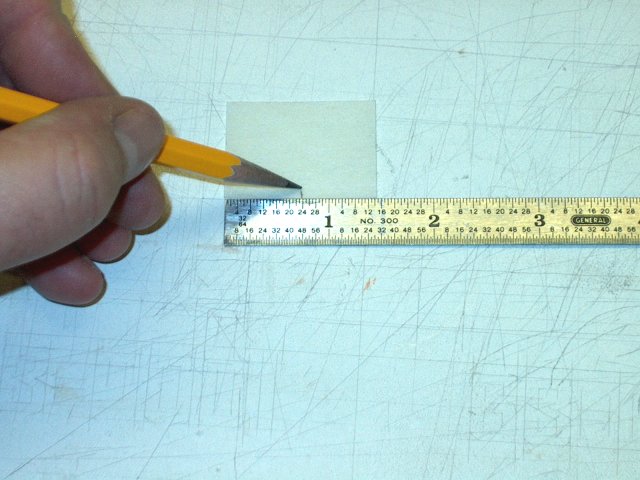
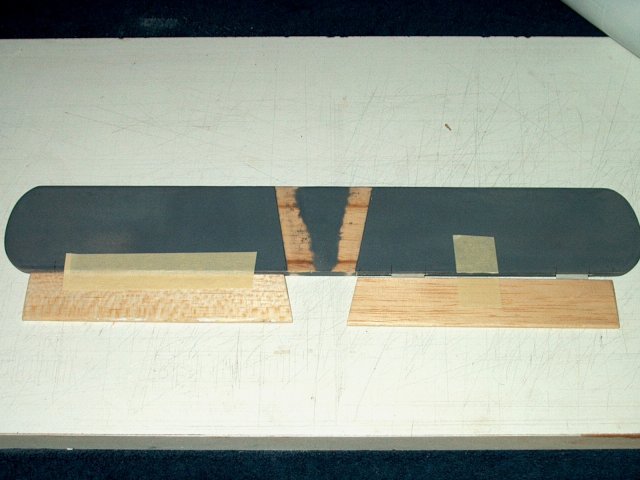
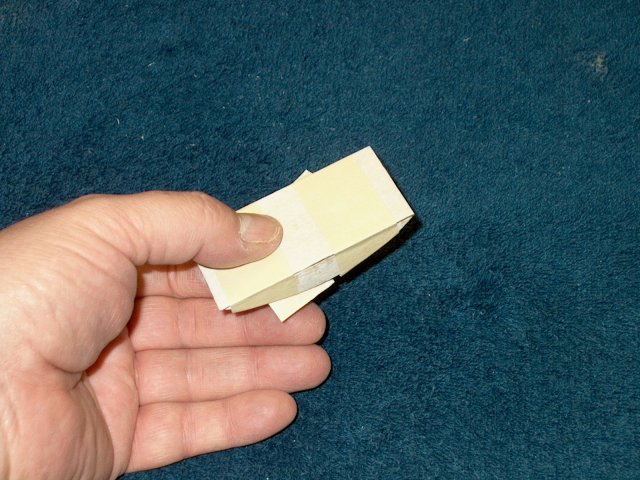
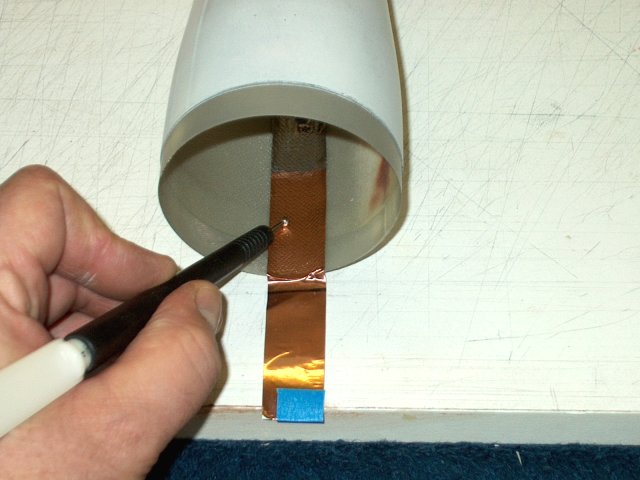
Prepare several piece of masking for the leading edge pieces and tip spars
kav1/10.jpg
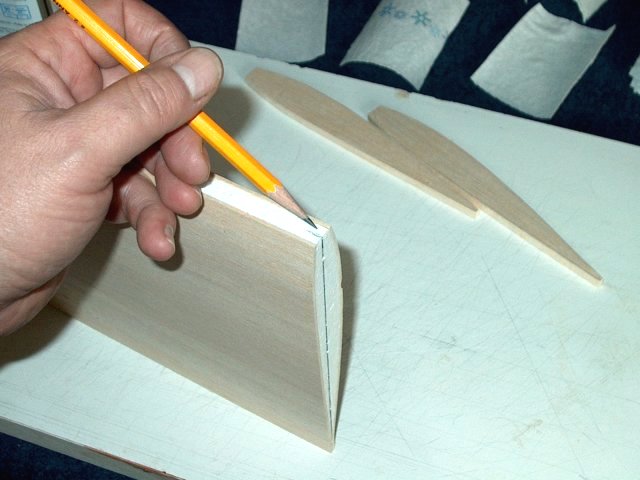
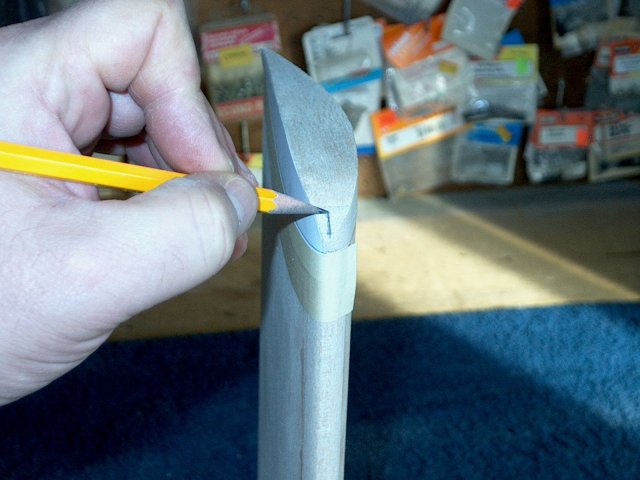
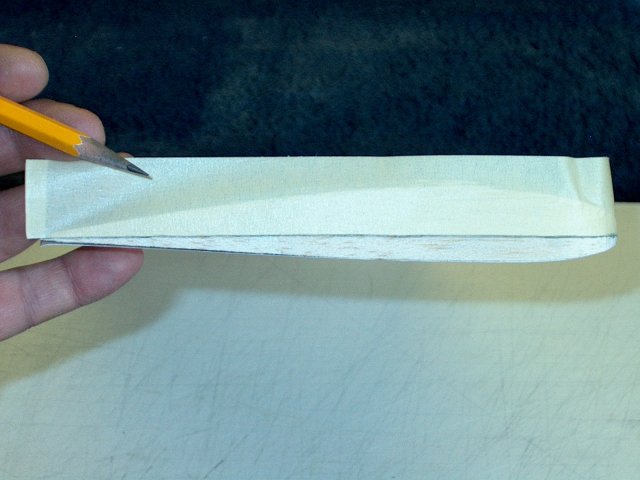
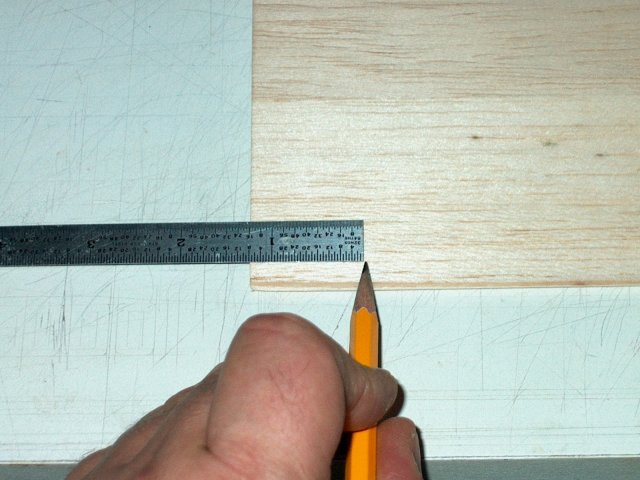
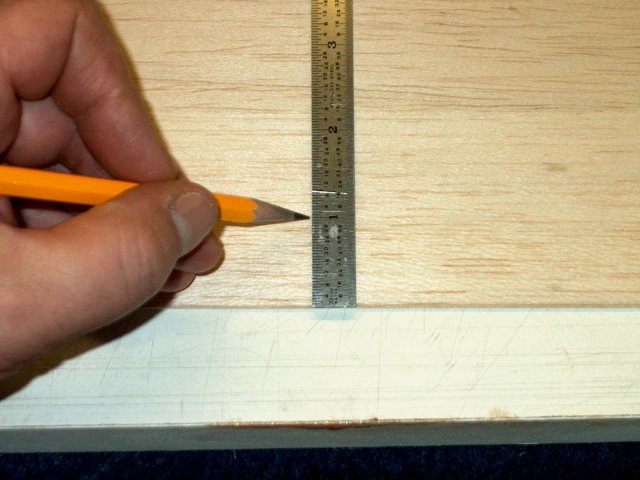
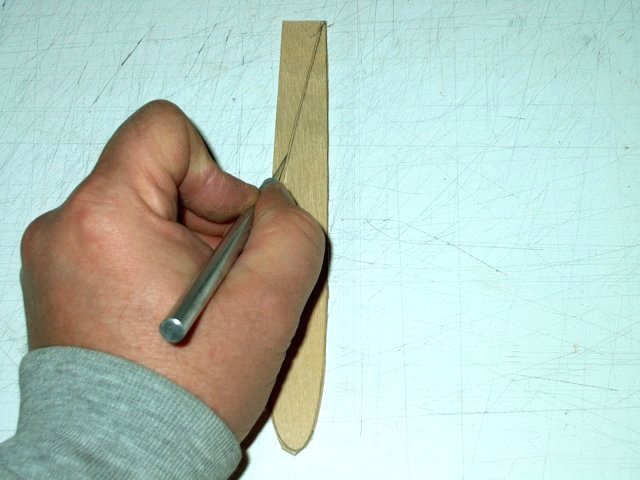
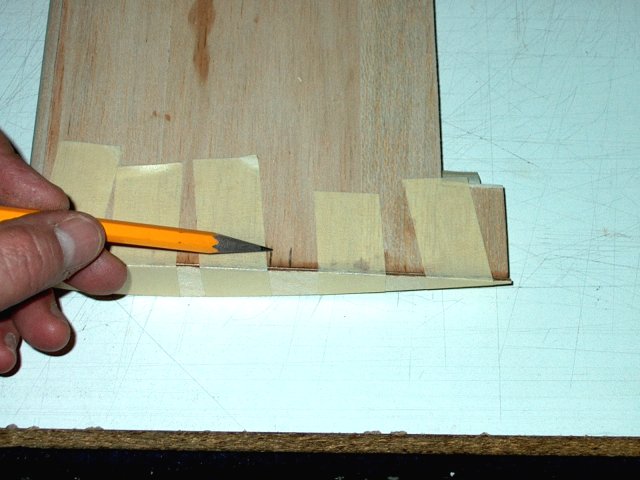
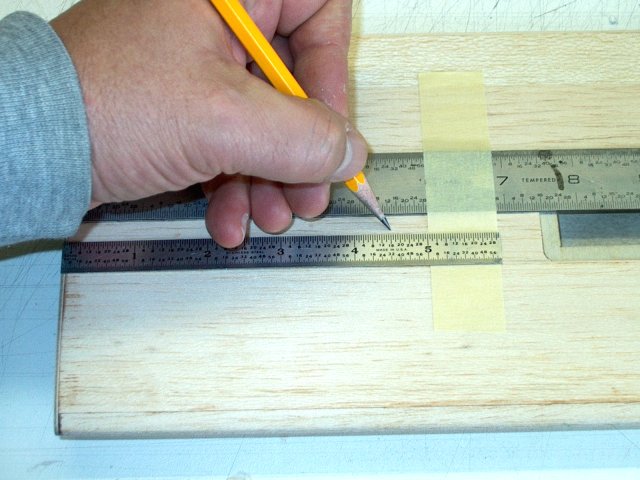
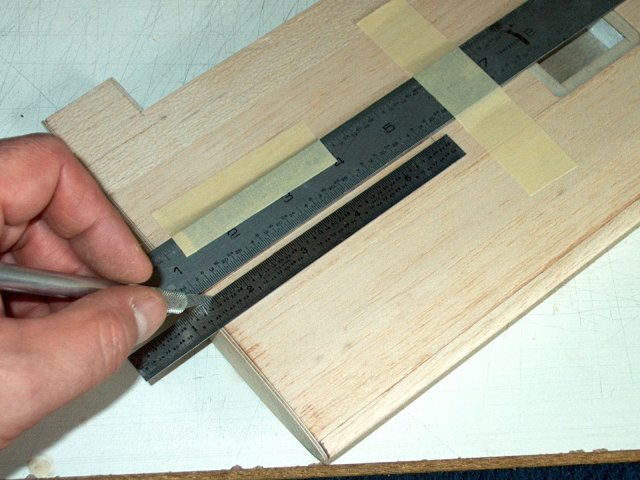
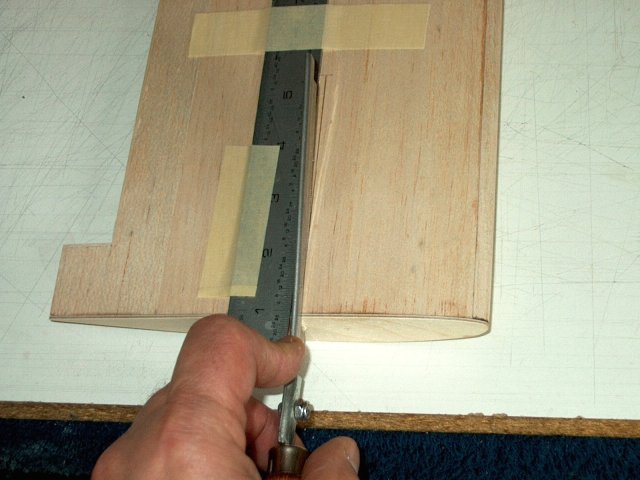
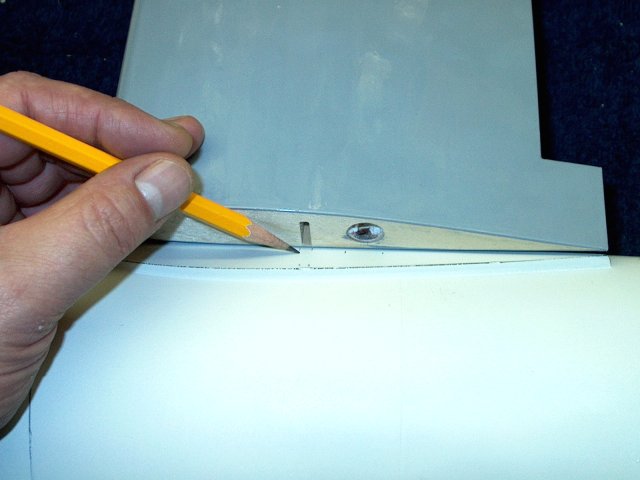
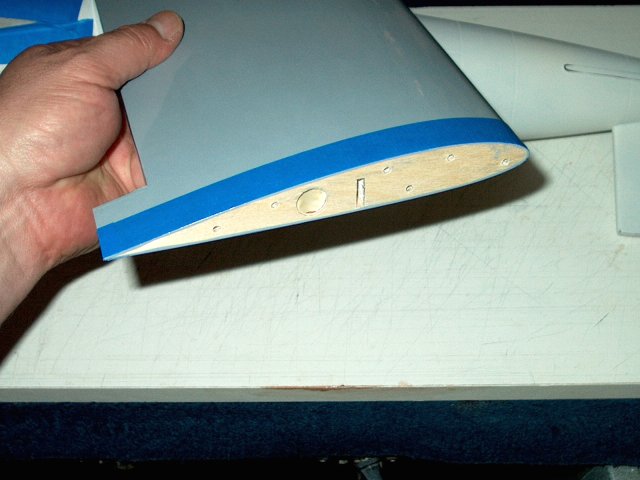
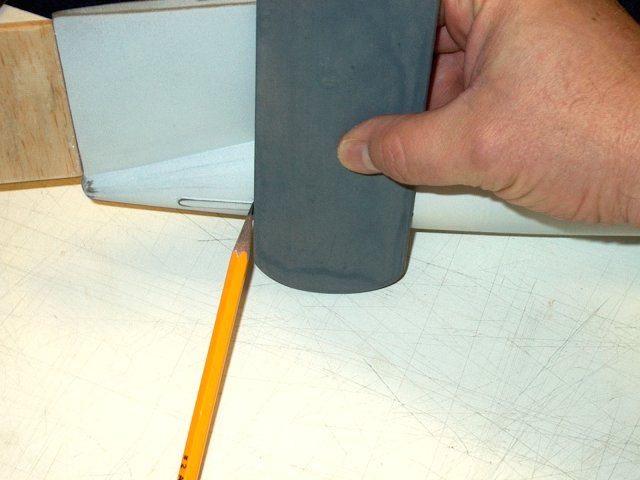
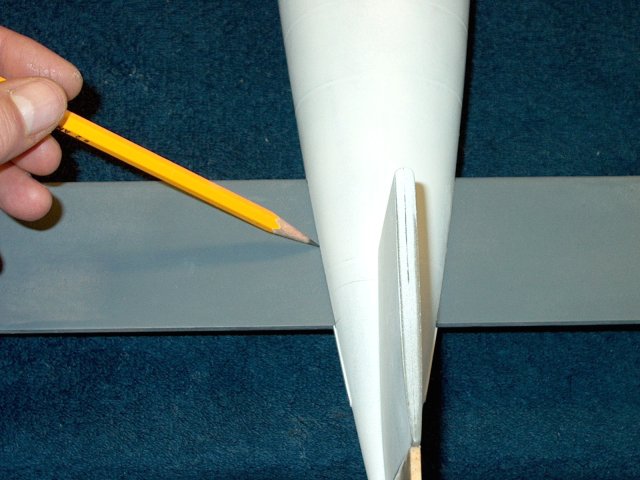
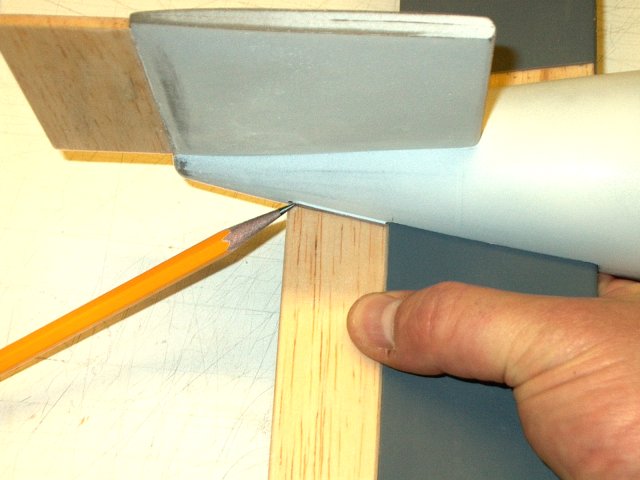
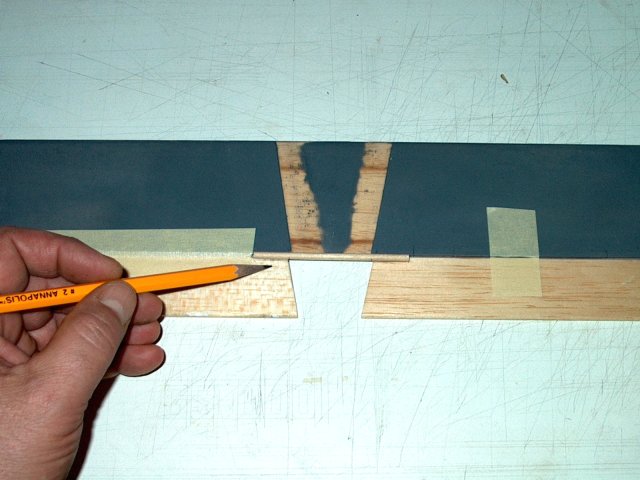
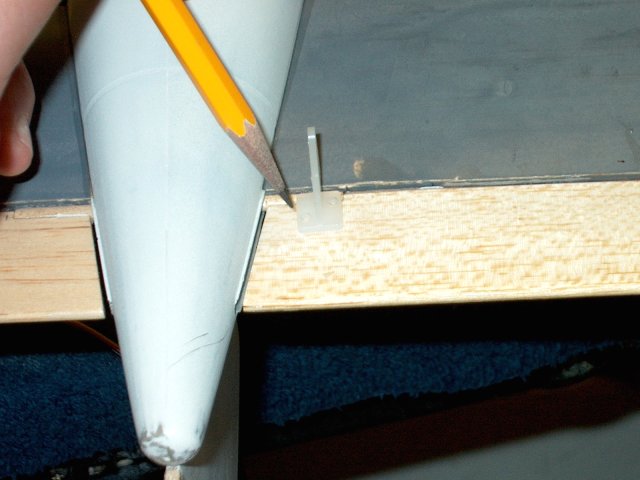
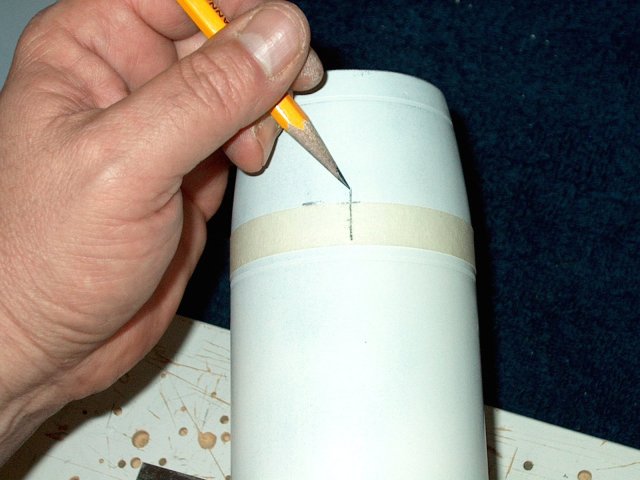
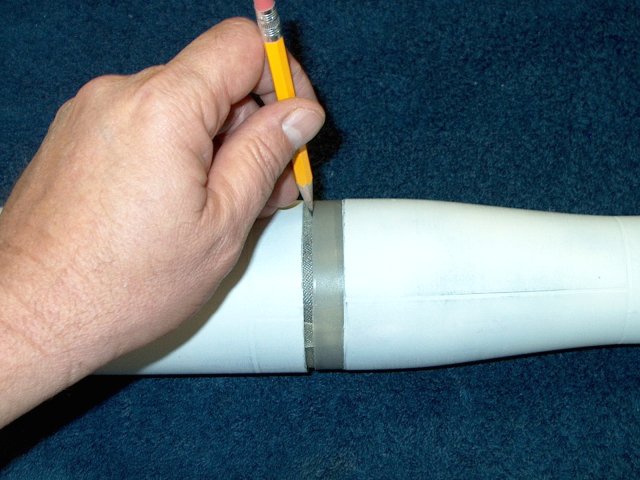
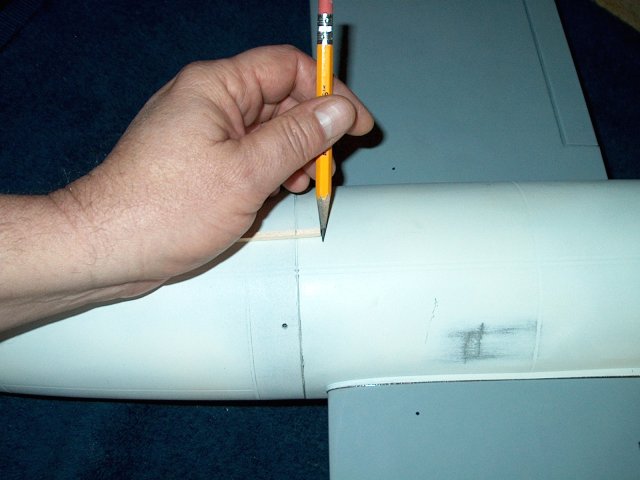
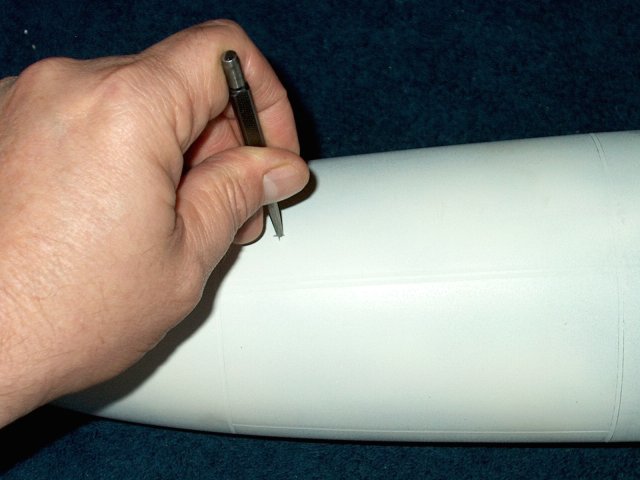
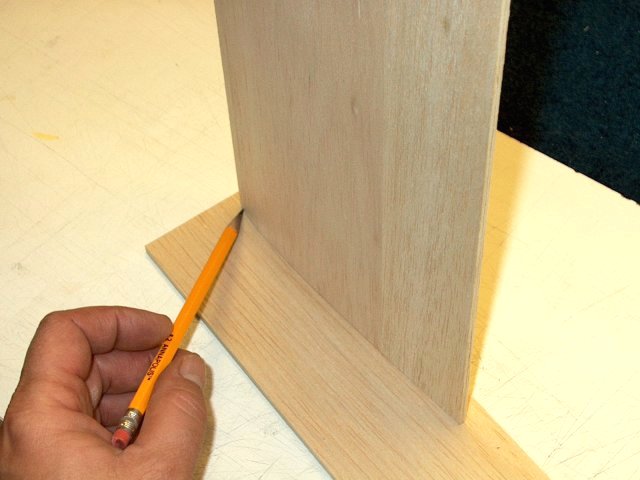
Edtend the center line that was pre-drawn to the leading edge of the wing
kav1/11.jpg
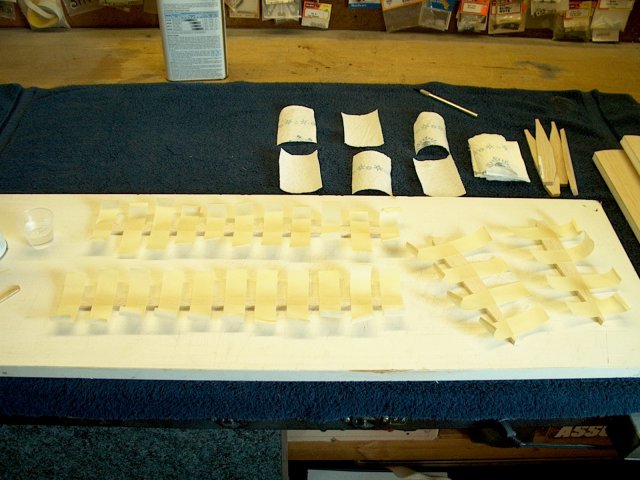
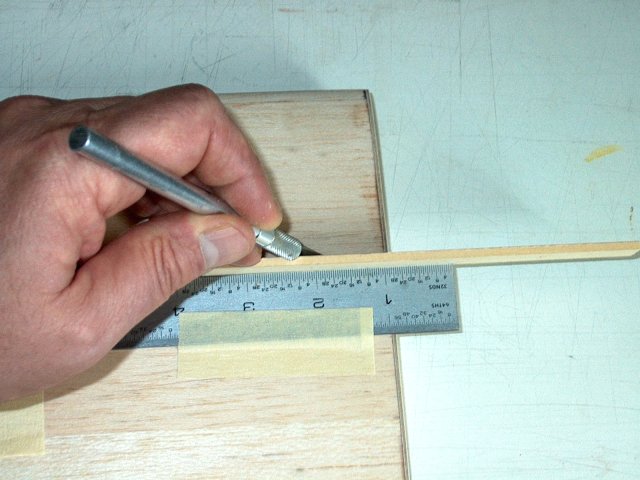
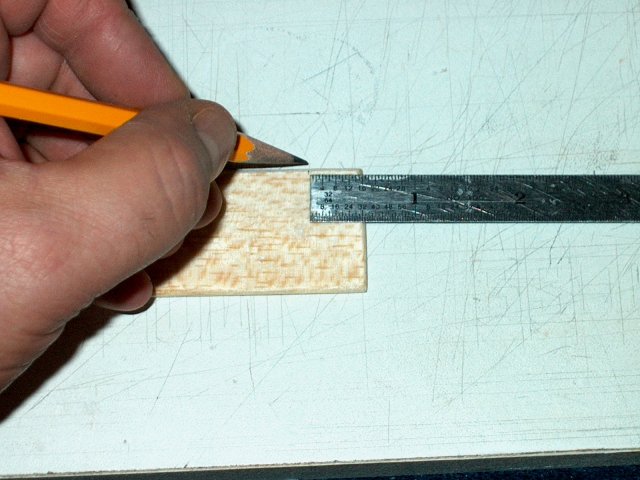
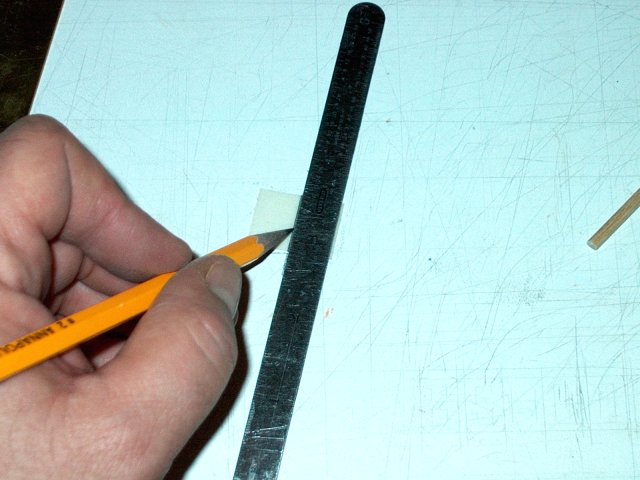
PAce masking evenly spaced across each leading edge piece and a single spar for each tip
kav1/12.jpg
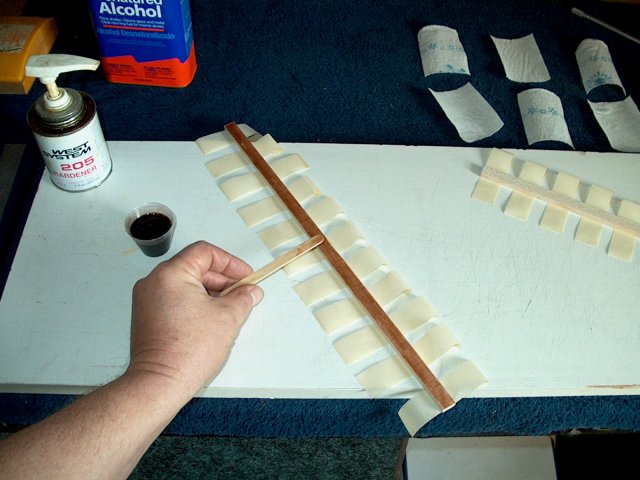
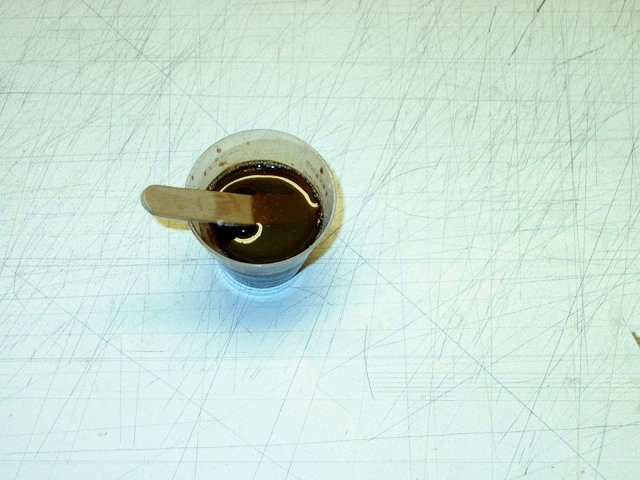
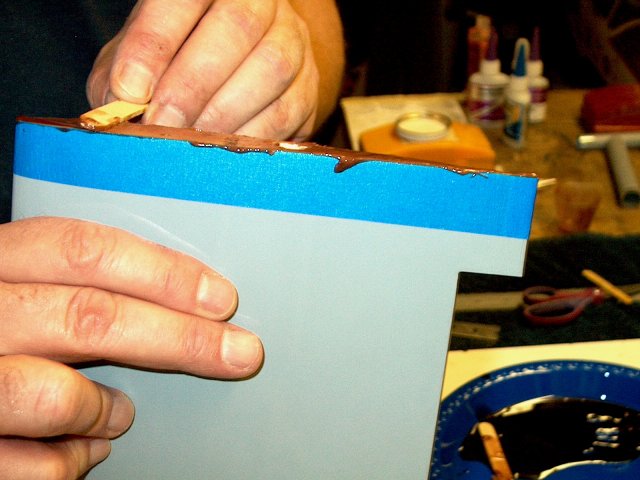
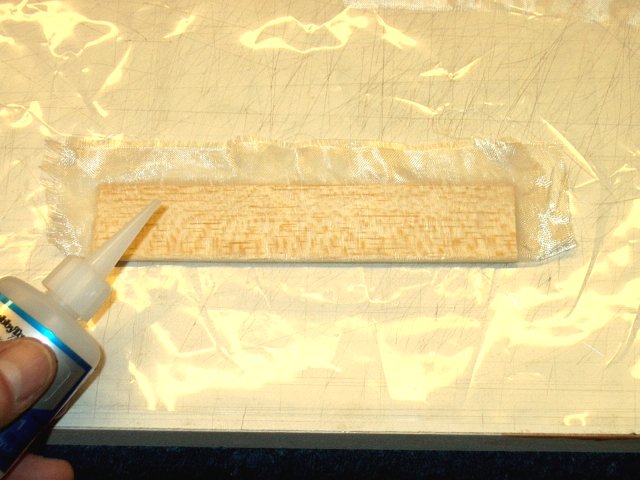
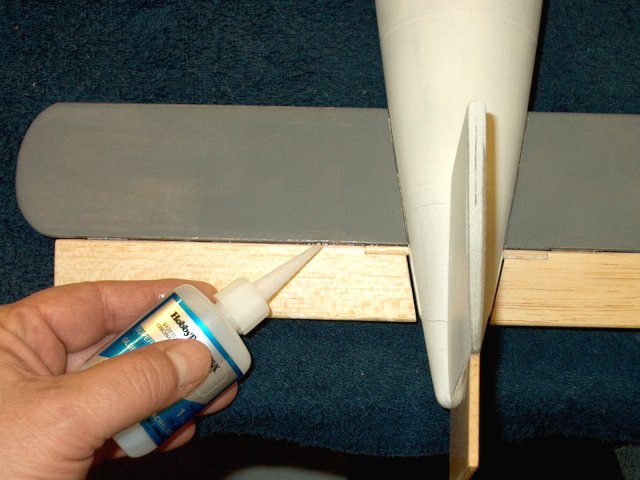
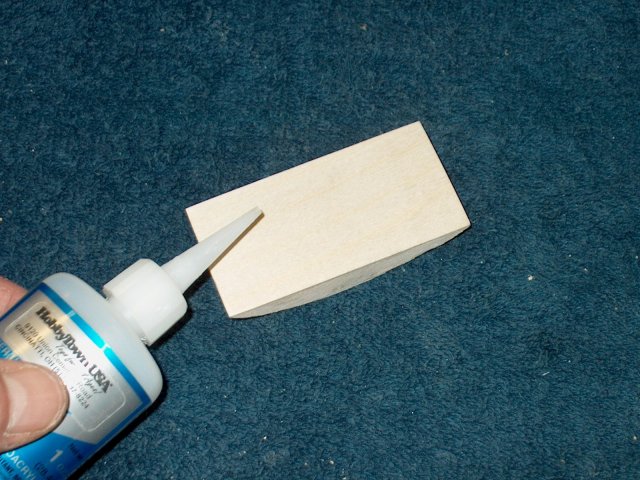
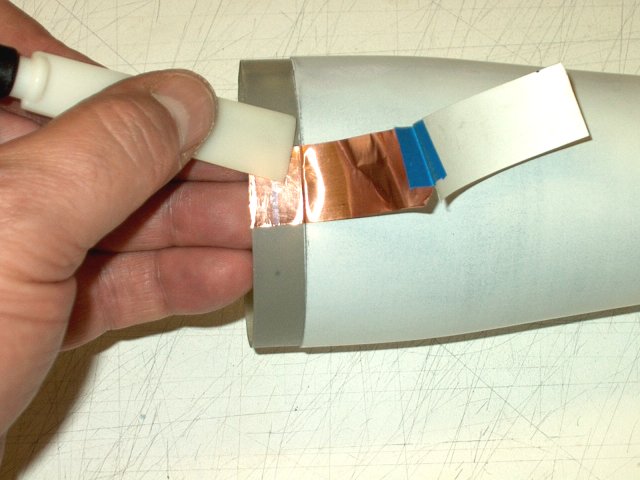
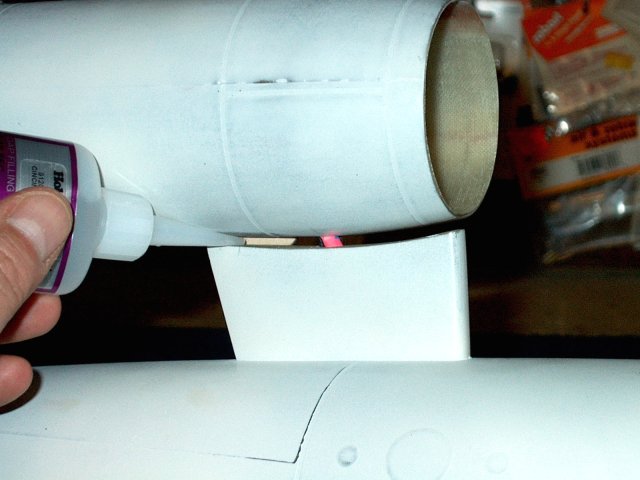
Apply a good 15 minute epoxy to the leading edge balsa piece and spar
kav1/13.jpg
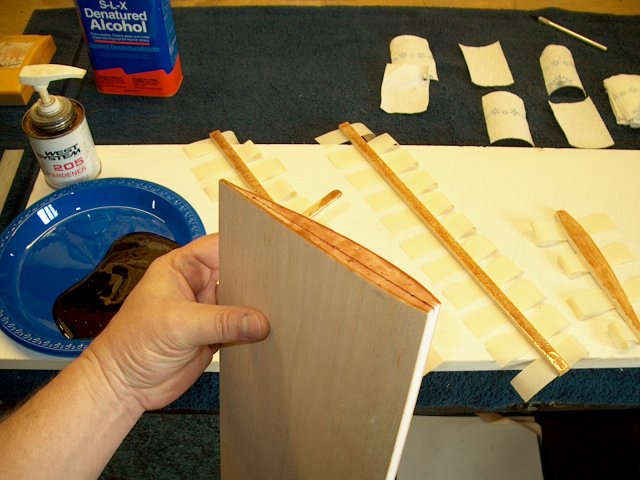
Apply epoxy to the wing tip
kav1/14.jpg
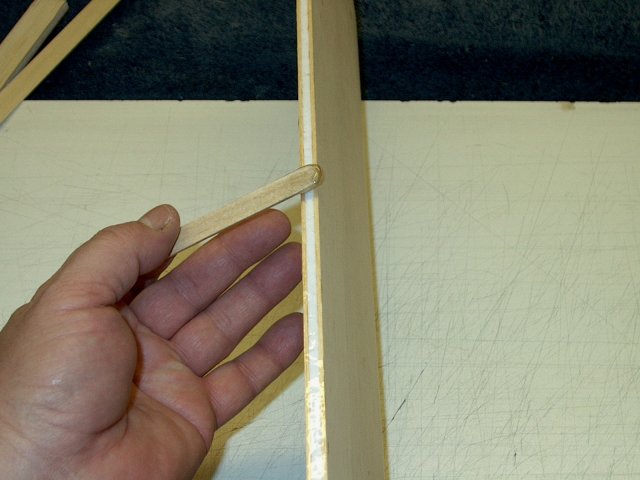
Apply epoxy to the leading edge of the wing
kav1/15.jpg
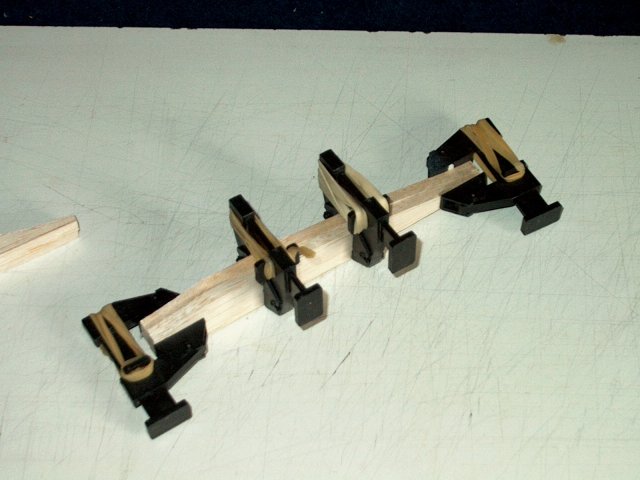
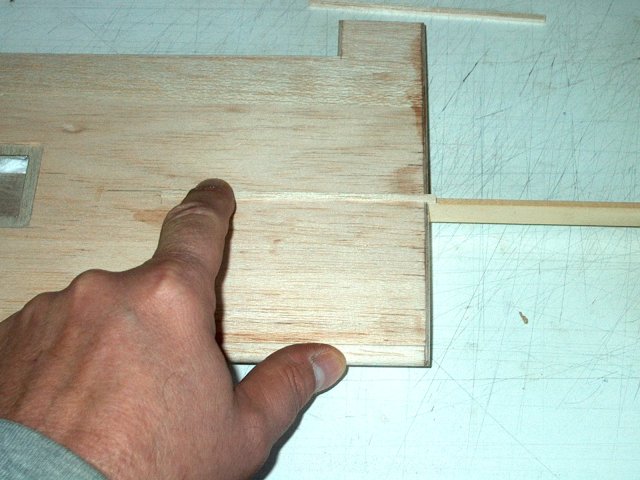
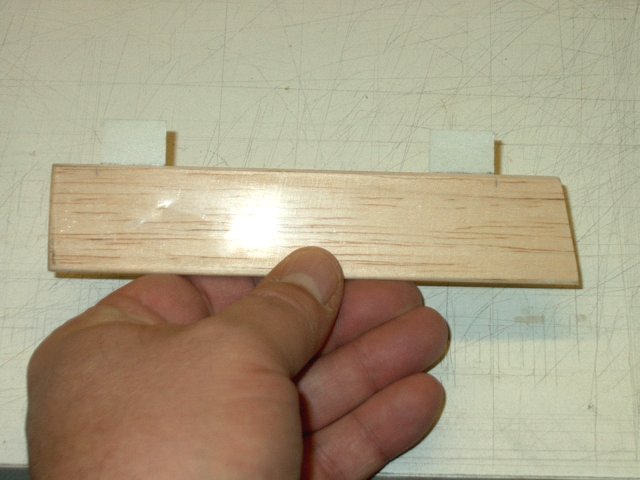
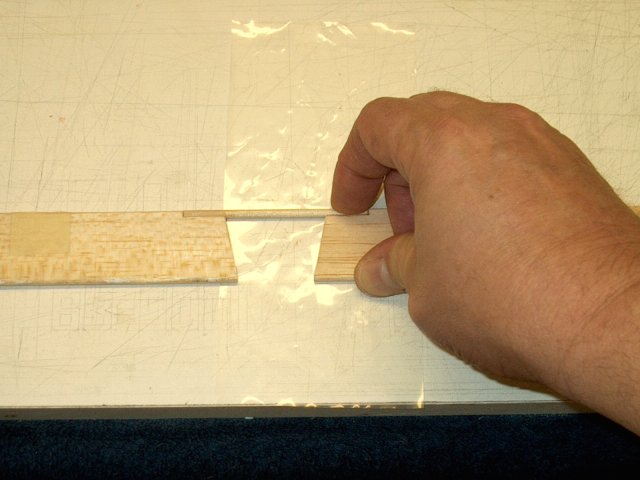
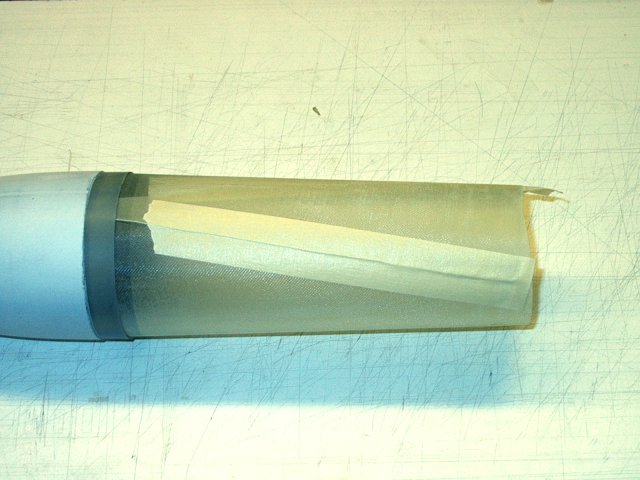
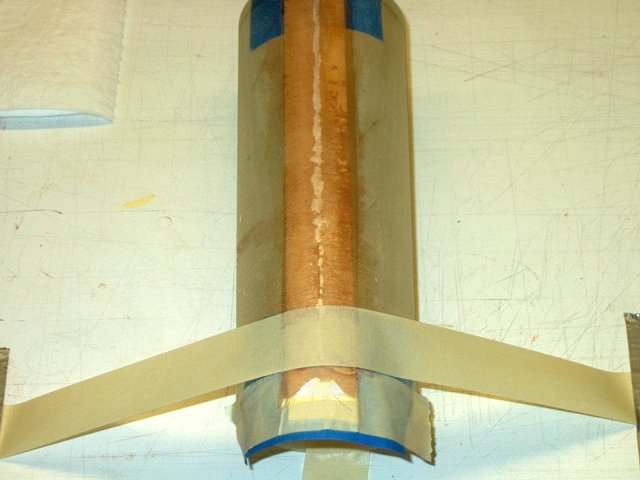
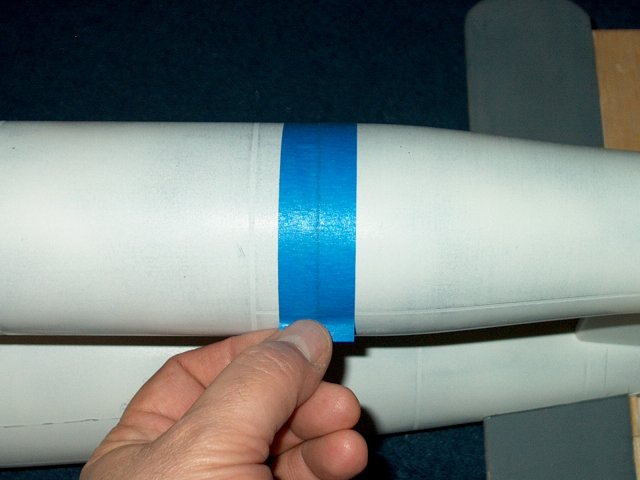
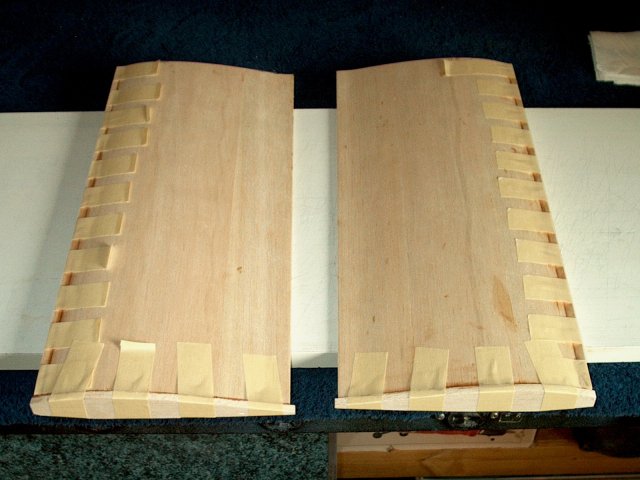
Place the wing down over the leading edge piece, making sure it is positioned evenly on both the top and bottom edge of the wing, then tape it on place
kav1/16.jpg
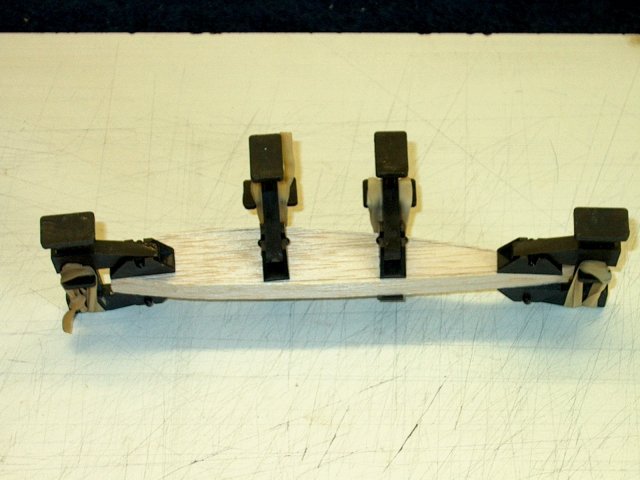
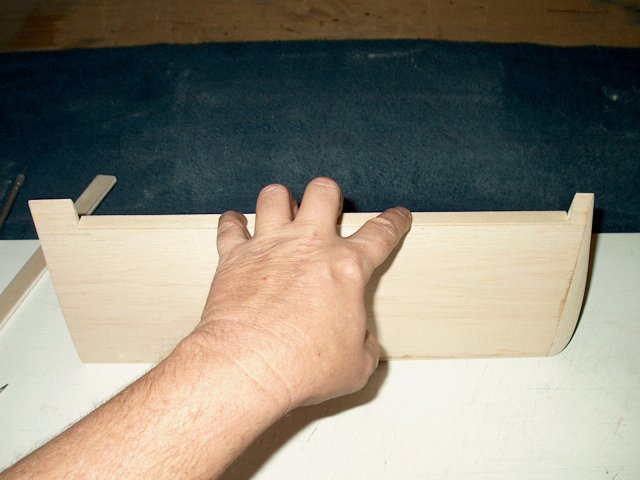
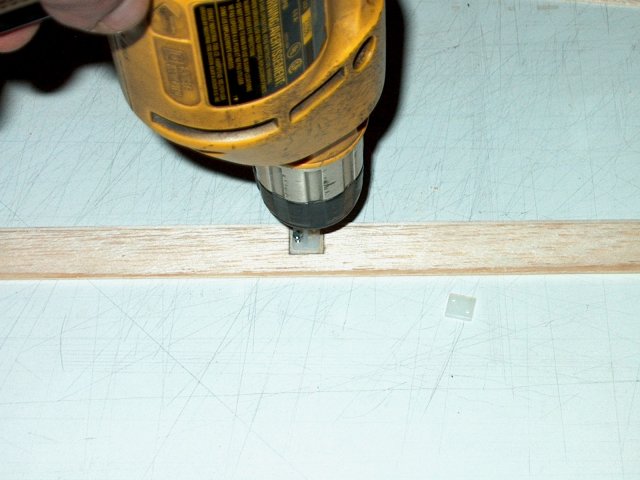
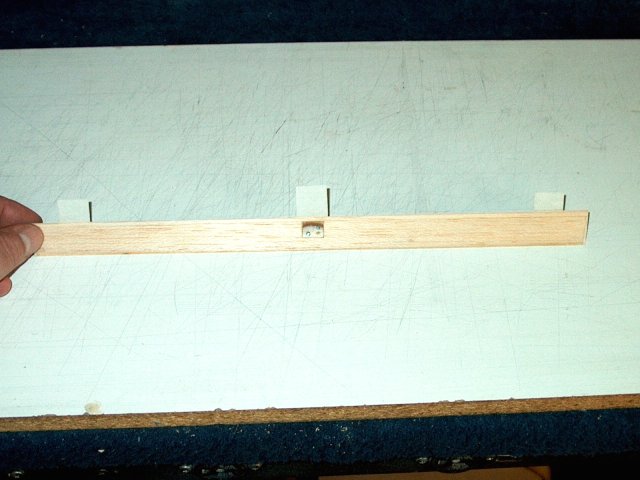
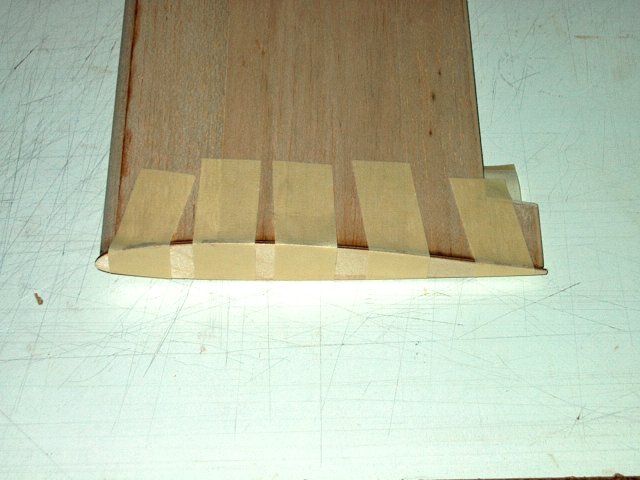
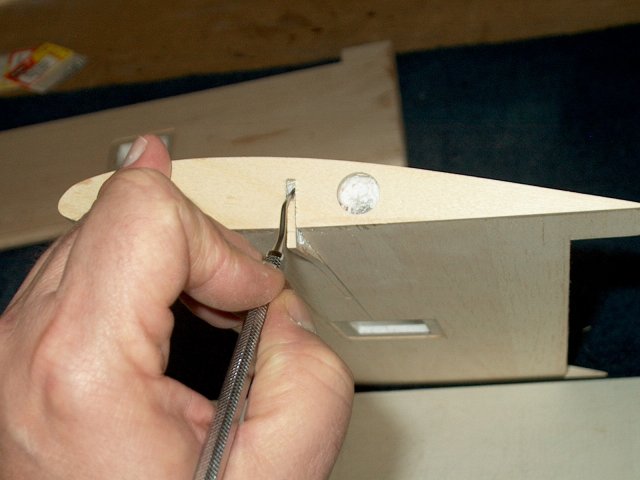
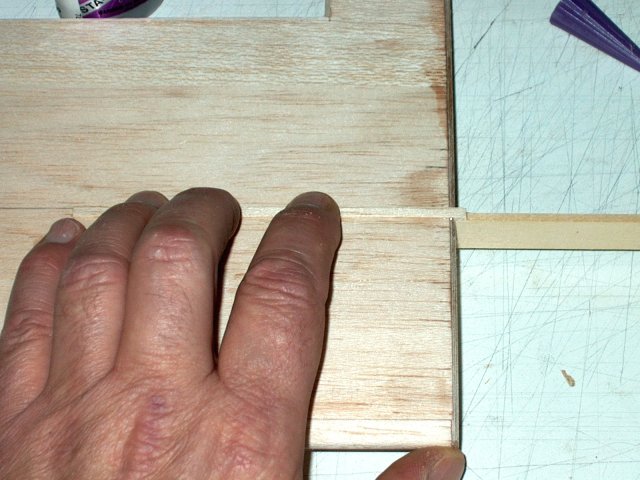
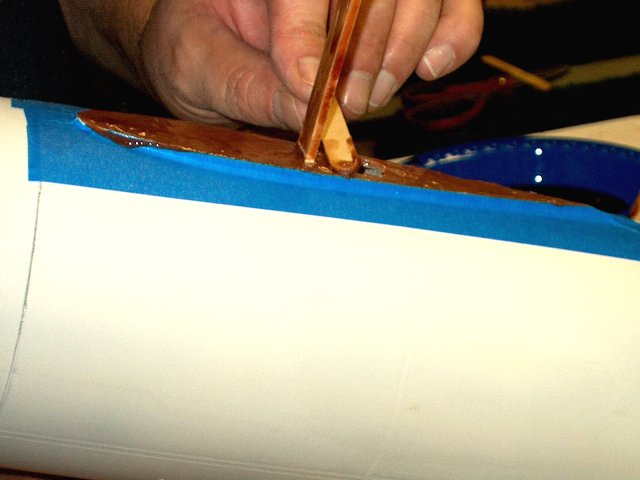
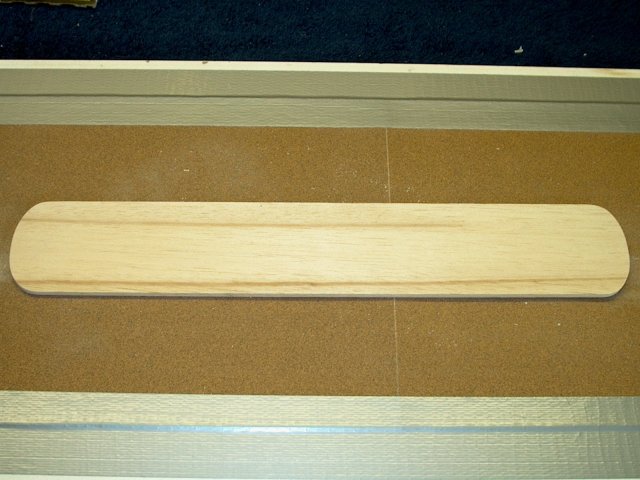
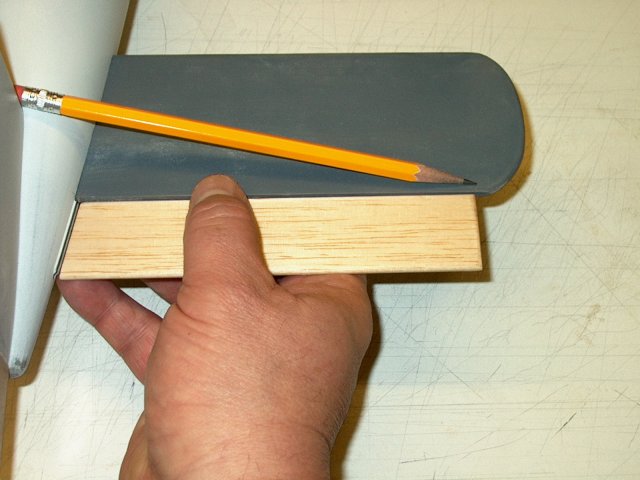
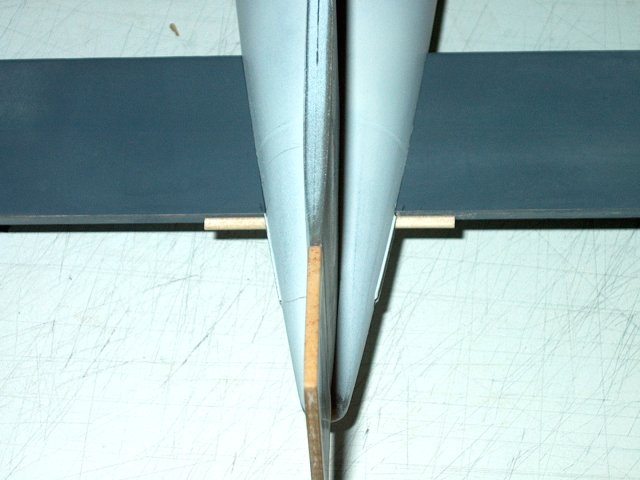
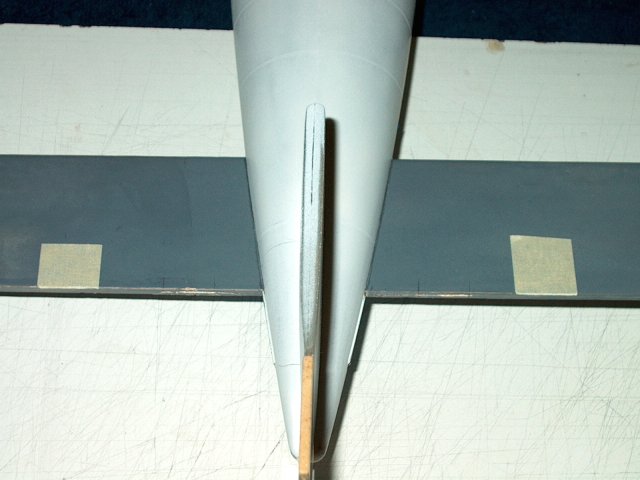
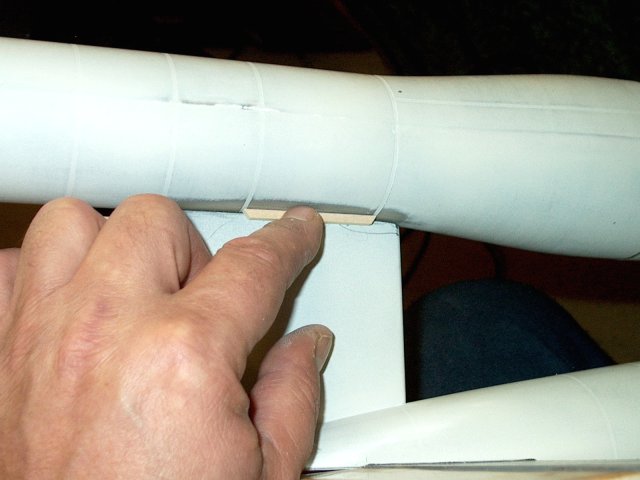
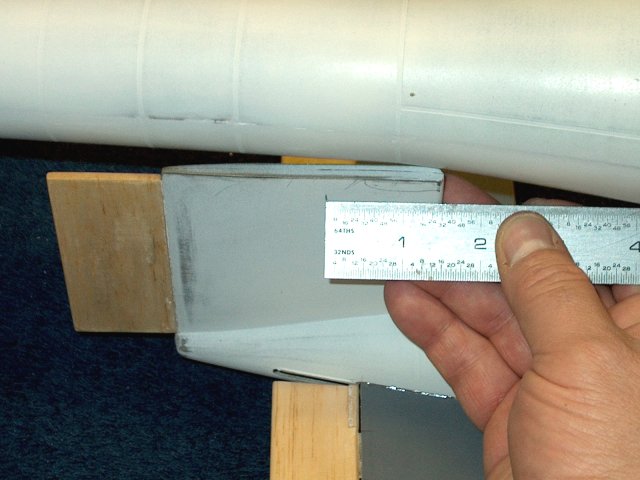
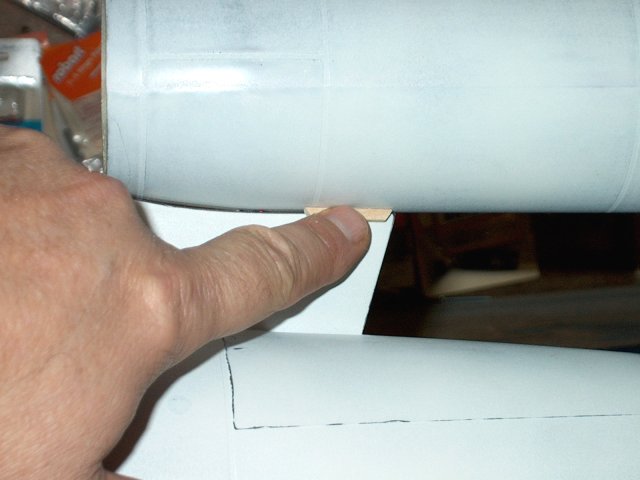
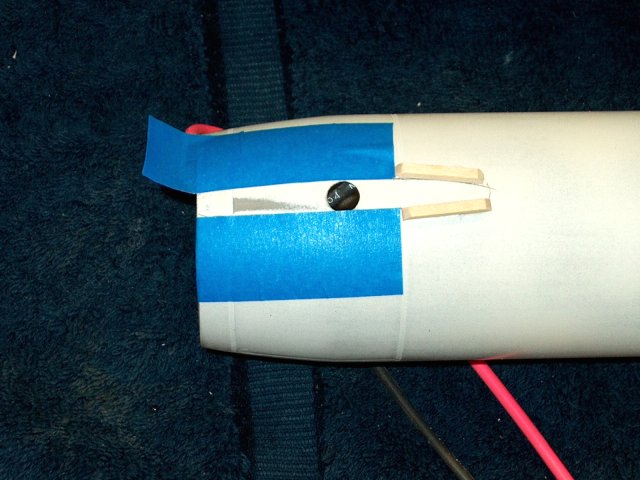
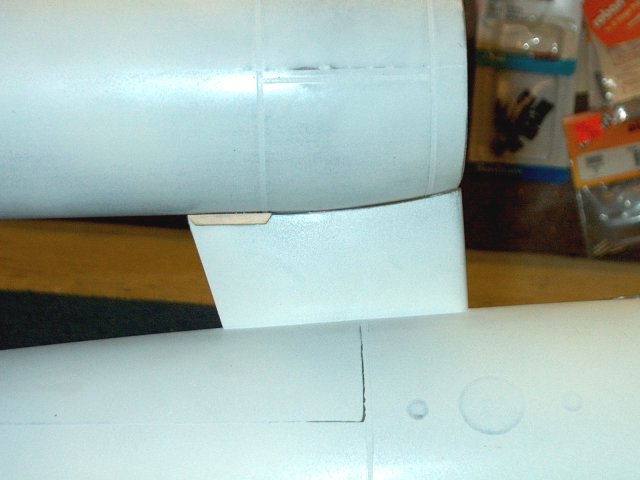
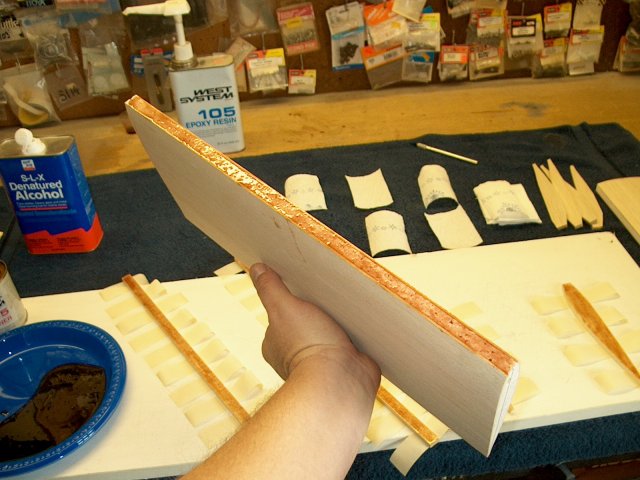
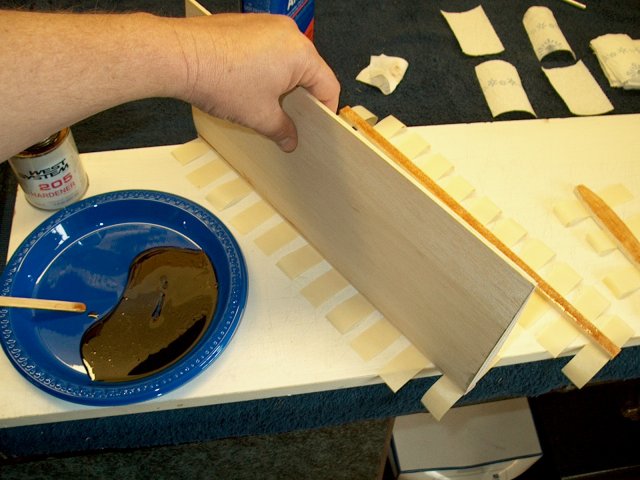
Position the spar at the wing tip and tape it in place, making sure it overlaps all the way around
kav1/17.jpg
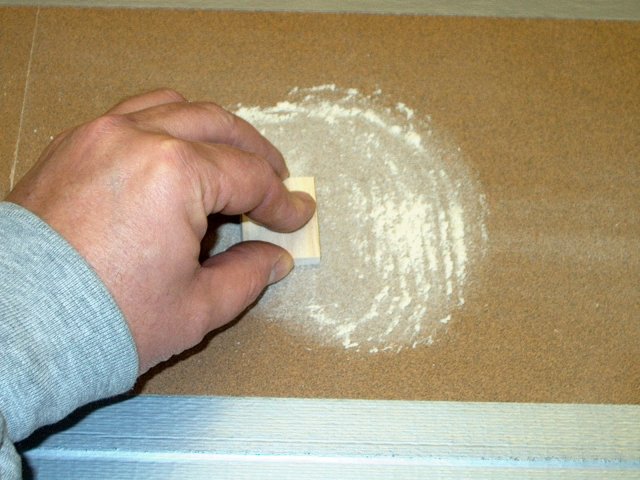
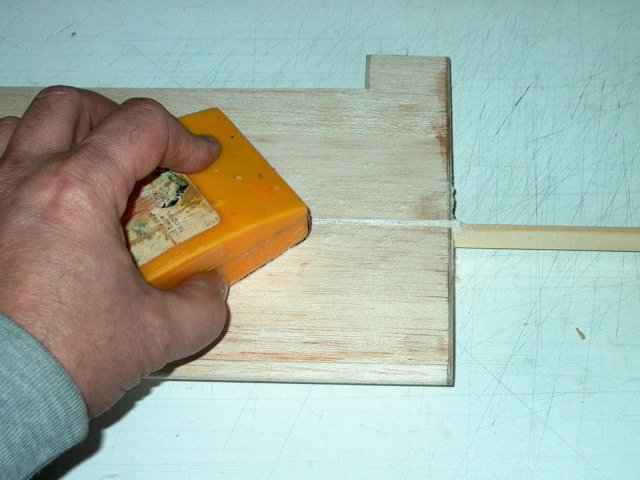
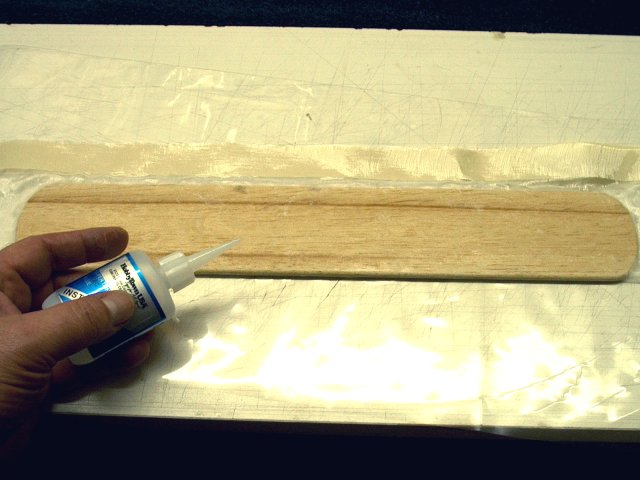
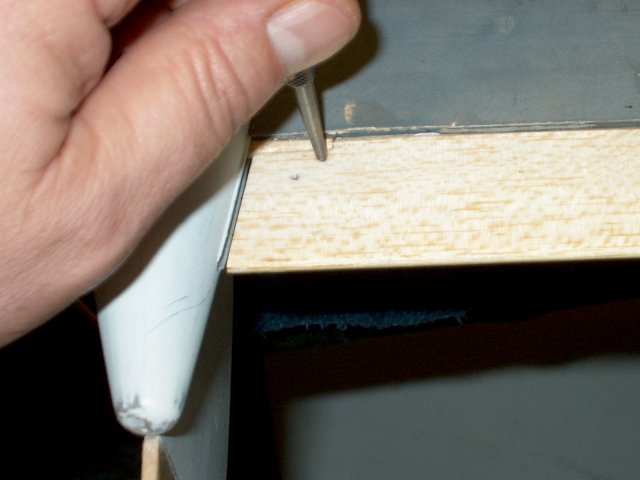
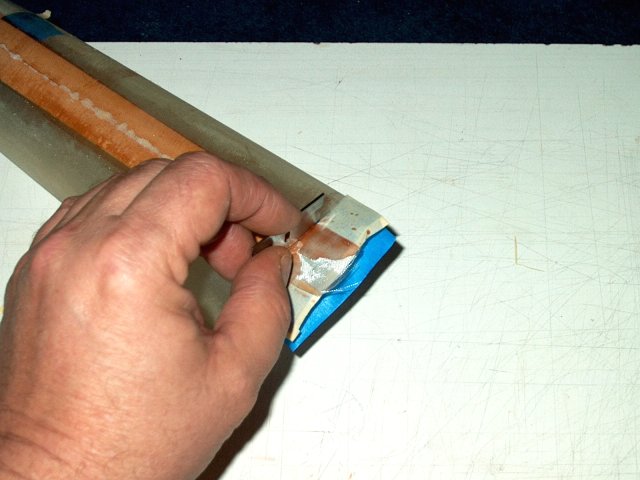
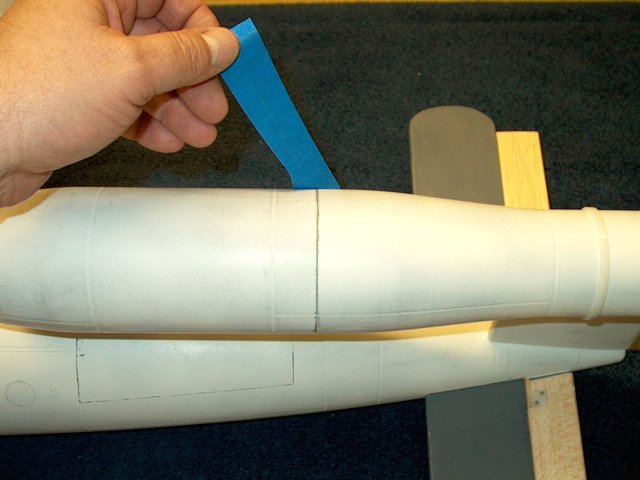
Clean up any excess epoxy with denatured alcohol and paper towels, then allow the epoxy to set
kav1/18.jpg
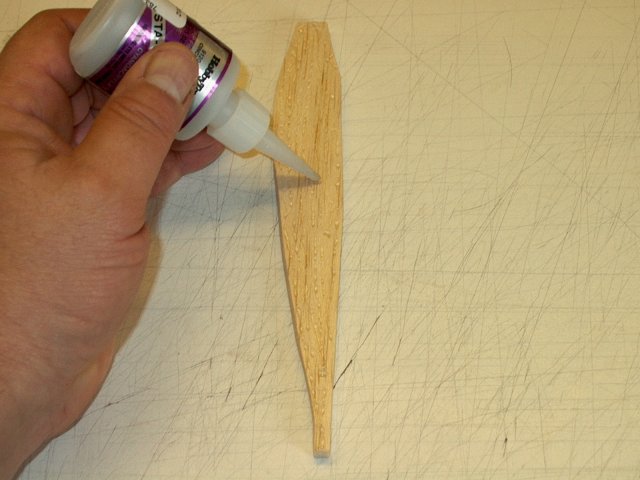
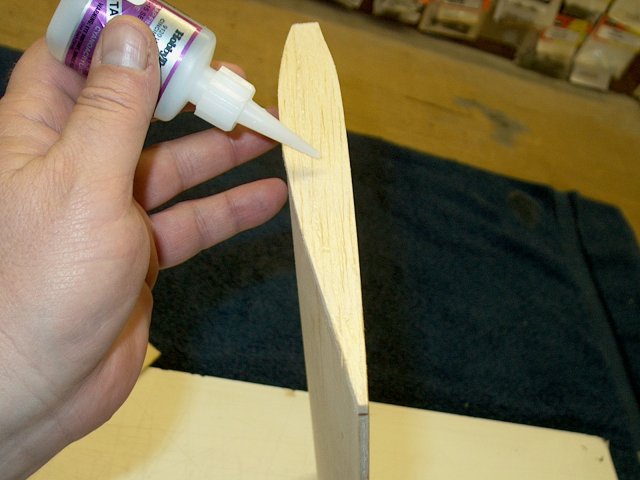
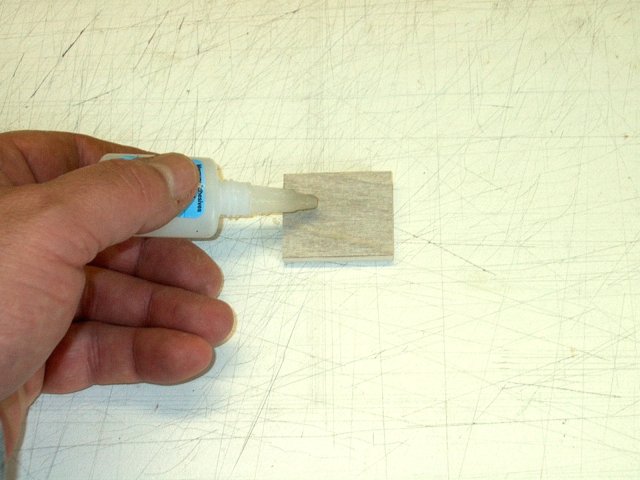
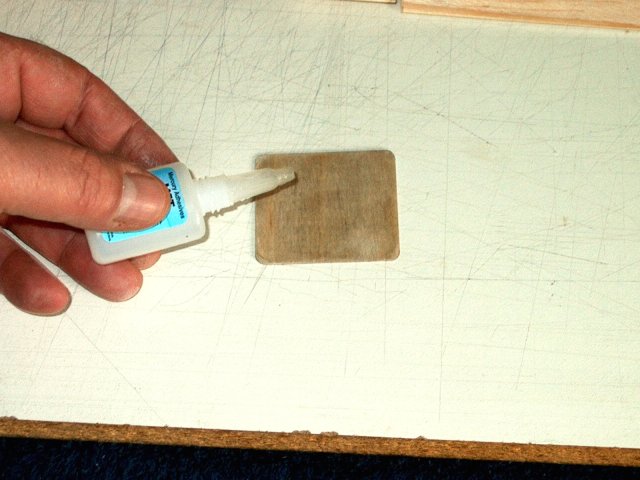
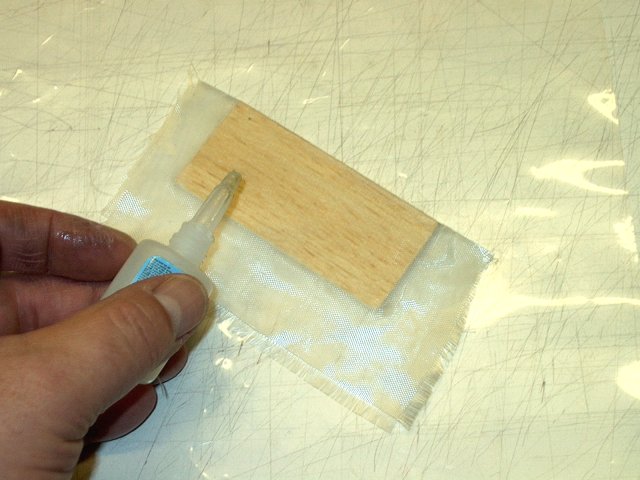
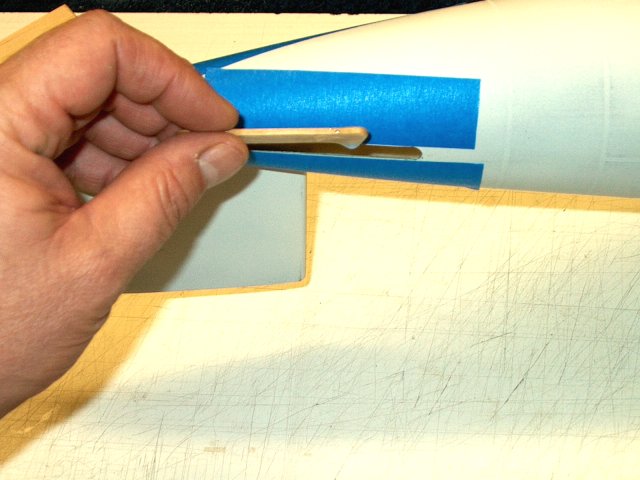
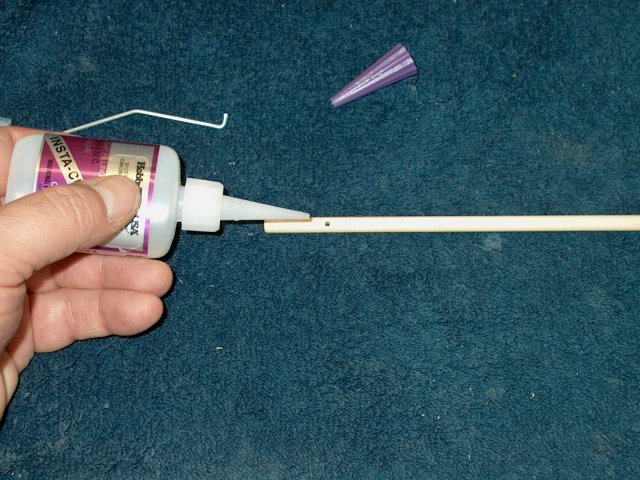
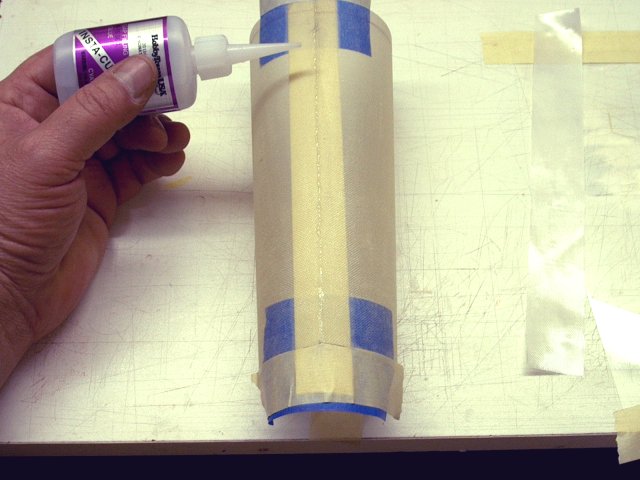
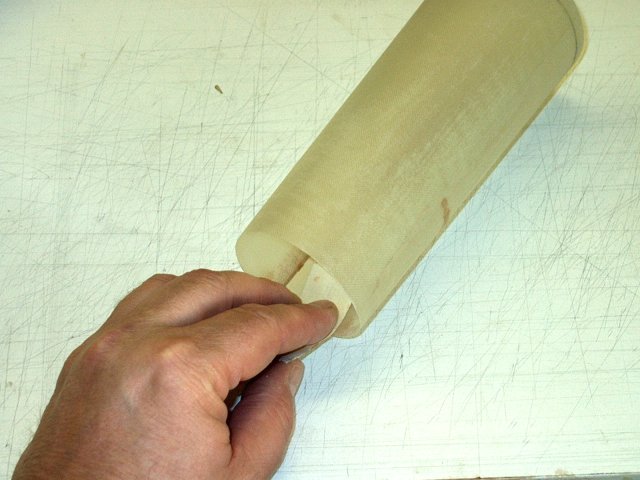
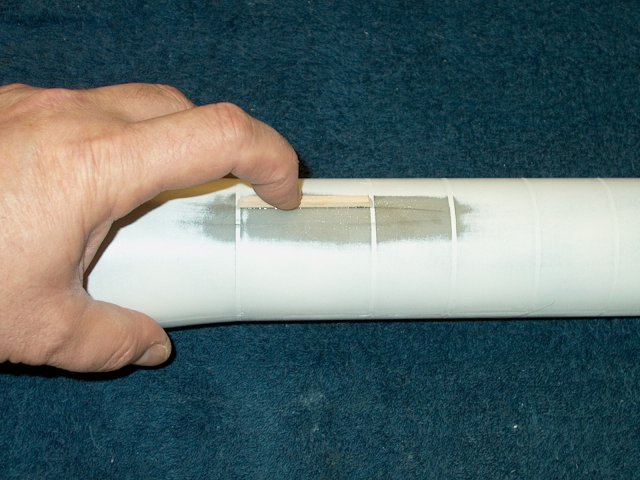
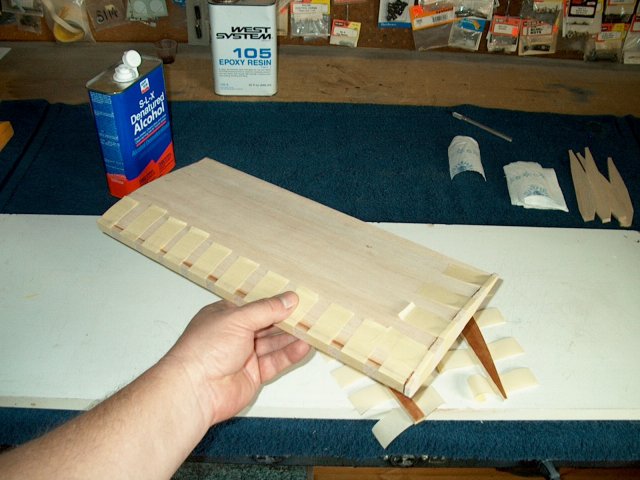
Apply thick CA to a stacking spar
kav1/19.jpg
Place it over the second spar
kav1/20.jpg
Clamp it in place until the CA sets
kav1/21.jpg
Repeat the procedure for the second two spars
kav1/22.jpg
Apply CA to the cap spar as shown
kav1/23.jpg
Install one set of the double spars over the cap spar and repeat for the second wing
kav1/24.jpg
Sand the top and bottom of the end spars to the airfoil shape of the wing
kav1/25.jpg
Sand the leading and trailing edges to match the wing
kav1/26.jpg
Use a large sanding surface to expedite shaping the leading edge airfoil. Taping a couple of pieces of 100grit sandpaper together with thin clear packing tape on the back, then taping the set to a table with duct tape makes a nice sanding surface
kav1/27.jpg
Be sure to sand the top, then the bottom, keeping the shape even across the span of the wing
kav1/28.jpg
Draw a end cap shape on a piece of paper and cut it out so there is 1/2" extending to overlap the wing
kav1/29.jpg
place the drawn line of the tip at the seam of the cap spar and wing, then tape it into place as shown
kav1/30.jpg
Transfer the shape to the spar with a pencil
kav1/31.jpg
You can whittle away some of the large excess balsa before sanding, but be careful not to remove too much
kav1/32.jpg
Use a sanding block to shape the end of the tip, keeping the end square
kav1/33.jpg
Darw a line at the point of the airfoil as shown
kav1/34.jpg
USe a piece of masking tape as a ruler and extend the line to the center of the trailing edge
kav1/35.jpg
Sand the top of each wing to a taper, down to the line
kav1/36.jpg
Sand the bottom of each wing in the samme manner, tapering it to the outside line
kav1/37.jpg
Finish up each wing tip with some fine sandpaper for final shaping
kav1/38.jpg
Fine sand the entire wing, removing any sheeting overlap
kav1/39.jpg
Measure 1 1/4" out from the root of each wing and mark the inside location of each aileron. Measure 1/2" from each wing tip rear for the outside location
kav1/40.jpg
Measure 1" for the thickness of the Aileron
kav1/41.jpg
A piece of brass square was butted up against the trailing edge, then a 1" wide ruler was used to spce the width of the aileron and a long ruler is used for cutting
kav1/42.jpg
You can draw a line for the Aileron location if you wish to make sure your ruler dues not slip
kav1/43.jpg
Cut each end first, then cut the long run, making several passes and keeping your blade perpendicular to the table
kav1/44.jpg
Use one of the four 1/6" x 1/2" wide balsa cap strips to cap the inside of the wing's aileron area. Measure, then cut and fine sand to a good fit
kav1/45.jpg
Apply 5 minute epoxy to the Aileron area
kav1/46.jpg
Place the aileron cap on the inside of the wing
kav1/47.jpg
kav1/48.jpg
kav1/49.jpg
kav1/50.jpg
kav1/51.jpg
kav1/52.jpg
kav1/53.jpg
kav1/54.jpg
kav1/55.jpg
kav1/56.jpg
kav1/57.jpg
kav1/58.jpg
kav1/59.jpg
kav1/60.jpg
kav1/61.jpg
kav1/62.jpg
kav1/63.jpg
kav1/64.jpg
kav1/65.jpg
kav1/66.jpg
kav1/67.jpg
kav1/68.jpg
kav1/69.jpg
kav1/70.jpg
kav1/71.jpg
kav1/72.jpg
kav1/73.jpg
kav1/74.jpg
kav1/75.jpg
kav1/76.jpg
kav1/77.jpg
kav1/78.jpg
kav1/79.jpg
kav1/80.jpg
kav1/81.jpg
kav1/82.jpg
kav1/83.jpg
kav1/84.jpg
kav1/85.jpg
kav1/86.jpg
kav1/87.jpg
kav1/88.jpg
kav1/89.jpg
kav1/90.jpg
kav1/91.jpg
kav1/92.jpg
kav1/93.jpg
kav1/94.jpg
kav1/95.jpg
kav1/96.jpg
kav1/97.jpg
kav1/98.jpg
kav1/99.jpg
kav1/100.jpg
kav1/101.jpg
kav1/102.jpg
kav1/103.jpg
kav1/104.jpg
kav1/105.jpg
kav1/106.jpg
kav1/107.jpg
kav1/108.jpg
kav1/109.jpg
kav1/110.jpg
kav1/111.jpg
kav1/112.jpg
kav1/113.jpg
kav1/114.jpg
kav1/115.jpg
kav1/116.jpg
kav1/117.jpg
kav1/118.jpg
kav1/119.jpg
kav1/120.jpg
kav1/121.jpg
kav1/122.jpg
kav1/123.jpg
kav1/124.jpg
kav1/125.jpg
kav1/126.jpg
kav1/127.jpg
kav1/128.jpg
kav1/129.jpg
kav1/130.jpg
kav1/131.jpg
kav1/132.jpg
kav1/133.jpg
kav1/134.jpg
kav1/135.jpg
kav1/136.jpg
kav1/137.jpg
kav1/138.jpg
kav1/139.jpg
kav1/140.jpg
kav1/141.jpg
kav1/142.jpg
kav1/143.jpg
kav1/144.jpg
kav1/145.jpg
kav1/146.jpg
kav1/147.jpg
kav1/148.jpg
kav1/149.jpg
kav1/150.jpg
kav1/151.jpg
kav1/152.jpg
kav1/153.jpg
kav1/154.jpg
kav1/155.jpg
kav1/156.jpg
kav1/157.jpg
kav1/158.jpg
kav1/159.jpg
kav1/160.jpg
kav1/161.jpg
kav1/162.jpg
kav1/163.jpg
kav1/164.jpg
kav1/165.jpg
kav1/166.jpg
kav1/167.jpg
kav1/168.jpg
kav1/169.jpg
kav1/170.jpg
kav1/171.jpg
kav1/172.jpg
kav1/173.jpg
kav1/174.jpg
kav1/175.jpg
kav1/176.jpg
kav1/177.jpg
kav1/178.jpg
kav1/179.jpg
kav1/180.jpg
kav1/181.jpg
kav1/182.jpg
kav1/183.jpg
kav1/184.jpg
kav1/185.jpg
kav1/186.jpg
kav1/187.jpg
kav1/188.jpg
kav1/189.jpg
kav1/190.jpg
kav1/191.jpg
kav1/192.jpg
kav1/193.jpg
kav1/194.jpg
kav1/195.jpg
kav1/196.jpg
kav1/197.jpg
kav1/198.jpg
kav1/199.jpg
kav1/200.jpg
kav1/201.jpg
kav1/202.jpg
kav1/203.jpg
kav1/204.jpg
kav1/205.jpg
kav1/206.jpg
kav1/207.jpg
kav1/208.jpg
kav1/209.jpg
kav1/210.jpg
kav1/211.jpg
kav1/212.jpg
kav1/213.jpg
kav1/214.jpg
kav1/215.jpg
kav1/216.jpg
kav1/217.jpg
kav1/218.jpg
kav1/219.jpg
kav1/220.jpg
kav1/221.jpg
kav1/222.jpg
kav1/223.jpg
kav1/224.jpg
kav1/225.jpg
kav1/226.jpg
kav1/227.jpg
kav1/228.jpg
kav1/229.jpg
kav1/230.jpg
kav1/231.jpg
kav1/232.jpg
kav1/233.jpg
kav1/234.jpg
kav1/235.jpg
kav1/236.jpg
kav1/237.jpg
kav1/238.jpg
kav1/239.jpg
kav1/240.jpg
kav1/241.jpg
kav1/242.jpg
kav1/243.jpg
kav1/244.jpg
kav1/245.jpg
kav1/246.jpg
kav1/247.jpg
kav1/248.jpg
kav1/249.jpg
kav1/250.jpg
kav1/251.jpg
kav1/252.jpg
kav1/253.jpg
kav1/254.jpg
kav1/255.jpg
kav1/256.jpg
kav1/257.jpg
kav1/258.jpg
kav1/259.jpg
kav1/260.jpg
kav1/261.jpg
kav1/262.jpg
kav1/263.jpg
kav1/264.jpg
kav1/265.jpg
kav1/266.jpg
kav1/267.jpg
kav1/268.jpg
kav1/269.jpg
kav1/270.jpg
kav1/271.jpg
kav1/272.jpg
kav1/273.jpg
kav1/34.jpg
kav1/275.jpg
kav1/276.jpg
kav1/277.jpg
kav1/278.jpg
kav1/279.jpg
kav1/280.jpg
kav1/281.jpg
kav1/282.jpg
kav1/283.jpg
kav1/284.jpg
kav1/285.jpg
kav1/286.jpg
kav1/287.jpg
kav1/288.jpg
kav1/289.jpg
kav1/290.jpg
kav1/291.jpg
kav1/292.jpg
kav1/293.jpg
kav1/294.jpg
kav1/295.jpg
kav1/296.jpg
kav1/57.jpg
kav1/298.jpg
kav1/299.jpg
kav1/300.jpg
kav1/301.jpg
kav1/302.jpg
kav1/303.jpg
kav1/304.jpg
kav1/305.jpg
kav1/306.jpg
kav1/307.jpg
kav1/308.jpg
kav1/309.jpg
kav1/7310.jpg
kav1/311.jpg
kav1/312.jpg
kav1/313.jpg
kav1/314.jpg
kav1/315.jpg
kav1/316.jpg
kav1/317.jpg
kav1/318.jpg
kav1/319.jpg
kav1/320.jpg
kav1/321.jpg
kav1/322.jpg
kav1/323.jpg
kav1/324.jpg
kav1/325.jpg
kav1/326.jpg
kav1/327.jpg
kav1/328.jpg
kav1/329.jpg
kav1/330.jpg
kav1/331.jpg
kav1/332.jpg
kav1/333.jpg
kav1/334.jpg
kav1/335.jpg
kav1/336.jpg
kav1/337.jpg
kav1/98.jpg
kav1/339.jpg
kav1/340.jpg
kav1/341.jpg
kav1/342.jpg
kav1/343.jpg
kav1/344.jpg
kav1/345.jpg
kav1/346.jpg
kav1/347.jpg
kav1/348.jpg
kav1/349.jpg
kav1/350.jpg
kav1/351.jpg
kav1/352.jpg
kav1/353.jpg
kav1/354.jpg
kav1/355.jpg
kav1/356.jpg
kav1/357.jpg
kav1/358.jpg
kav1/359.jpg
kav1/360.jpg
kav1/361.jpg
kav1/362.jpg
kav1/363.jpg
kav1/364.jpg
kav1/365.jpg
kav1/366.jpg
kav1/367.jpg
kav1/368.jpg
kav1/369.jpg
kav1/370.jpg
kav1/371.jpg
kav1/372.jpg
kav1/373.jpg
kav1/374.jpg
kav1/375.jpg
kav1/376.jpg
kav1/377.jpg
kav1/378.jpg
kav1/379.jpg
kav1/380.jpg
kav1/381.jpg
kav1/382.jpg
kav1/383.jpg
kav1/384.jpg
kav1/385.jpg
kav1/386.jpg
kav1/387.jpg
kav1/388.jpg
kav1/389.jpg
kav1/390.jpg
kav1/391.jpg
kav1/392.jpg
kav1/393.jpg
kav1/394.jpg
kav1/395.jpg
kav1/396.jpg
kav1/397.jpg
kav1/398.jpg
kav1/399.jpg
kav1/400.jpg
kav1/401.jpg
kav1/402.jpg
kav1/403.jpg
kav1/404.jpg
kav1/405.jpg
kav1/406.jpg
kav1/407.jpg
kav1/408.jpg
kav1/409.jpg
kav1/410.jpg
kav1/411.jpg
kav1/412.jpg
kav1/413.jpg
kav1/414.jpg
kav1/415.jpg
kav1/416.jpg
kav1/417.jpg
kav1/418.jpg
kav1/419.jpg
kav1/420.jpg
kav1/421.jpg
kav1/422.jpg
kav1/423.jpg
kav1/424.jpg
kav1/425.jpg
kav1/426.jpg
kav1/427.jpg
kav1/428.jpg
kav1/429.jpg
kav1/430.jpg
kav1/431.jpg
kav1/432.jpg
kav1/433.jpg
kav1/434.jpg
kav1/435.jpg
kav1/436.jpg
kav1/437.jpg
kav1/438.jpg
kav1/439.jpg
kav1/440.jpg
kav1/441.jpg
kav1/442.jpg
kav1/443.jpg
kav1/444.jpg
kav1/445.jpg
kav1/446.jpg
kav1/447.jpg
kav1/448.jpg
kav1/449.jpg
kav1/450.jpg
kav1/451.jpg
kav1/452.jpg
kav1/453.jpg
kav1/454.jpg
kav1/455.jpg
kav1/456.jpg
kav1/457.jpg
kav1/458.jpg
kav1/459.jpg
kav1/460.jpg
kav1/461.jpg
kav1/462.jpg
kav1/463.jpg
kav1/464.jpg
kav1/465.jpg
kav1/466.jpg
kav1/467.jpg
kav1/468.jpg
kav1/469.jpg
kav1/470.jpg
kav1/471.jpg
kav1/472.jpg
kav1/473.jpg
kav1/474.jpg
kav1/475.jpg
kav1/476.jpg
kav1/477.jpg
kav1/478.jpg
kav1/479.jpg
kav1/480.jpg
kav1/481.jpg
kav1/482.jpg
kav1/483.jpg
kav1/484.jpg
kav1/485.jpg
kav1/486.jpg
kav1/487.jpg
kav1/488.jpg
kav1/489.jpg
kav1/490.jpg


This Website and all documents herin are Copyright © 2012 www.scalerocketry.com - All rights reserved.