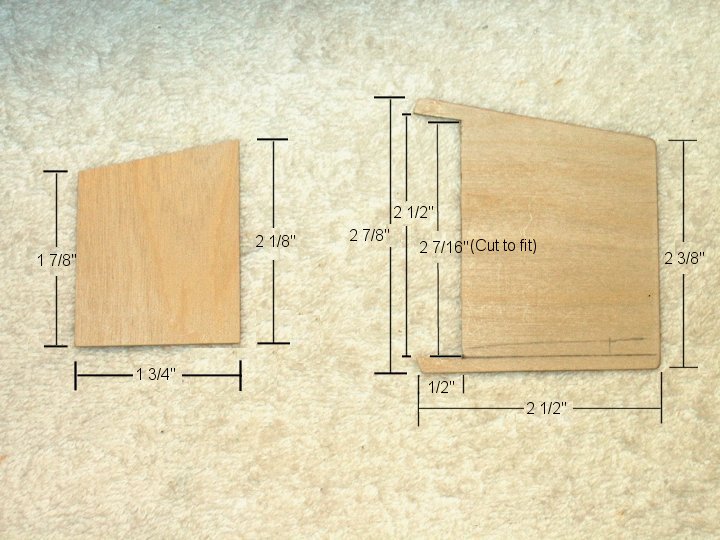
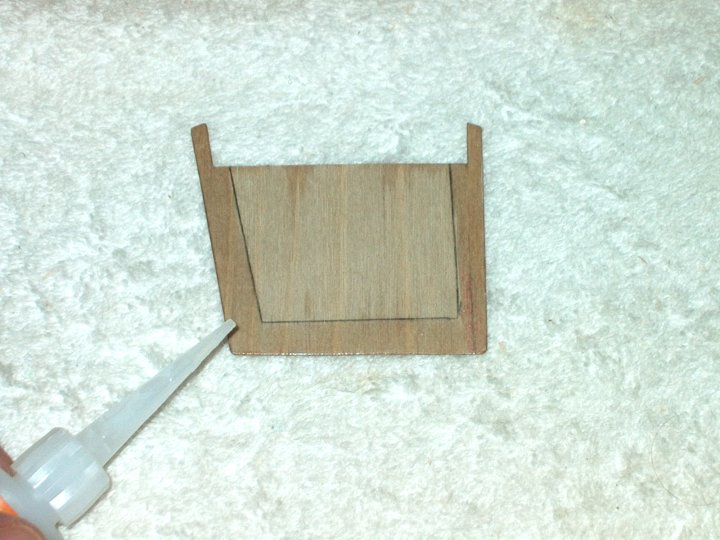
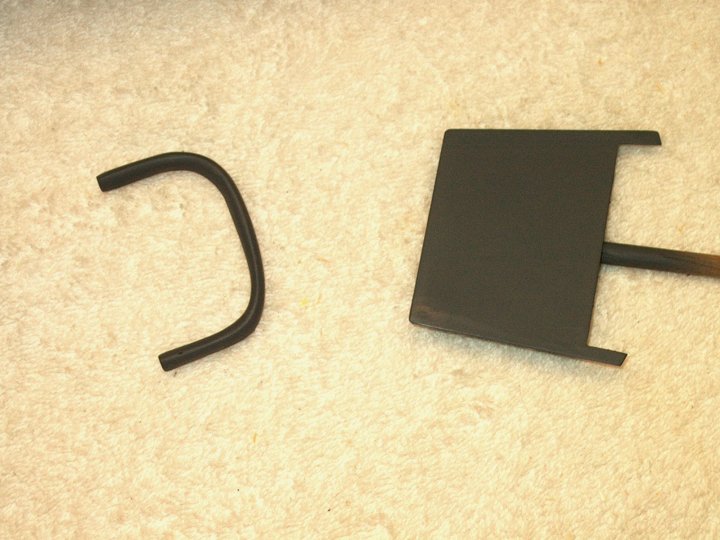
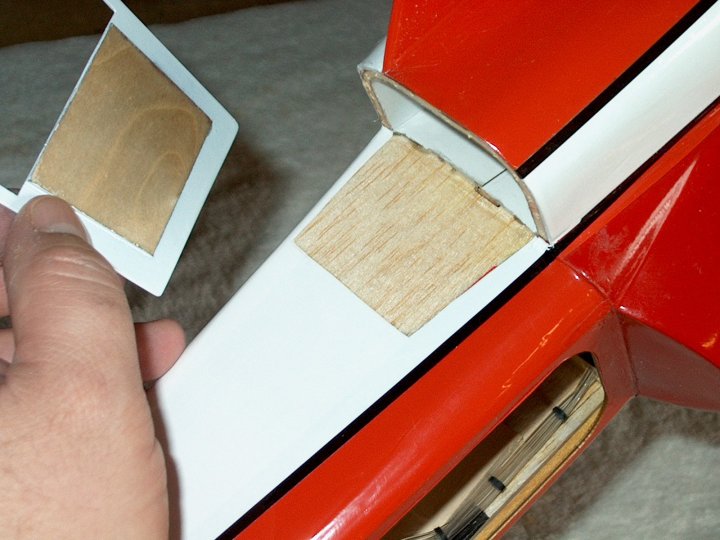
1 - Splitter plates are made from
1/32" aircraft plywood. Use the dimensions shown to cut two
plates and spacers
|
|
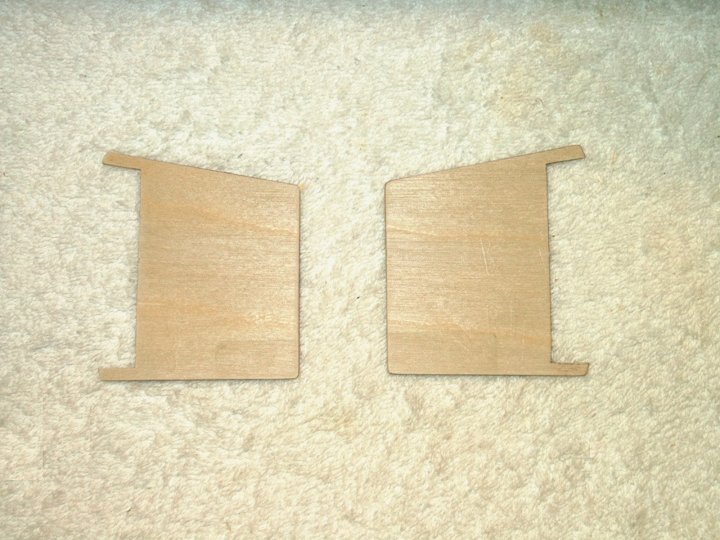
2 - The plates and spacers will be mirrors
of eachother, so be sure to finish the correct sides
| |
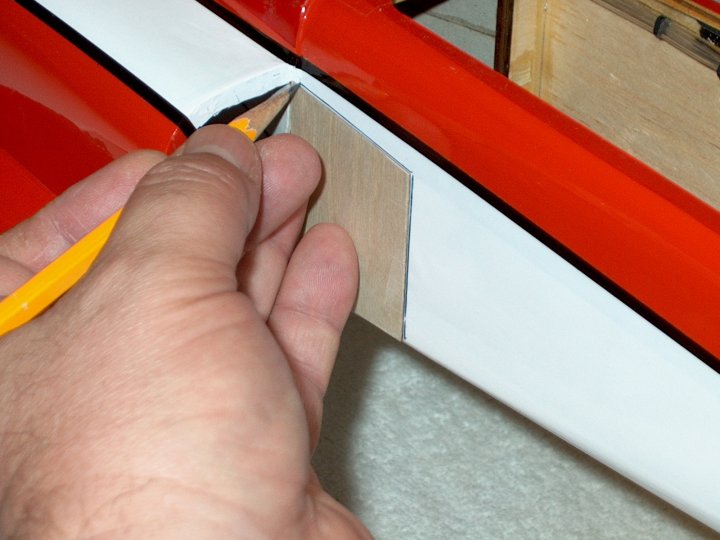
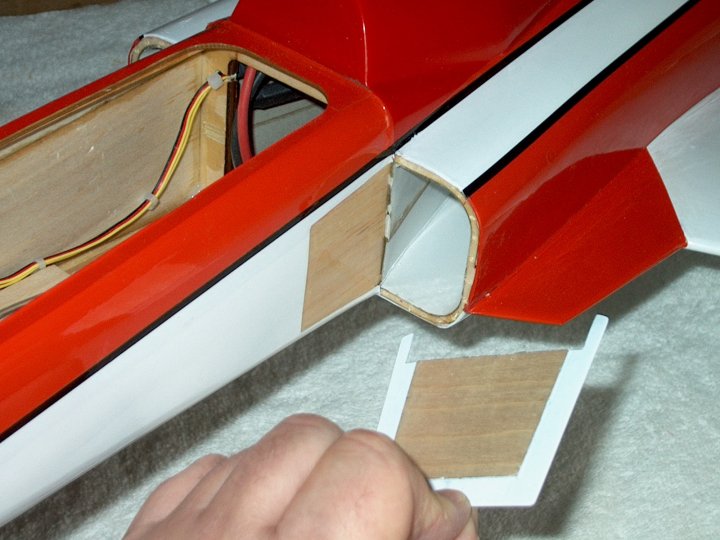
3 - Use the spacer plate centered as shown
to mark witha thin line marker their location on each side of
the fuselage. Be sure to position the spacer with the angled
part at the top
| |
4 - Apply CA to the outer surface of each
plate and be sure to make them mirrors of eachother. The CA
will soak into the wood and you may have to add an additional
coat
| |
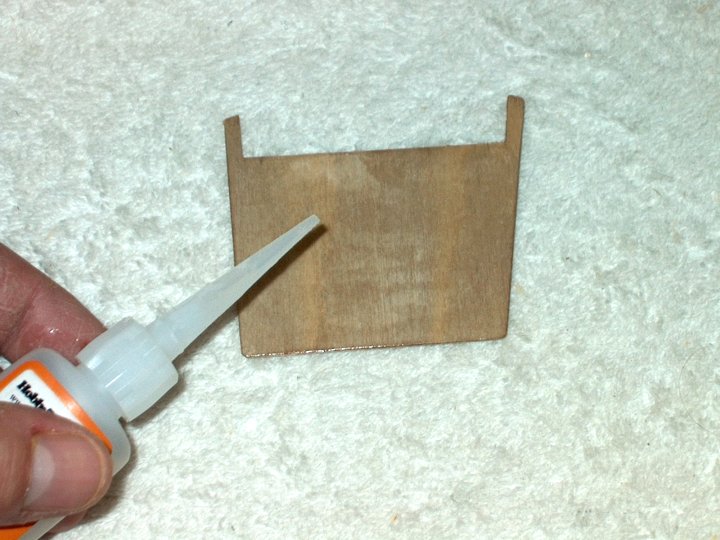
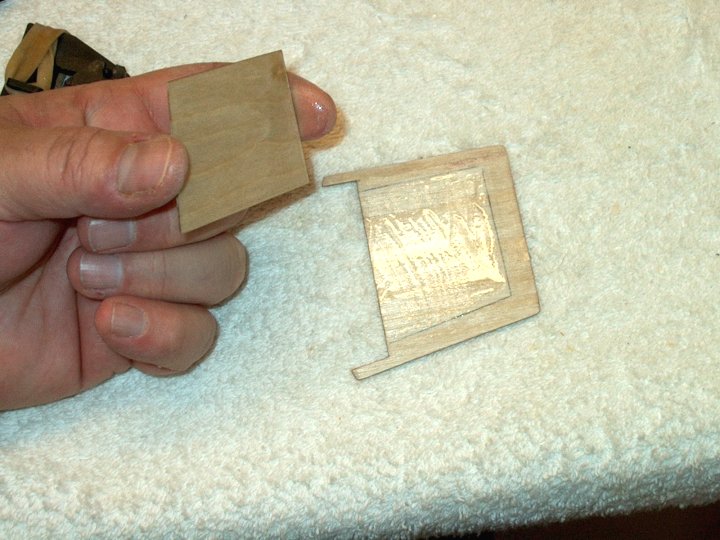
5 - Mark the inside of each plate using the
spacer, centered and flush to the rear as shown. Apply CA on
the inside outer edge of each plate and inside surface up to
the line. Leave the center inside the lines as raw wood
| |
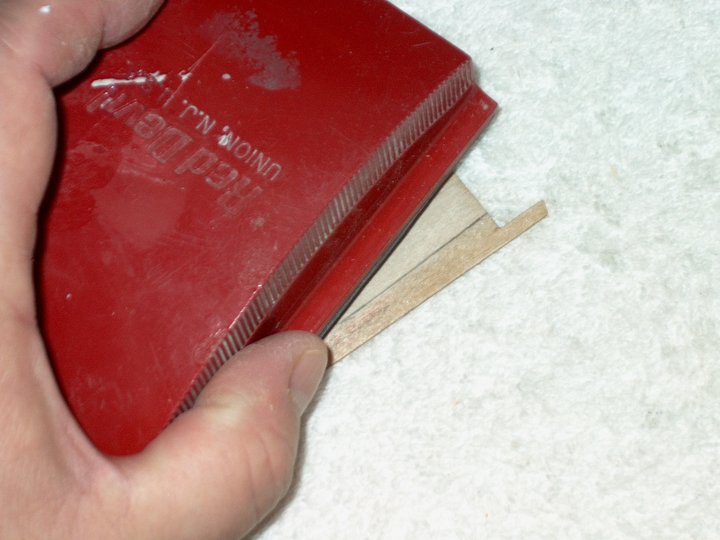
6 - Sand the outer surface on each side of
the plates to a plastic finish. CA works great for small parts
like this and creates a nice, hard, plastic like surface when
fine sanded
| |
7 - Apply a thin coat of 5 minute epoxy to
the plates and spacers. Be sure to apply epoxy to the correct
side of each piece
| |
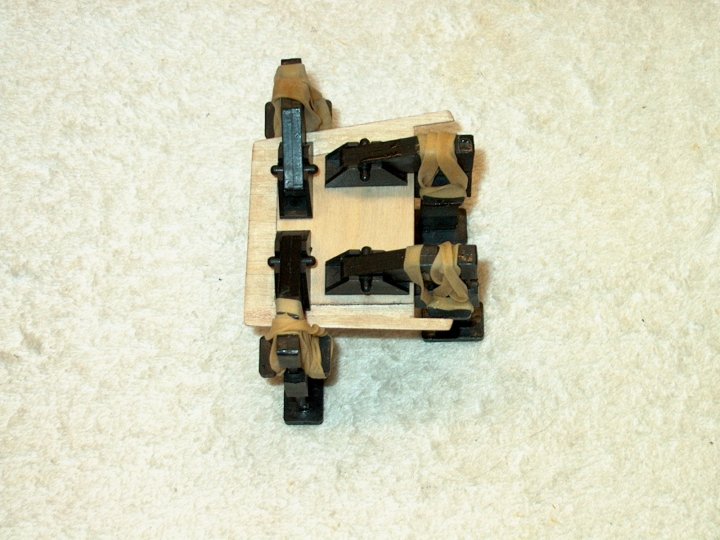
8 - Clamp the pieces together to keep them
aligned until the epoxy sets. Remove any excess epoxy from the
inside edges before it sets
| |
9 - The plates are primed and dry sanded.
A stick taped to the inside allows you to prime the pieces
| |

10 - Cut the Monokote about 1/16" inside
the line and remove it
| |
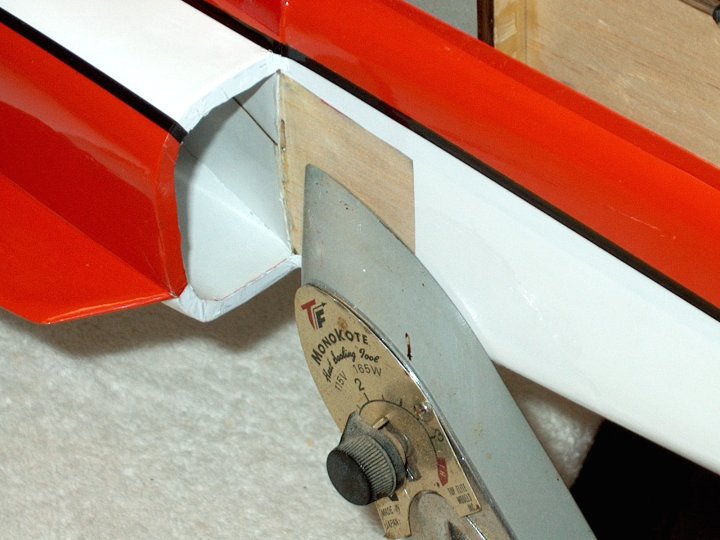
11 - The thin line marker can be removed
with alcohol and the edges should be sealed with an iron
| |
12 - Apply a thin coat of epoxy to the
inside raw wood surface of the spacer to prepare for mounting
| |
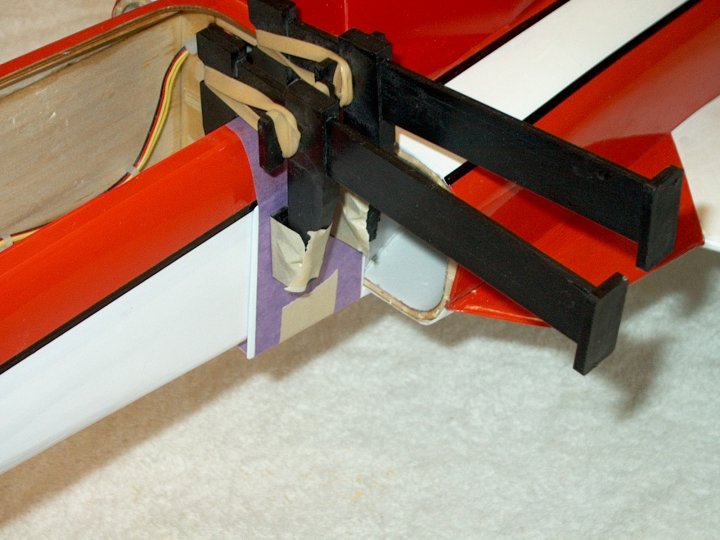
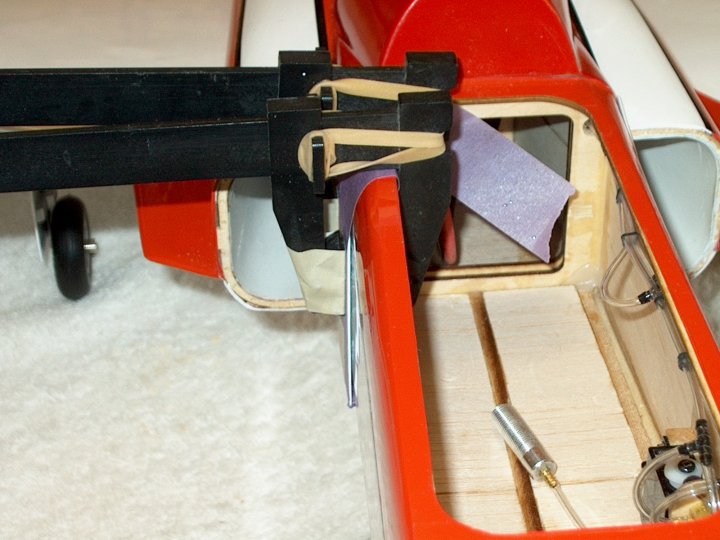
13 - Mount and clamp the Splitter Plate
until the epoxy sets. Low tack tape is shown being used to
protect the finished surface of the plate and hold it in place
| |

14 - The tape and clamps are removed to
reveal a completed plate
| |
15 - Apply a thin coat of epoxy to the
inside raw wood surface of the spacer to prepare for mounting
| |
16 - Mount and clamp the Splitter Plate
until the epoxy sets
| |
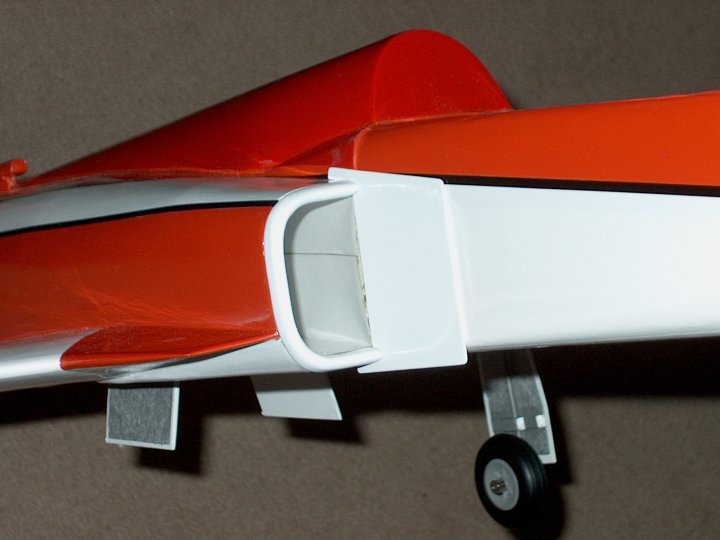
17 - The right side plate is shown finished
| |
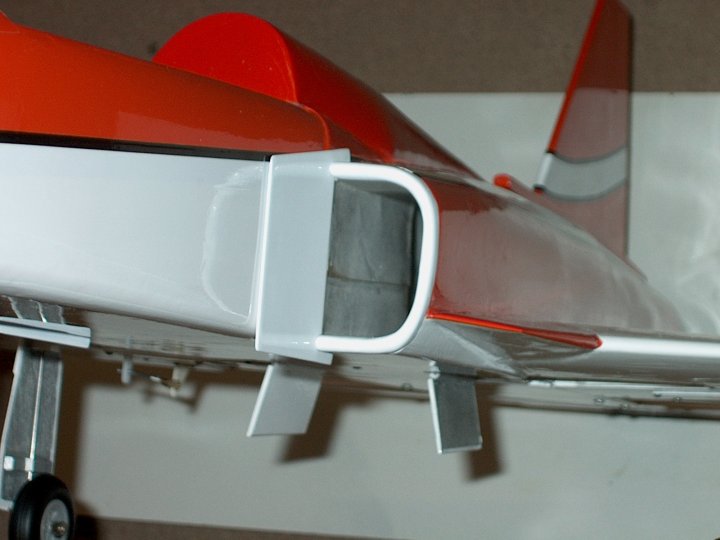
18 - The left side plate is shown finished.
This completes the installation of Splitter Plates on the HET-RC
F-20 Tigershark
| |