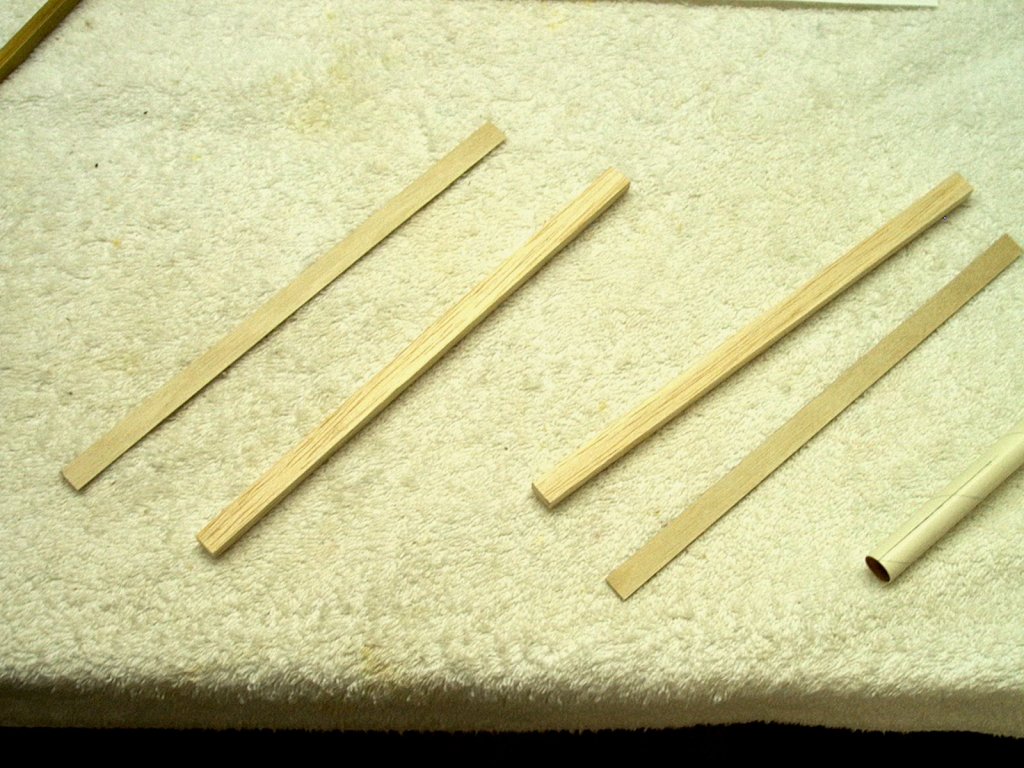
1 - Cut two pieces of 1/4" x 3/8"
balsa to 8" in length. Also cut two 1/32" x 3/8" strips of
aircraft plywood to 8" in length
|
|
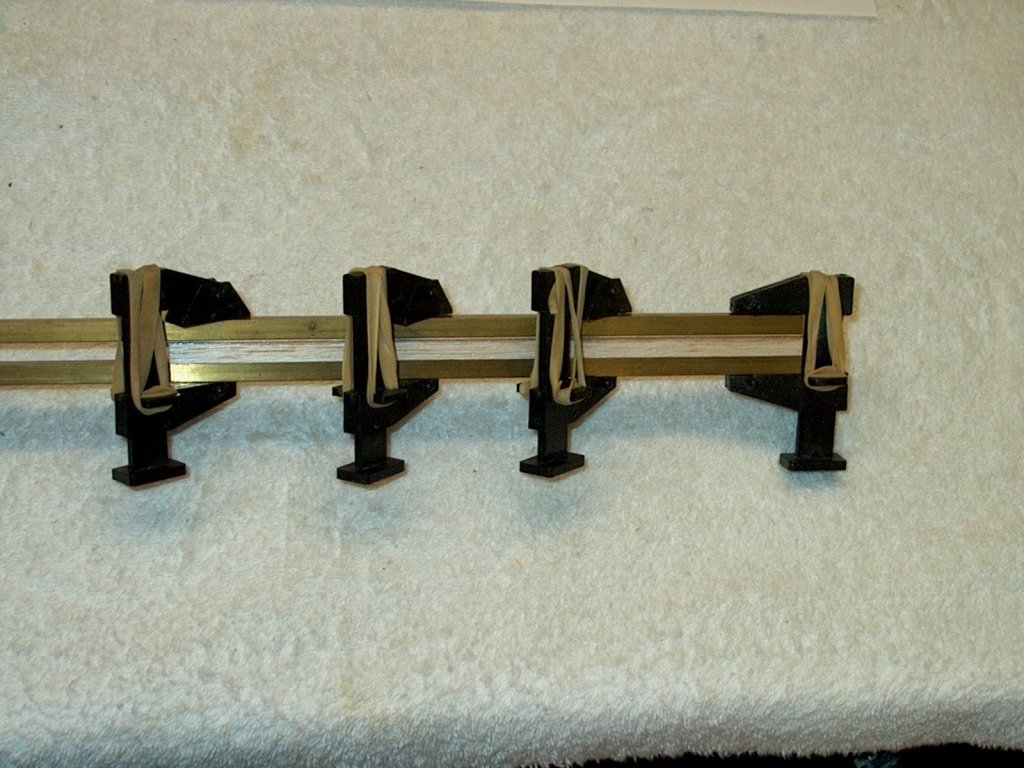
2 - Epoxy the plywood to the balsa and clamp
them together until the glue sets. Two pieces of 1/4" brass
square can be used to keep the pieces straight and prevent warping
| |
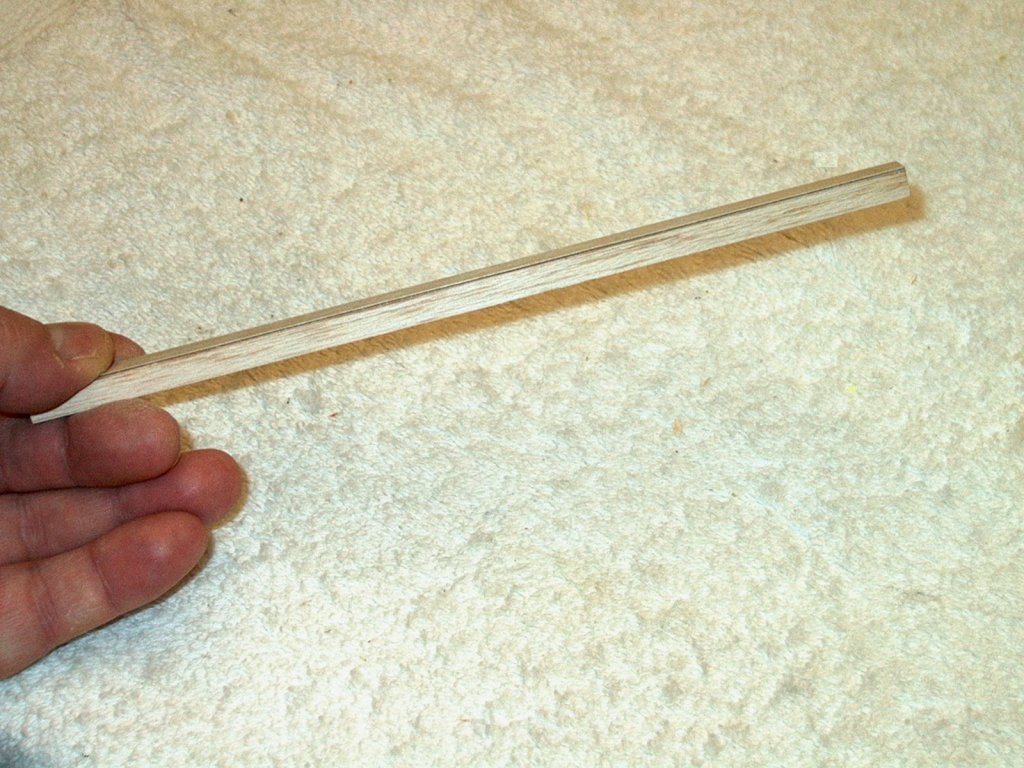
3 - The laminated rail is shown. The
plywood side should be on the outside of each rail, as it has been
designed to handle missiles for mounting
| |
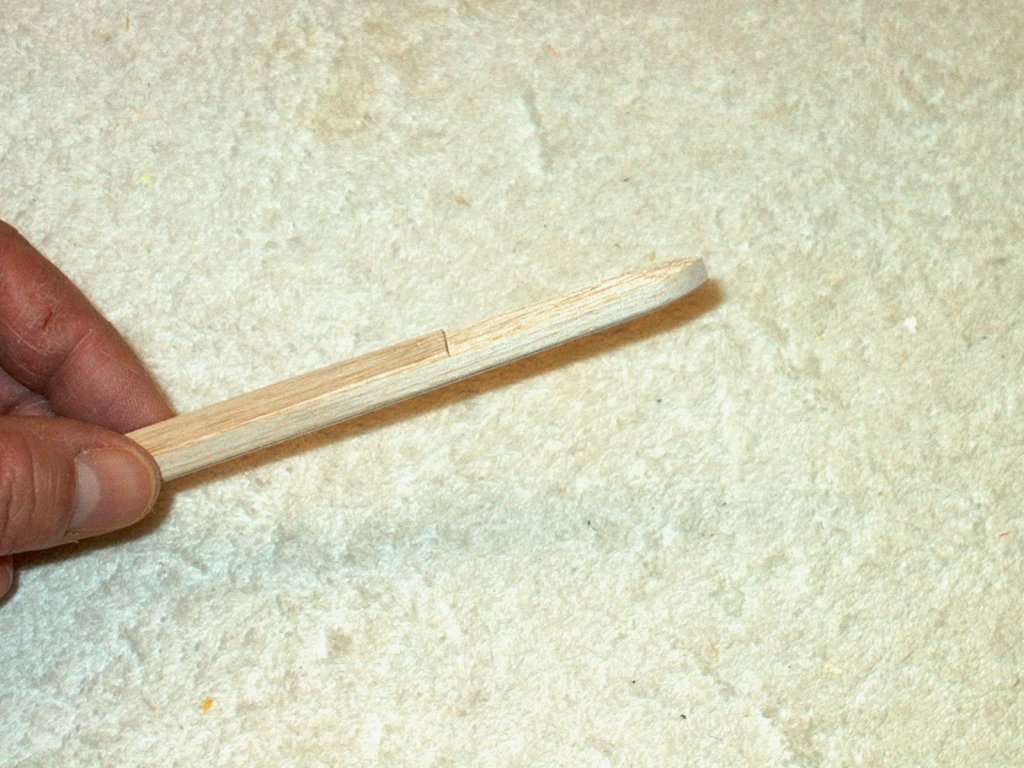
4 - Cut a 1/16" deep strip of balsa from
the inside surface of each rail at what will be the front tip.
The cut should be 2" in length from the tip rearward as shown
| |

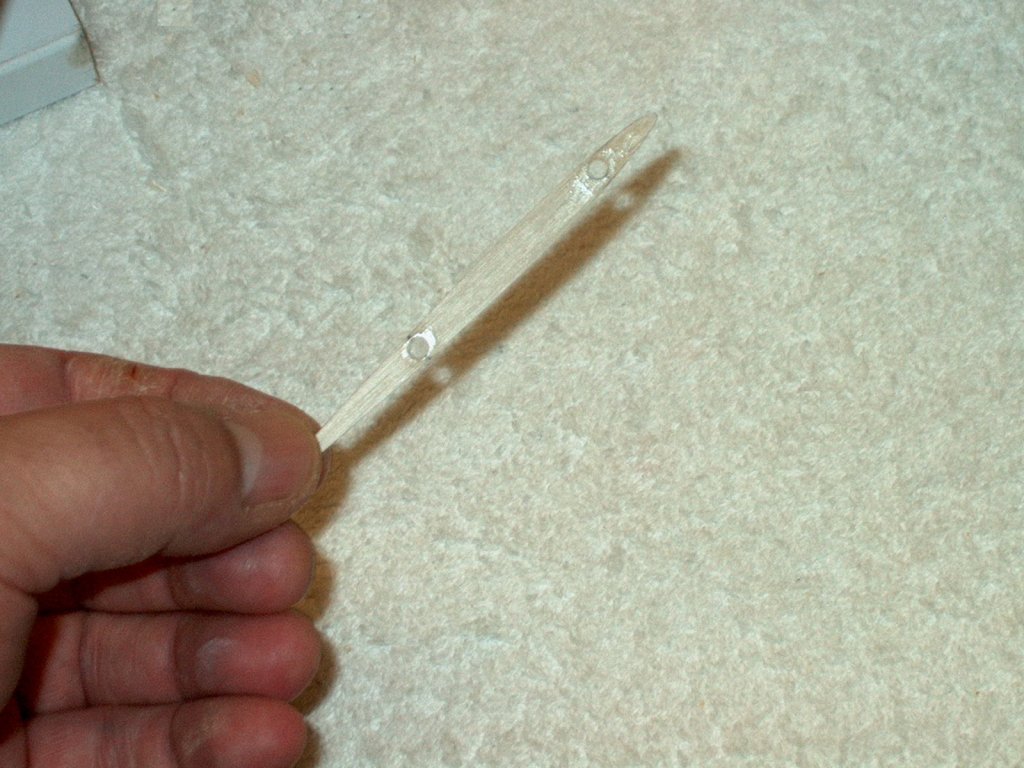
5 - Shape the inside of the rail front tip
as shown, as well at taper the tips and slightly round the edges
| |
6 - Coat the entire rail with thin CA, using
using your finger as a paint brush to evenly disperse the glue.
Sand the spar to a smooth, plastic like finish
| |
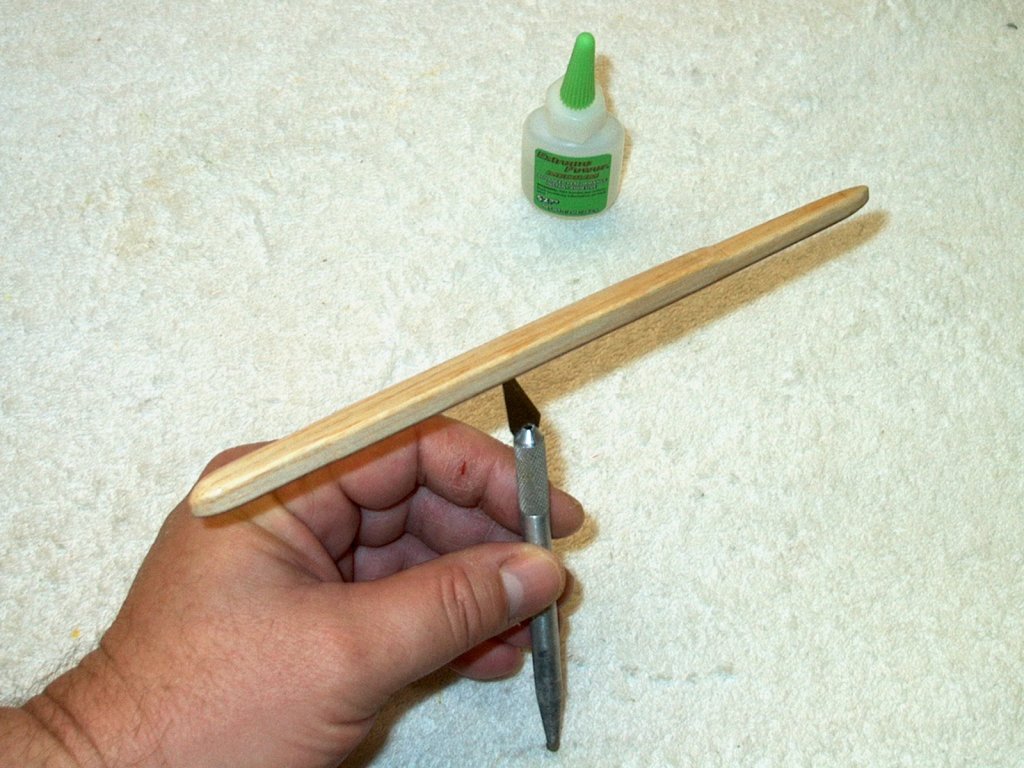
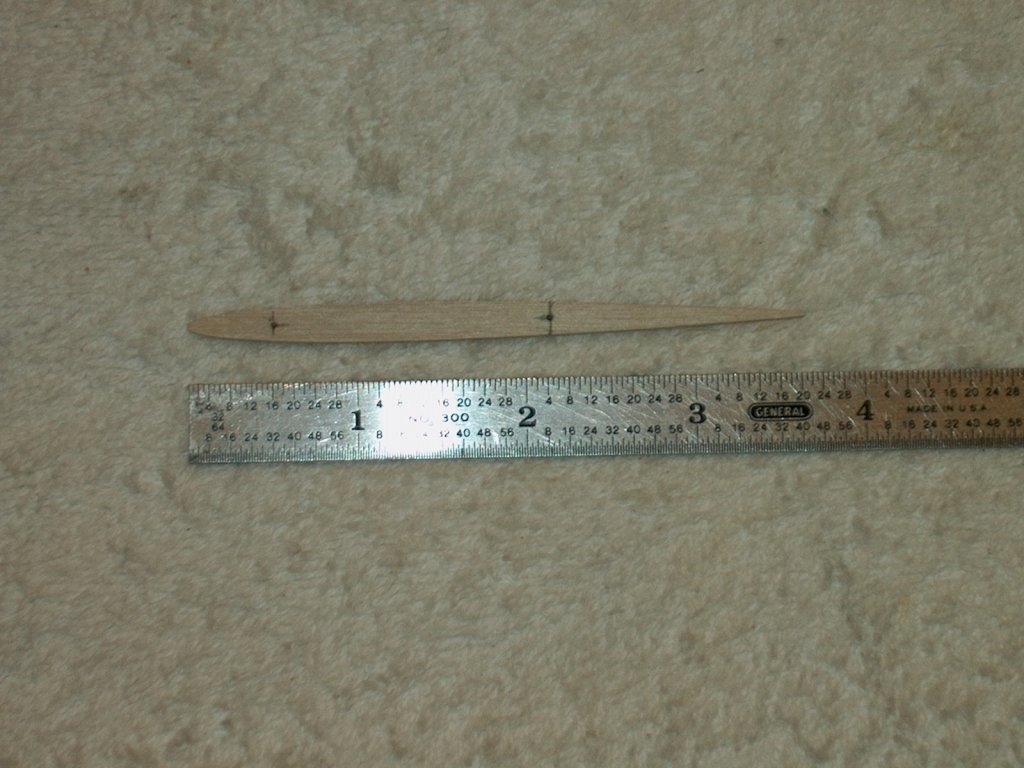
7 - Make a wing tip spar from 1/32" plywood
and cut it slightly oversized for fitting
| |
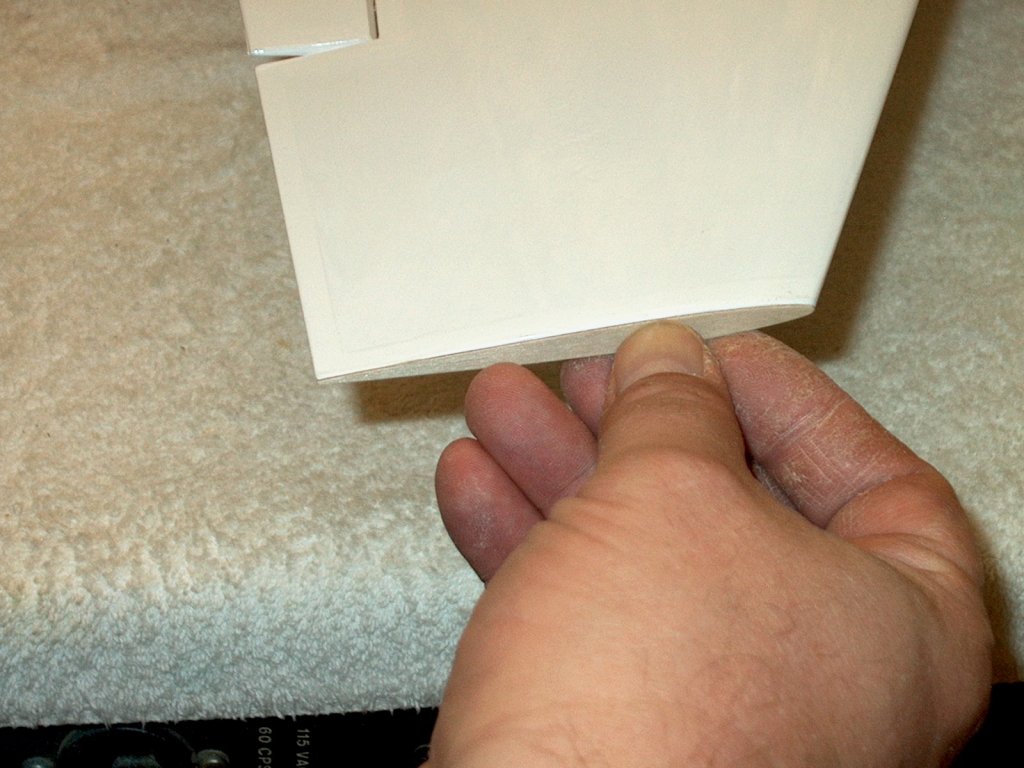
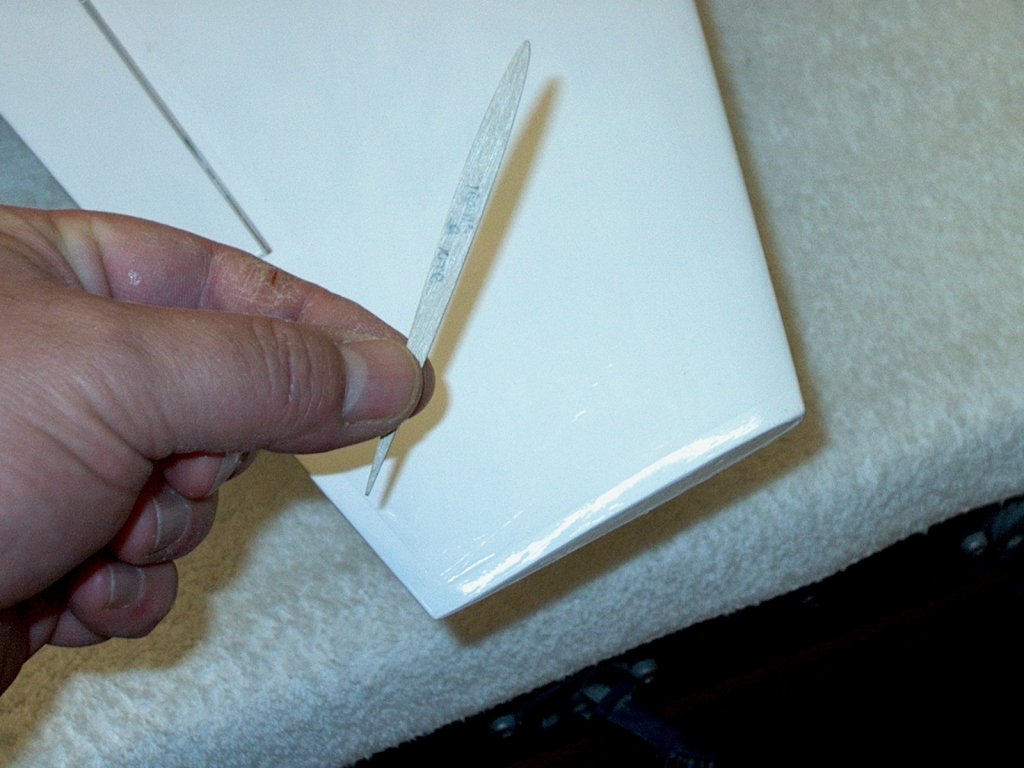
8 - Sand the spar to fit the wing tip
| |
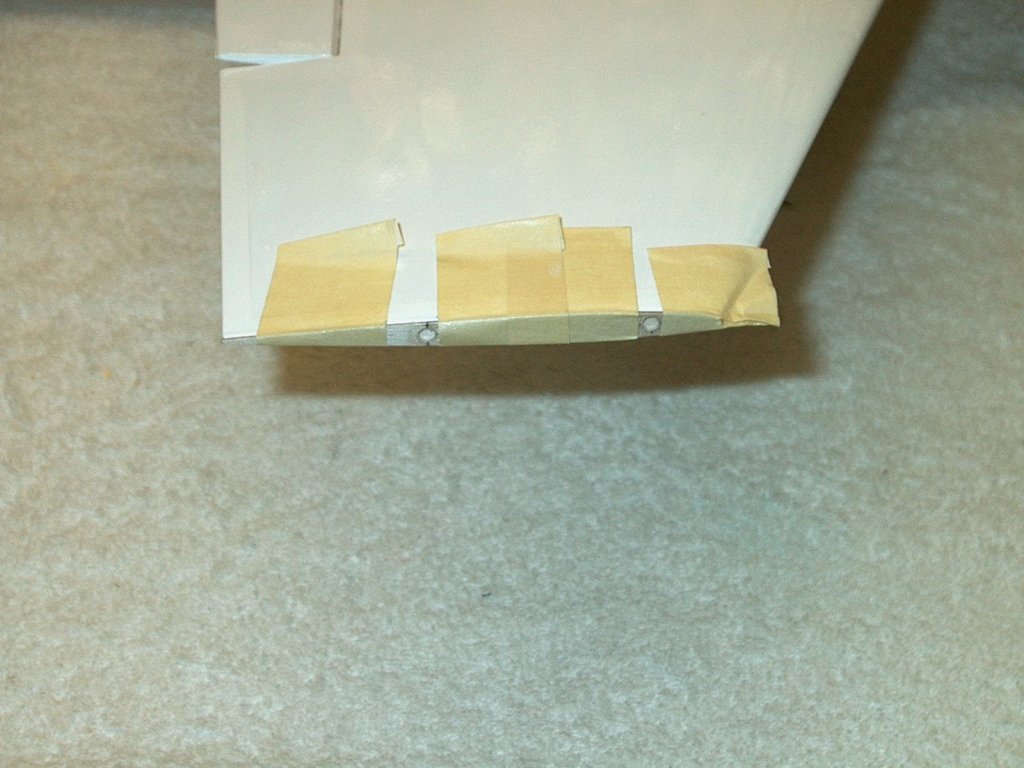
9 - Mark the spar mounting hole locations
using the measurements as shown
| |
10 - Treat the spar hole area with
thin CA to prevent splintering, then drill two 1/8" OD holes
into the spar at the marked locations
| |
11 - Tape the wing tip spar to the wing
| |
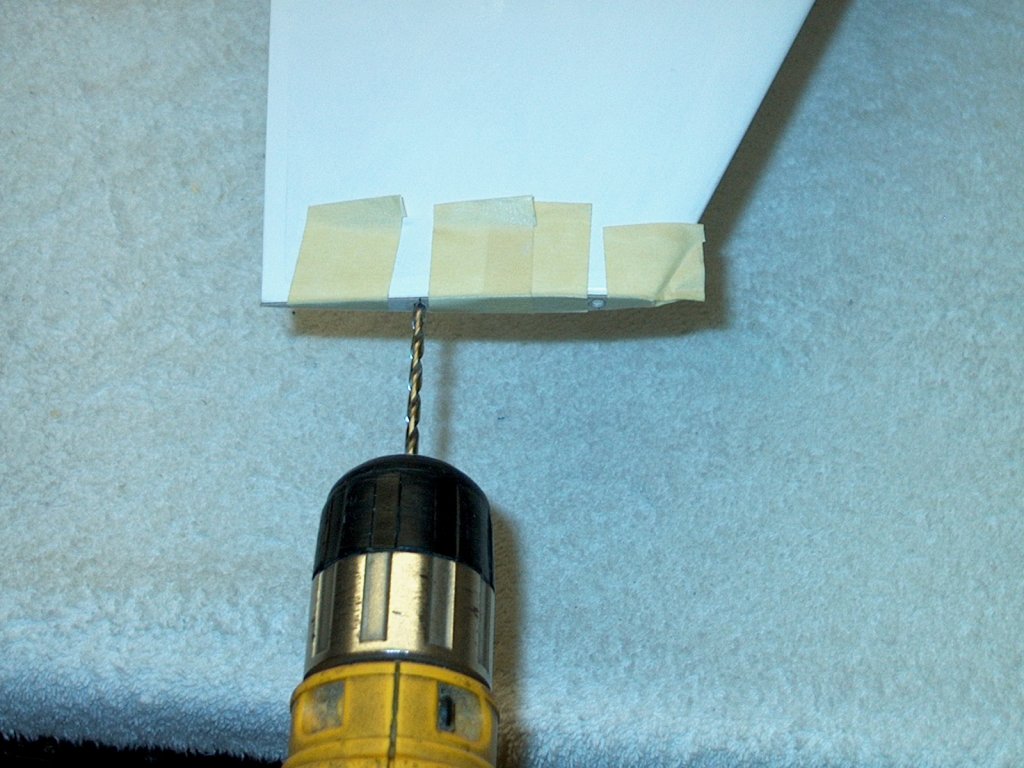
12 - Drill two holes into the wing using
the tip spar as a guide. Be sure to drill them straight and centered
| |
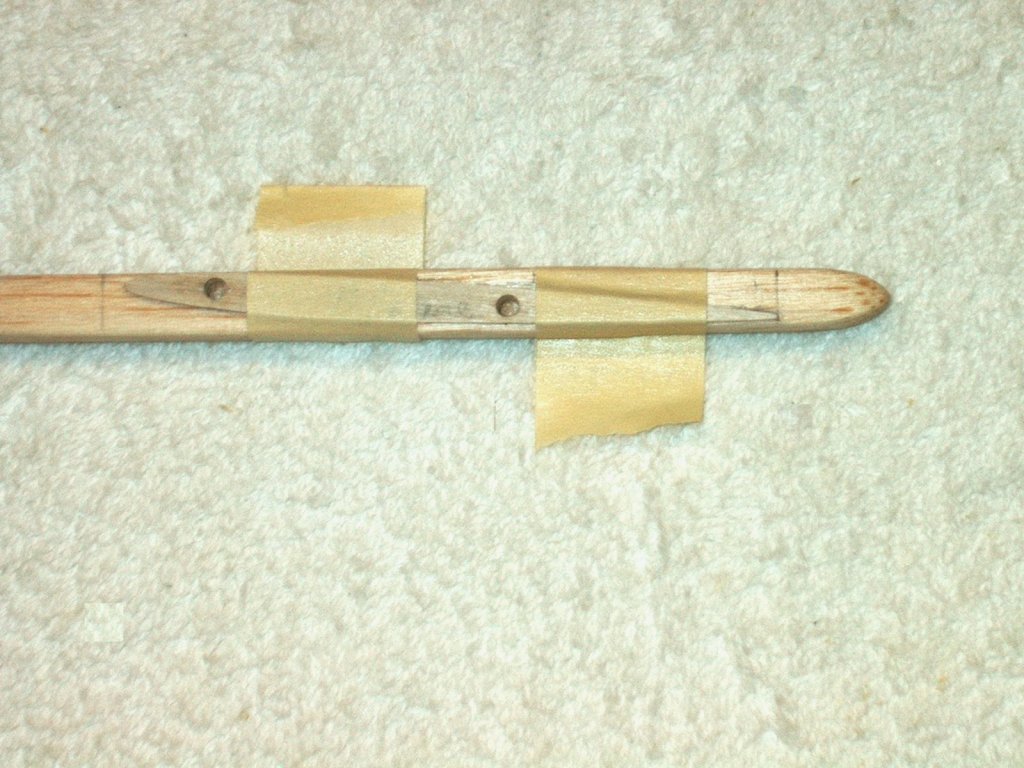
13 - Tape the wing tip root spar in
position as shown on the inside balsa of the rail. Note the
downward angle that the missile rail will have and be sure to
mirror the second rail so both of them are opposites of eachother.
Once taped in place, drill the two 1/8" holes into the balsa, but
do not go through the outside plywood strip
| |
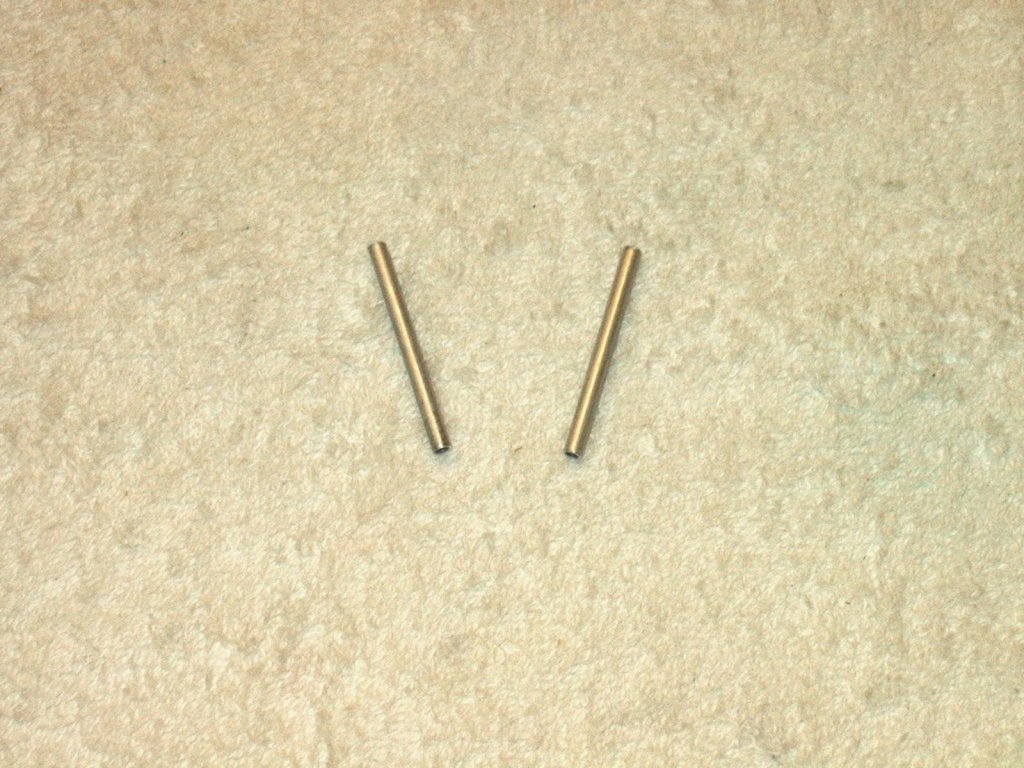
14 - Cut two pieces of 1/8" OD aluminum tube
to a length of 1 1/2" long, then de-burr the ends
| |
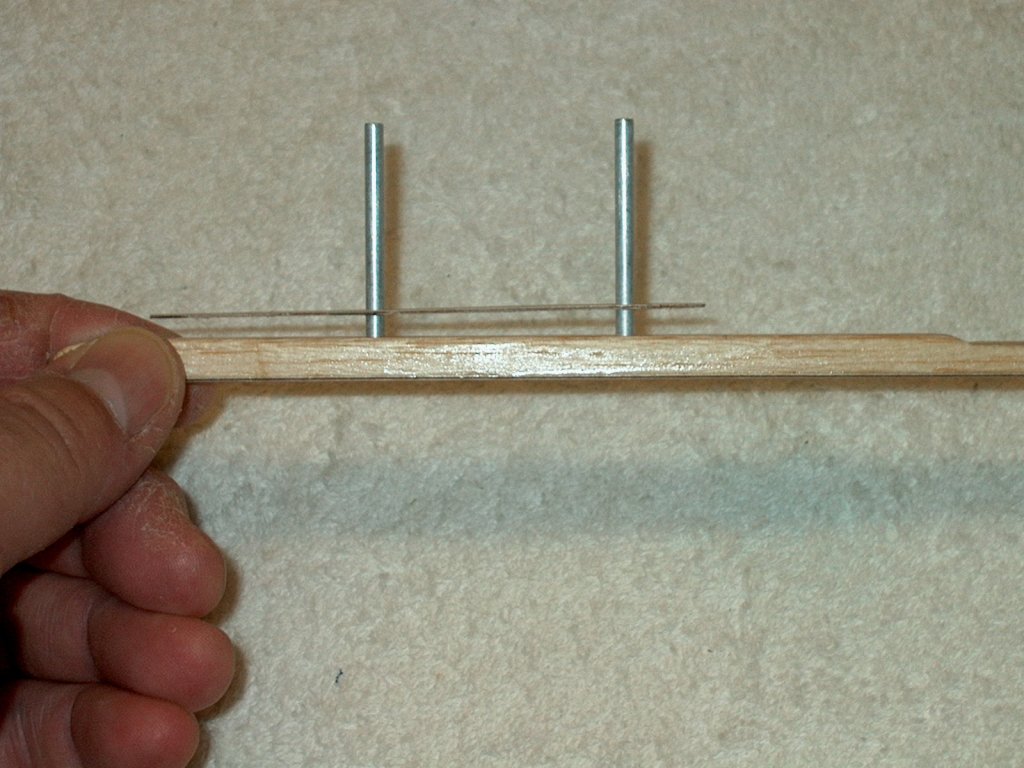
15 - Glue the aluminum tubes into the rails. You
can paint the rail before gluing with racing red paint to match
| |
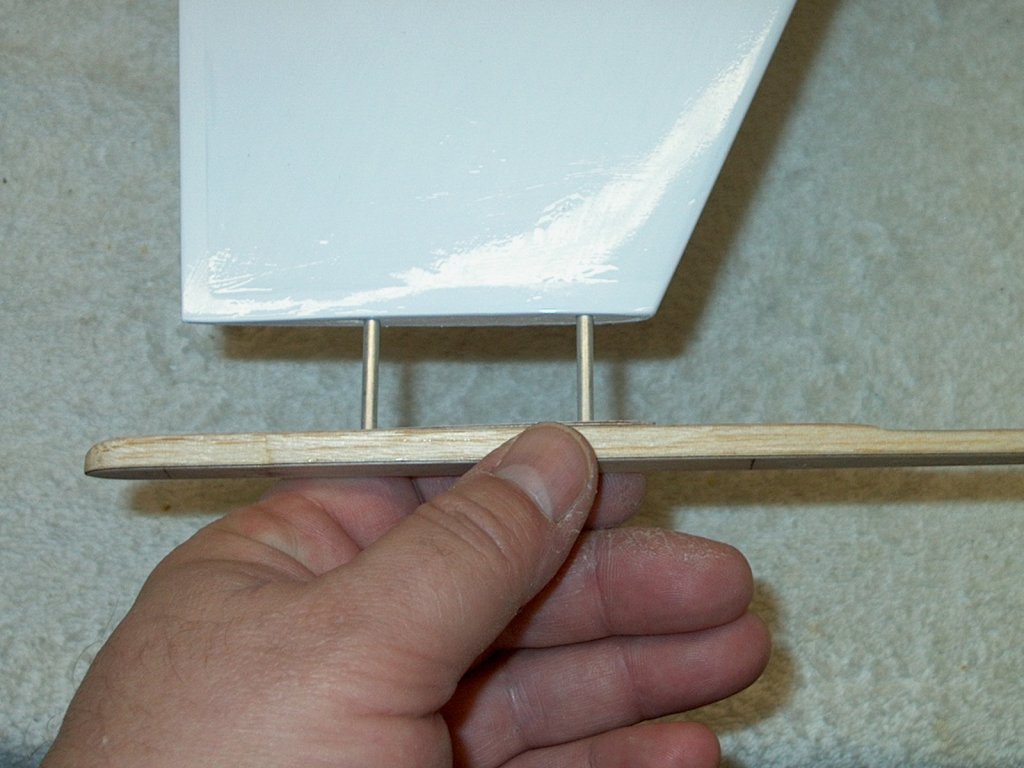
16 - Apply a thin coat of epoxy at the
wing tip root spar and plug the tubes are into the holes
| |
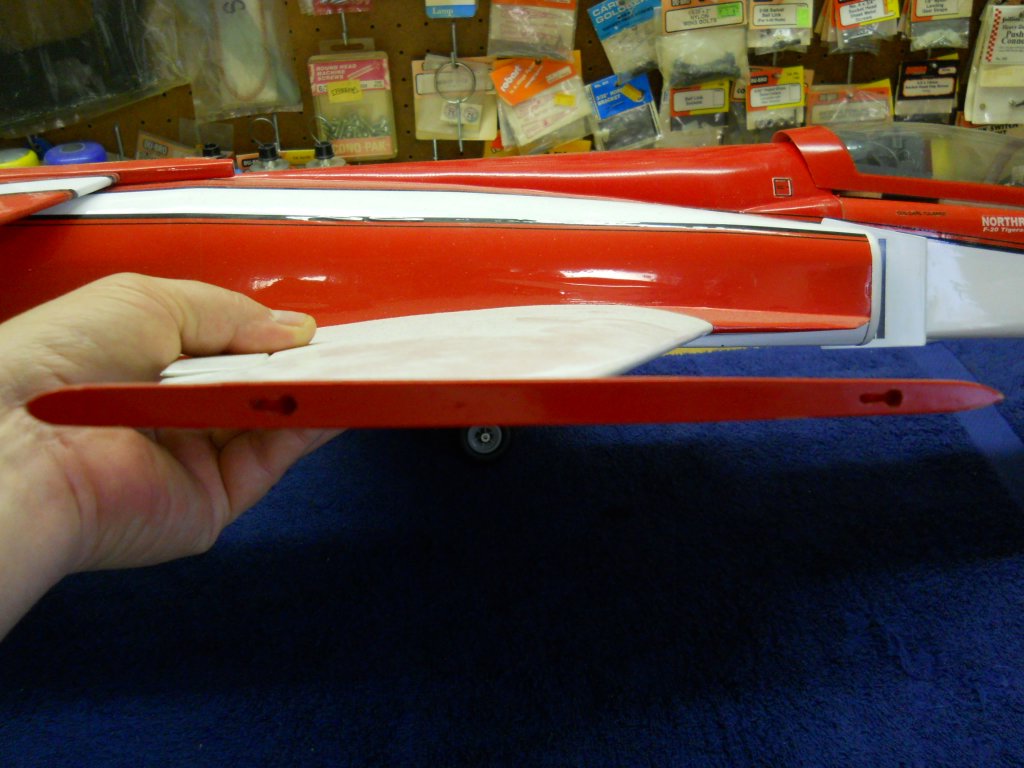
17 - Install the rail is in the wing tip root
Use masking tape to hold it in place until the glue sets
| |
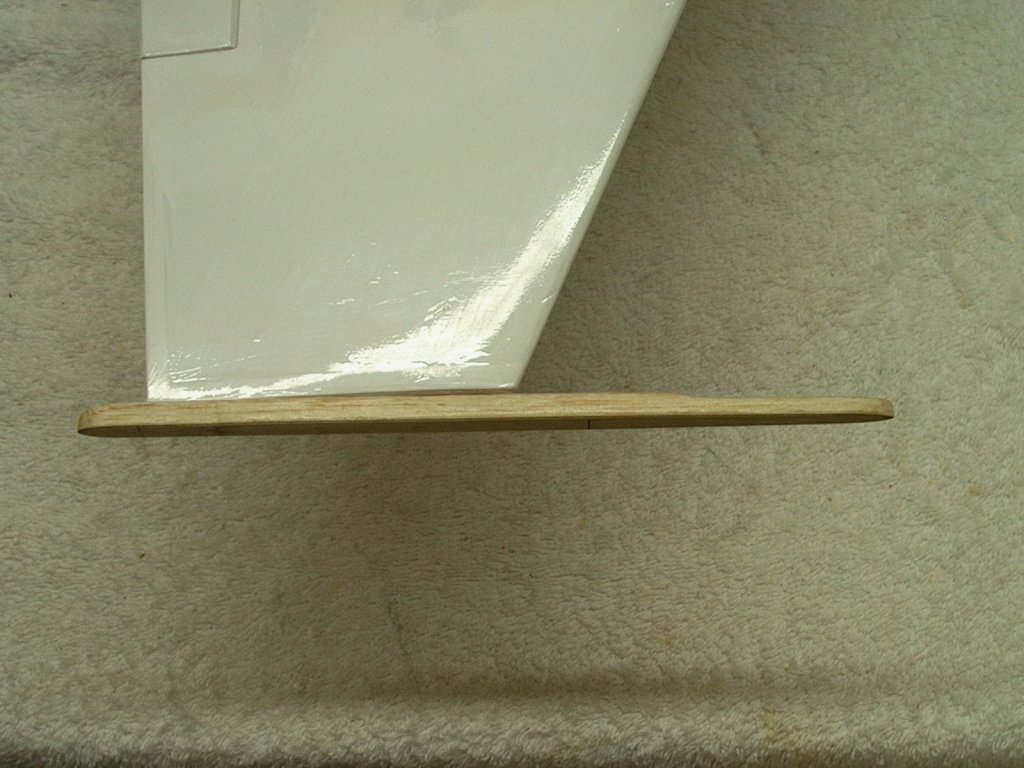
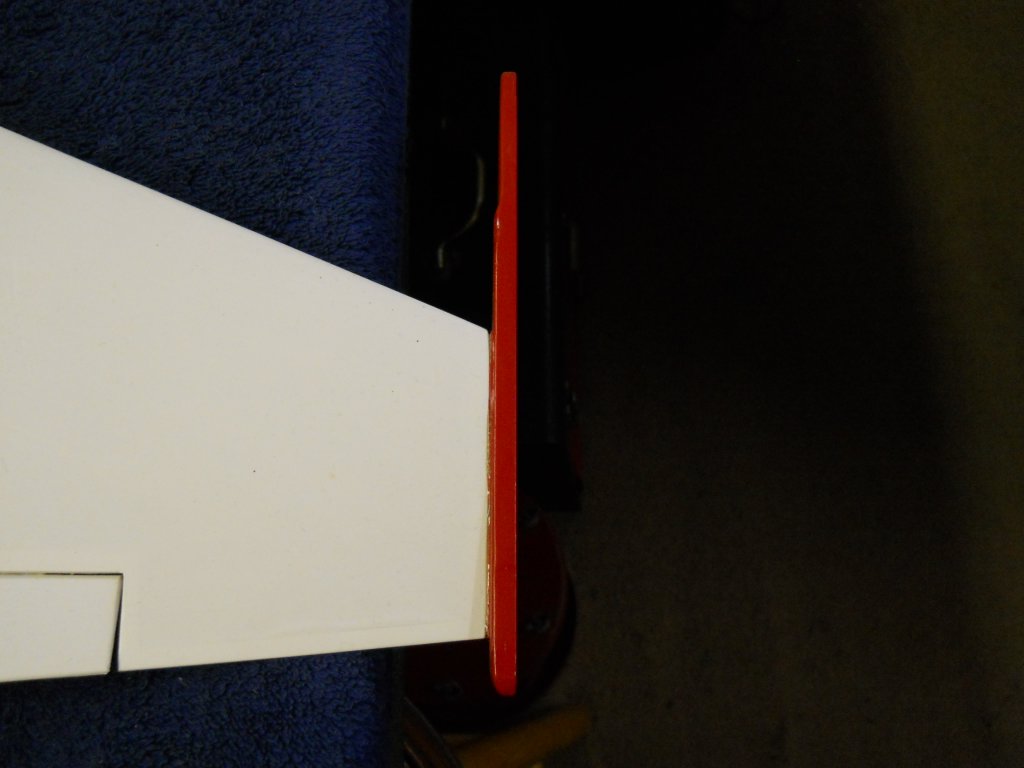
18 - Side view of the rail shows the side
shape. Note that slots were added to the rail for mounting missiles
| |
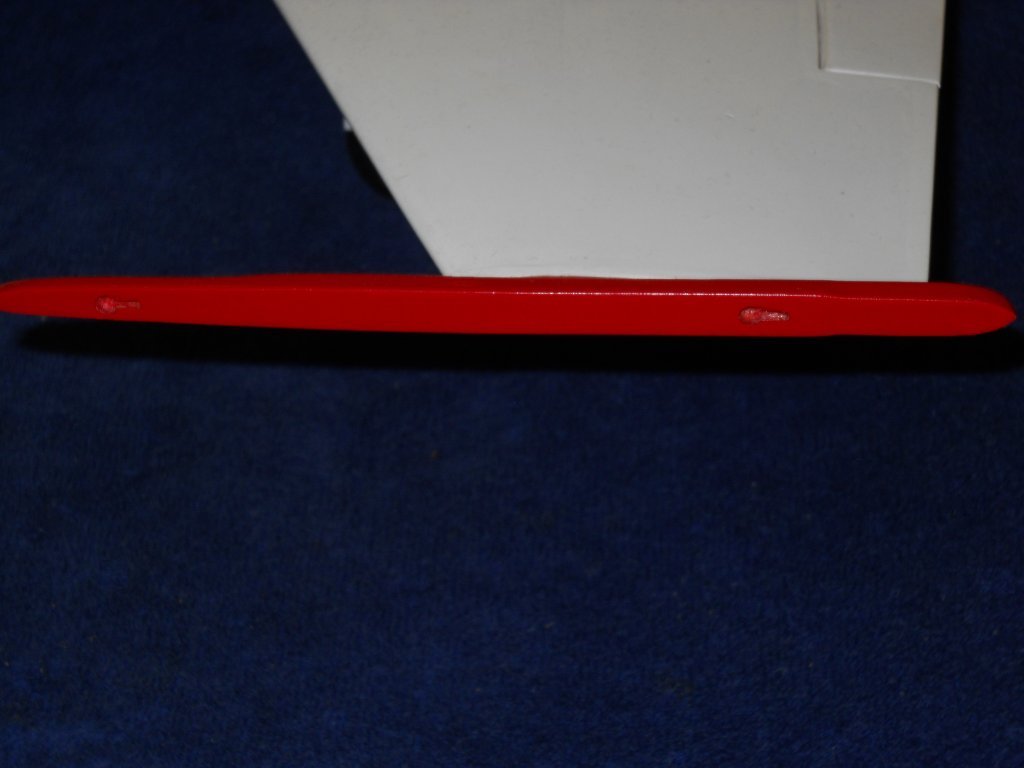
19 - Top view of the missile rail shows better
Where it was shaped and how much was removed
| |
20 - The Left Rail is shown with front and rear
tapering, as well as the missile mount slots
| |
21 - Missile Rails shown completed and have a
downward angle to them that is parallel to the bottom of the
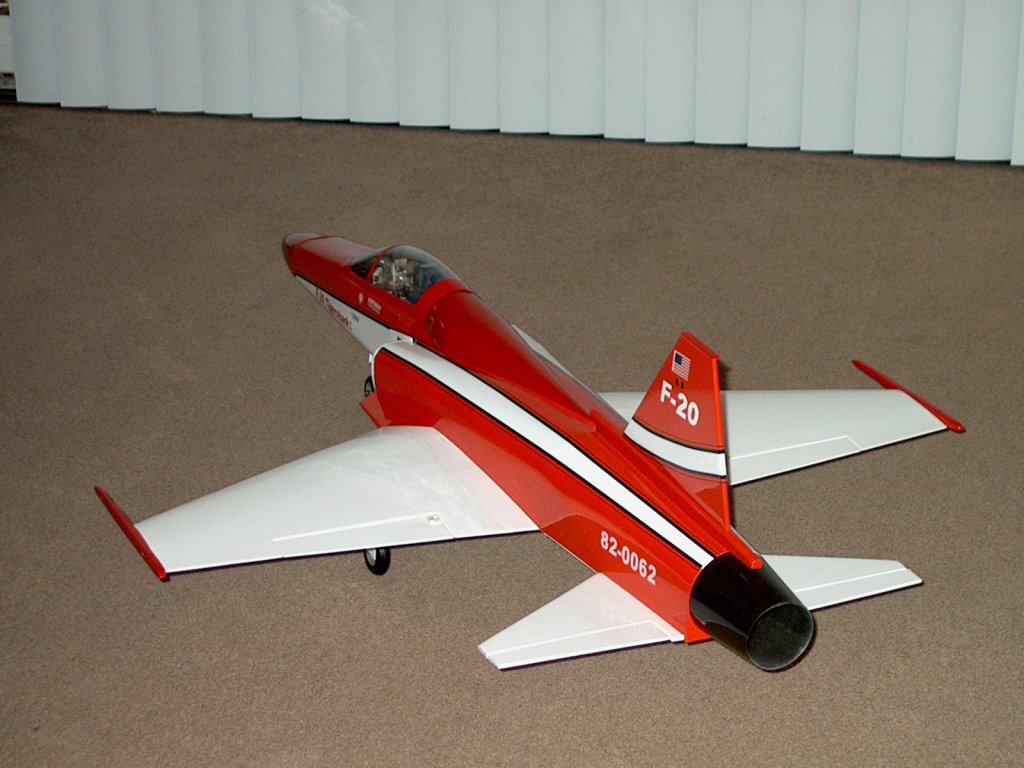
fuselage. This completes the HET-RC F-20 Tigershark
Missile Rails Construction
| |

This Website and all documents herin are Copyright © 2012 www.scalerocketry.com -
All rights reserved.
|