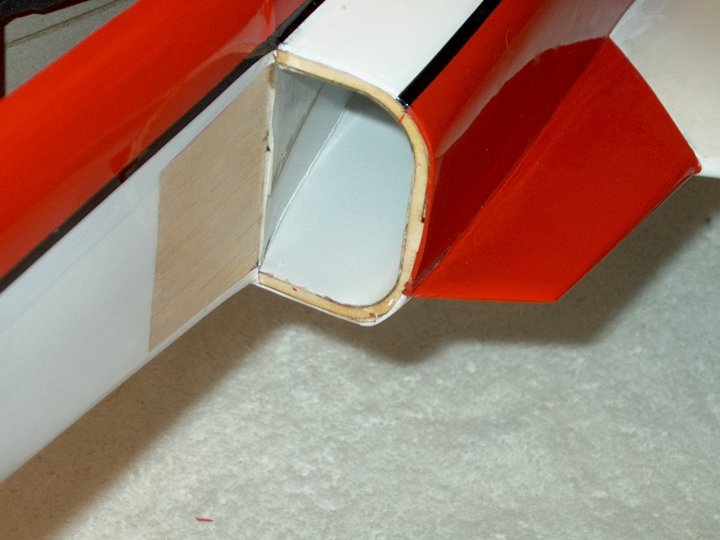
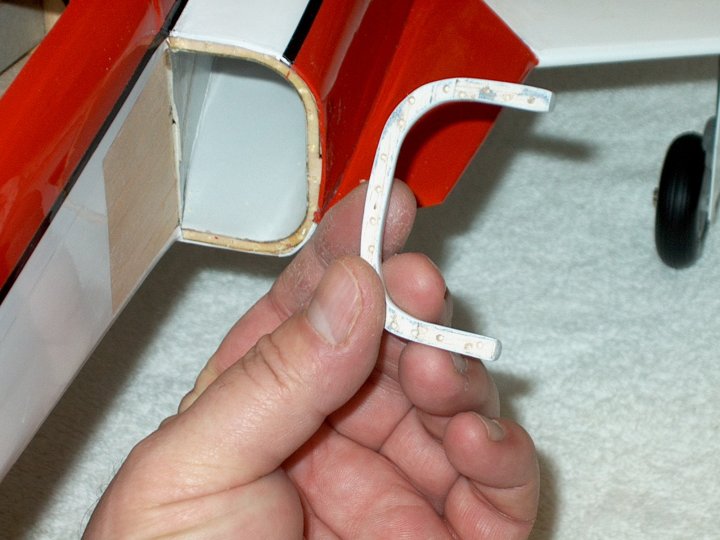
1 - Remove the Monokote from the front
flat surface of the intake Inlet. Leave 1/16" to overlap the
area as shown and use an iron to seal this inner edge
|
|
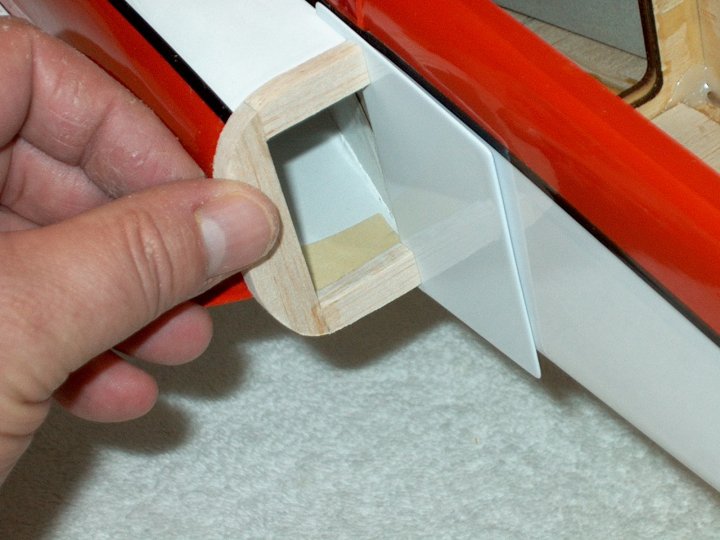
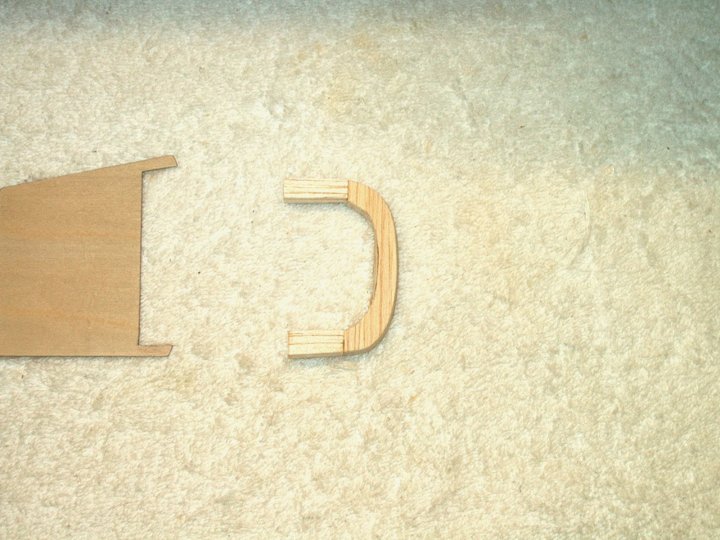
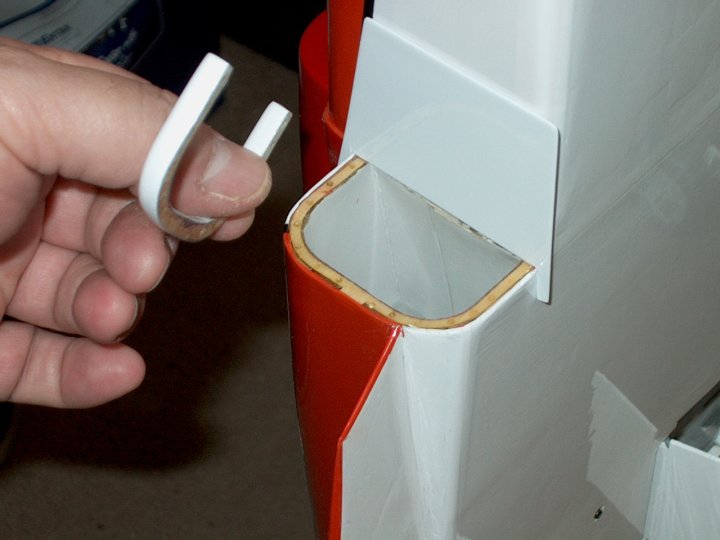
2 - Make a piece of 1/4" thick balsa as
seen in the photo, allowing for both inner and outer overlap
| |
3 - Trim away the inside balsa so it
is flush to the intake
| |
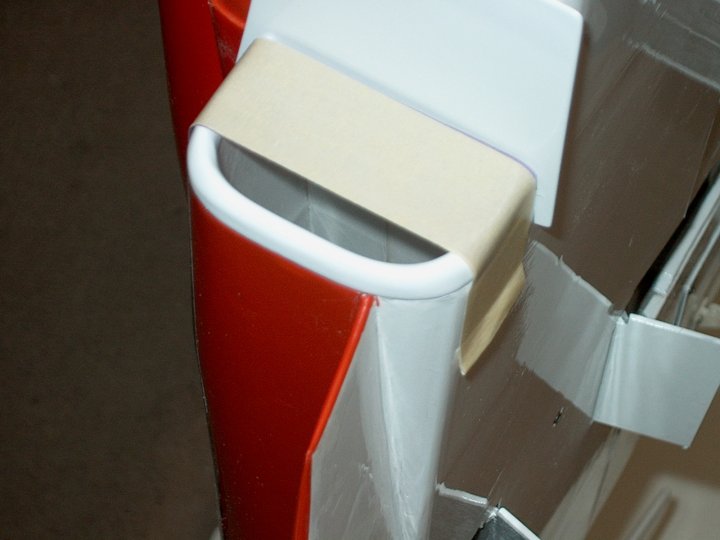
4 - Carve the outside close to the shape
of the fuselage
| |
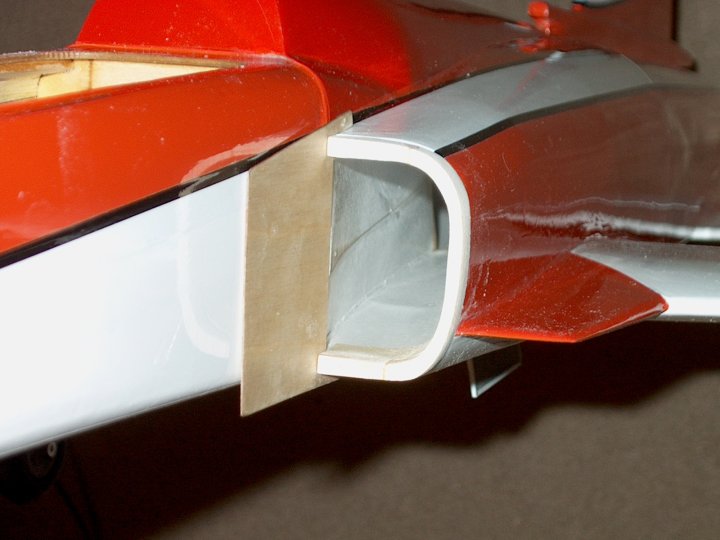
5 - Lightly sand until the inner and outer
edges are shaped as shown. NOTE: If you plan on installing
Splitter Plates, they must be installed before the Inlets
| |
6 - Round the front face of the inlet, then
soak the outer surface in CA and lightly sand. Do not coat the
rear mounting surface of the inlet
| |
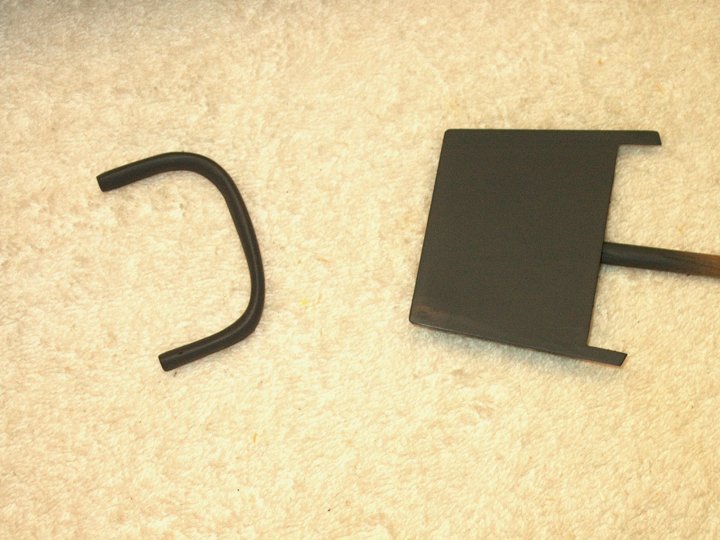
7 - Prime and paint the inlet. White Krylon
works well and leaves a nice thick finish
| |
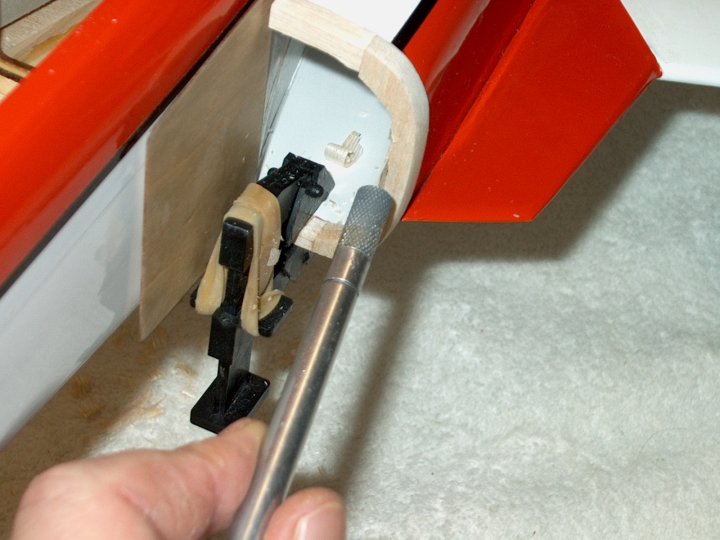
8 - Apply epoxy to the rear of each inlet
| |
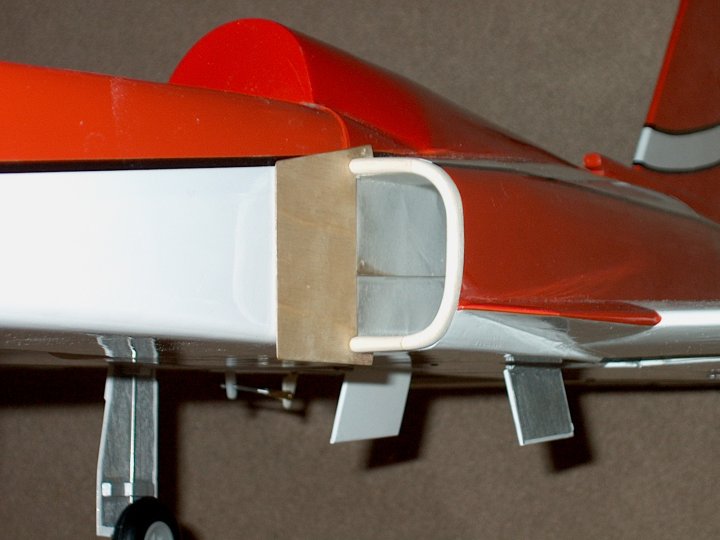
9 - Mount the inlets to the front face of
the intakes on the fuselage and remove excess epoxy
| |
10 - Use masking tape to hold each inlet
in place until the epoxy sets
| |
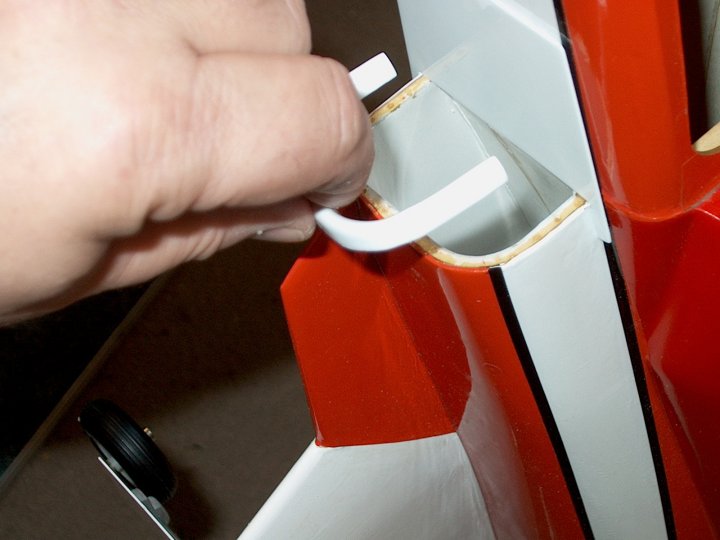
11 - The second inlet is shown being mounted
| |
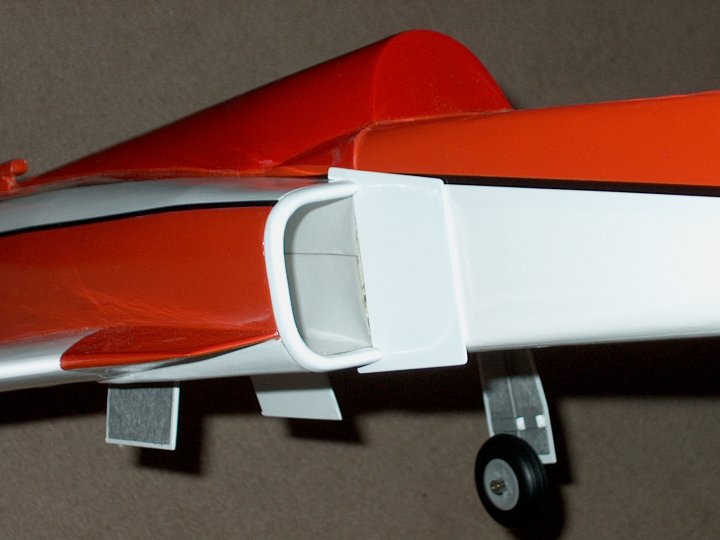
12 - Inlet modification is completed for the
HET-RC F-20 Tigershark
| |