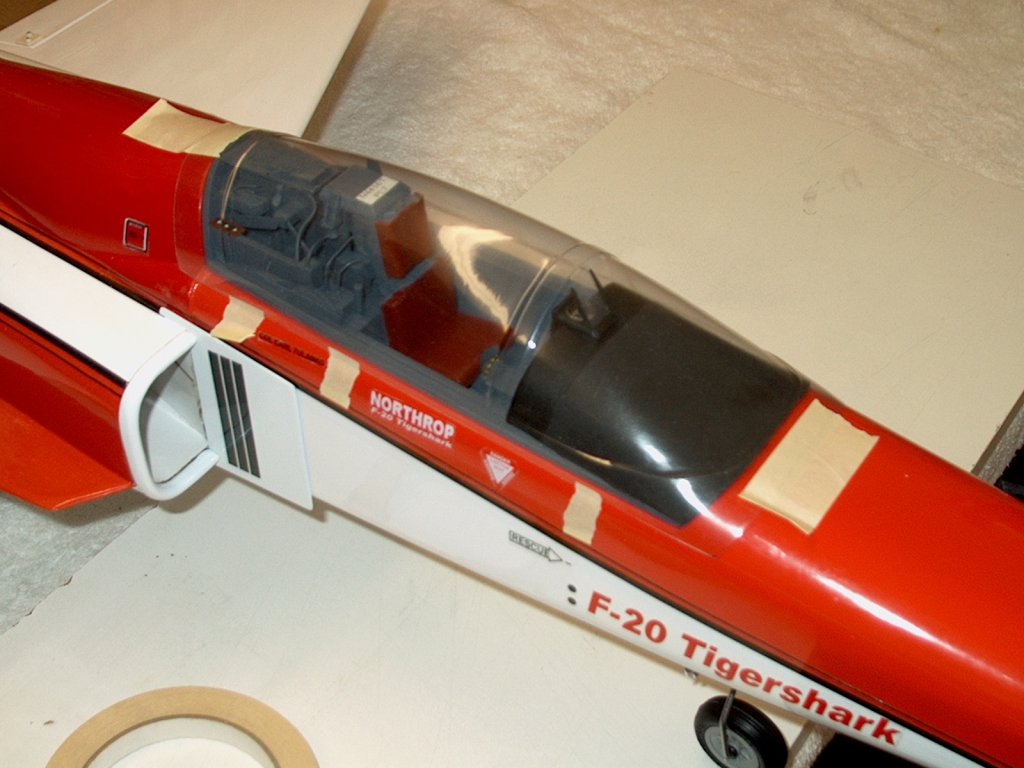
1 - Tape the canopy in position at
the front, sides and rear
|
|
2 - Use masking tape to outline the edges
of the canopy. Remove the canopy and trim the shape to the
tape edges
| |
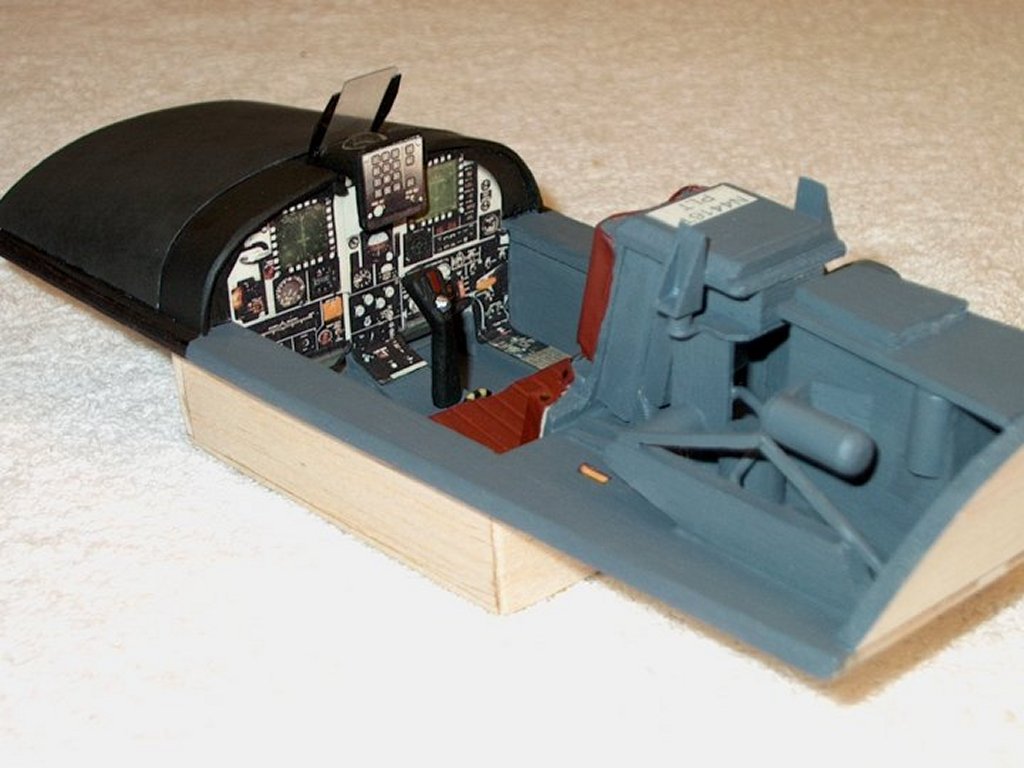
3 - Remove the canopy and rough up the
lower and rear outer edges of the cockpit for good glue purchase
| |
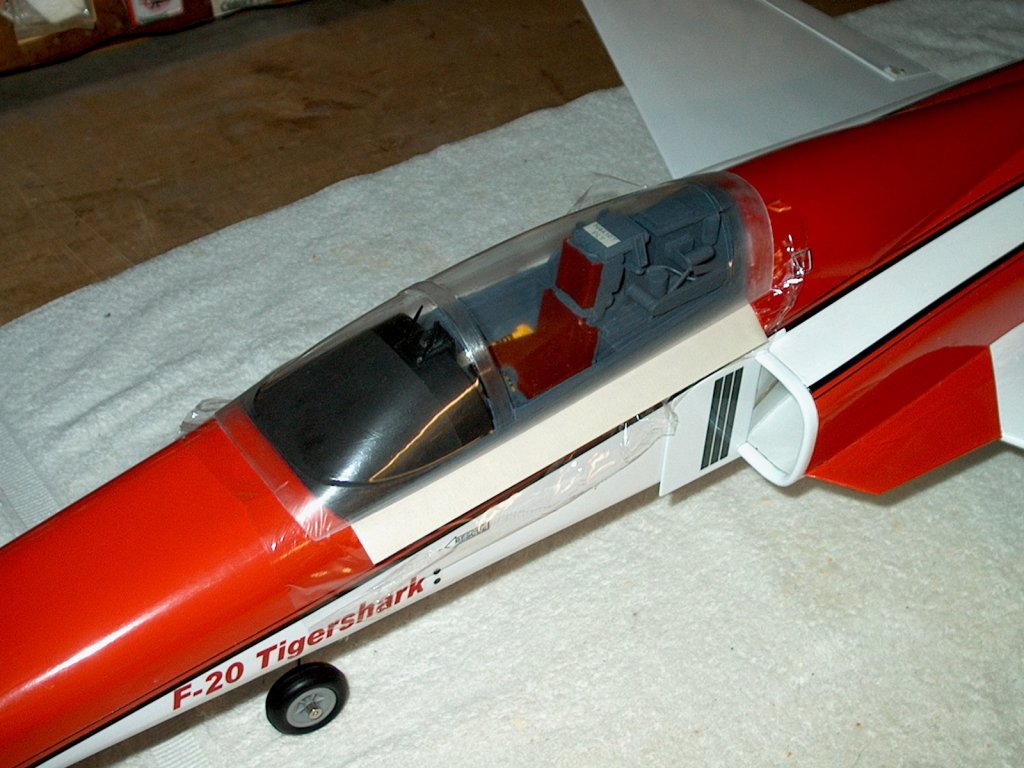
4 - Use some clear Glad wrap to protect
the model. Use masking tape along the bottom lip of the
cockpit on each side, then apply canopy glue along the lower
and rear edges of the cockpit. install the canopy
| |

5 - Press the edges of the canopy to the
sides of the cockpit and pull the tape upward to hold the
canopy in place. Use more tap to hold the canopy down on
the fuselage
| |
6 - Once the canopy gule dries, remove the
tape and clear wrap, then check for fit
| |

7 - Tape off the canopy and dull the
exposed area with some very fine sand paper. Use primer to
paint the area
| |
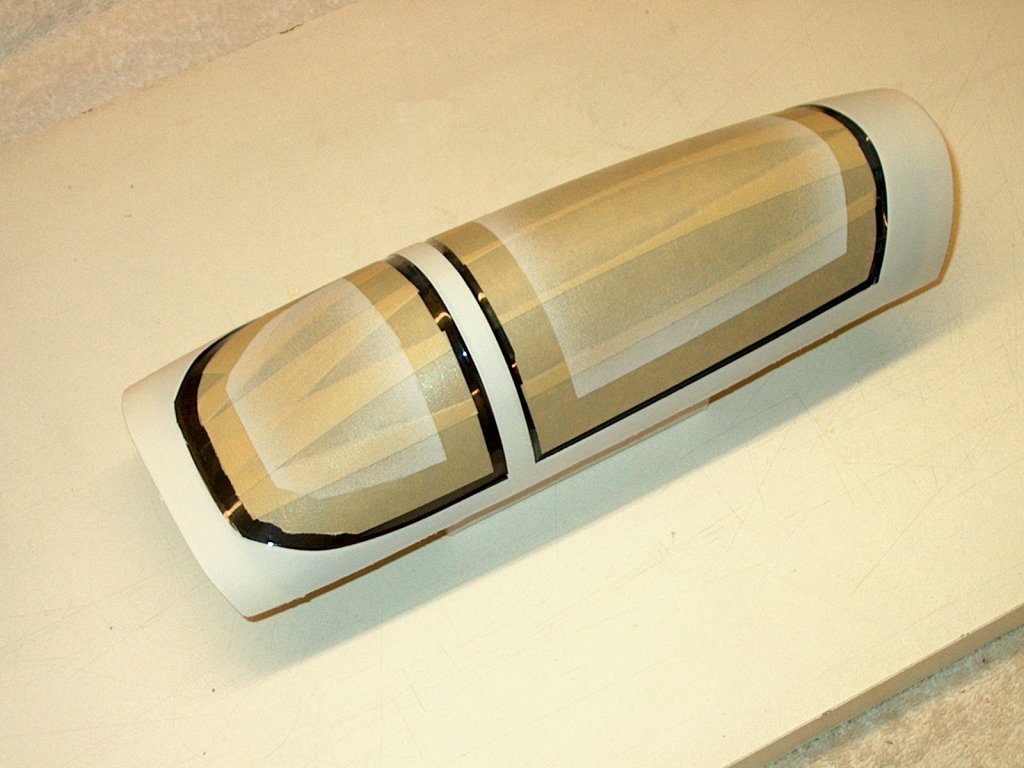
8 - Remove the first layer of tape,
exposing the inside edges of the glass area. Spray the
canopy on the top with matching paint, being careful not
to spray under the lip, which could bleed into the cockpit
area
| |
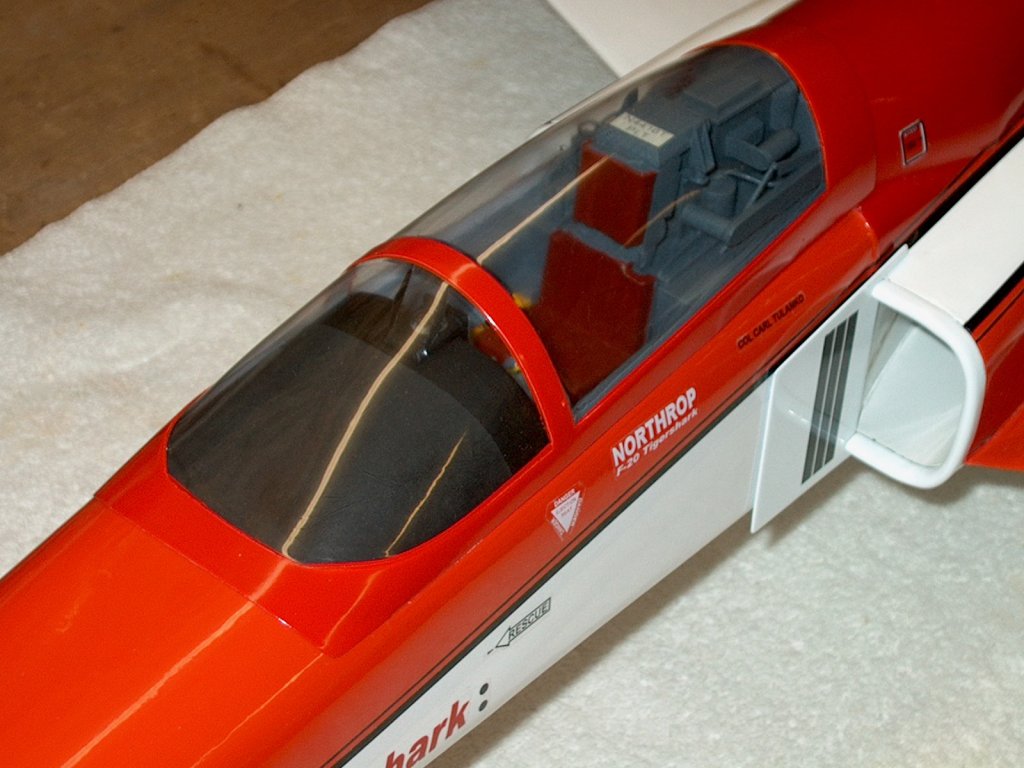
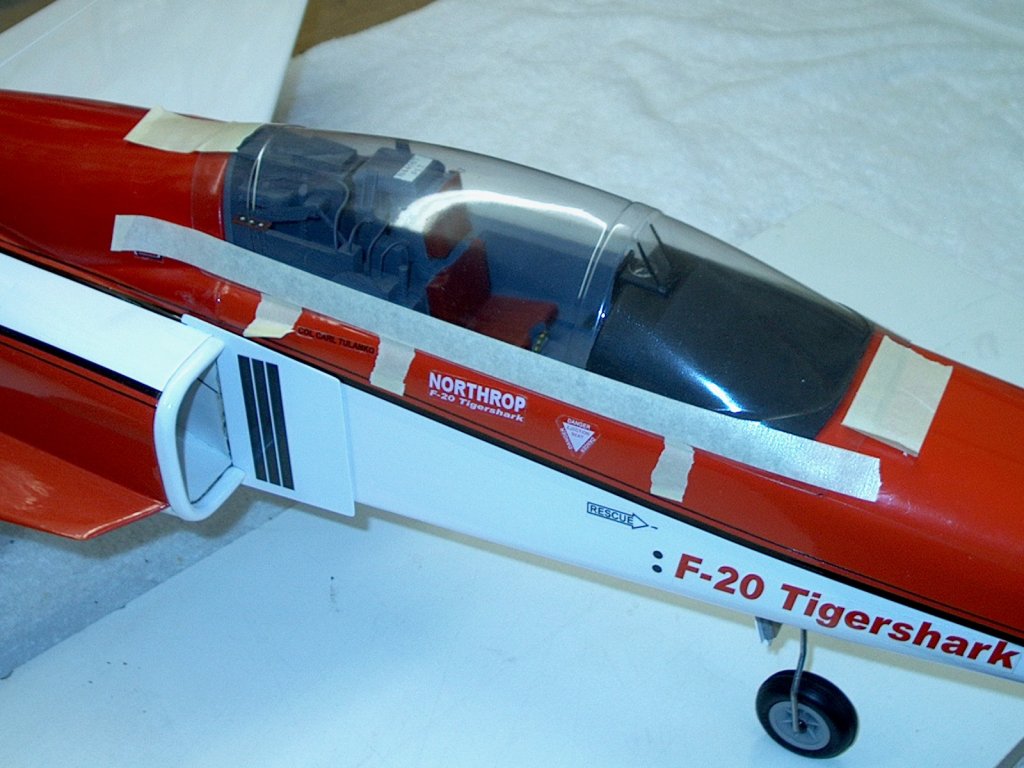
9 - Allow the paint to dry, then remove
the masking and test fit the cockpit assembly
| |
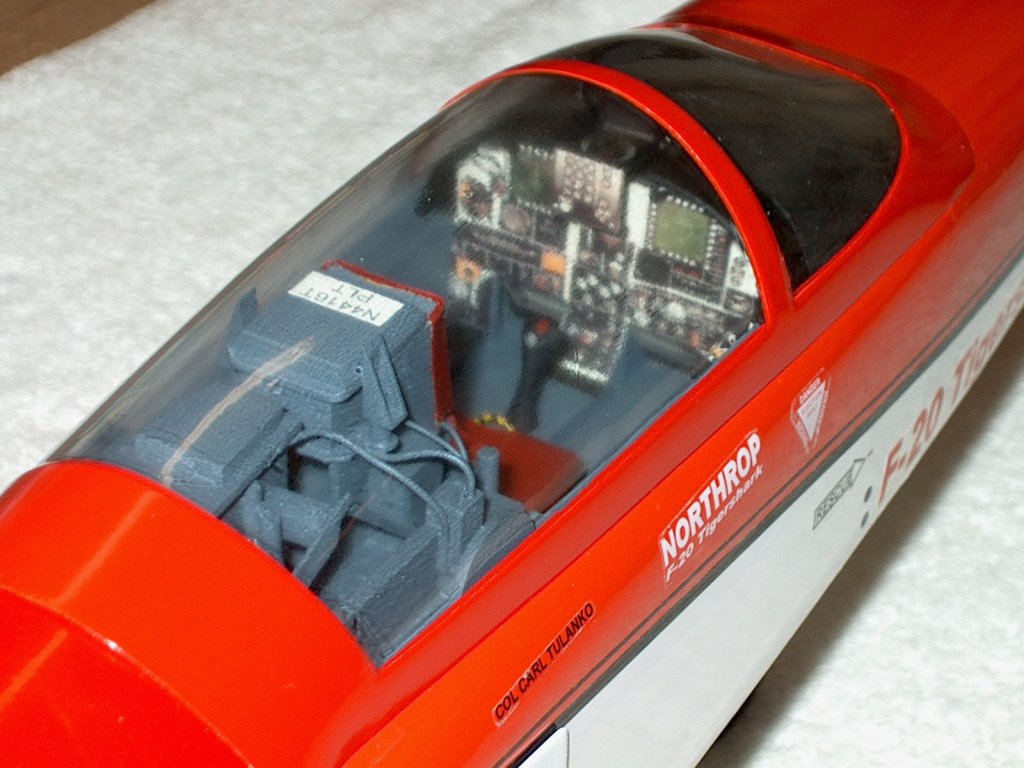
10 - The canopy should be nice and clear,
exposing the cockpit area
| |
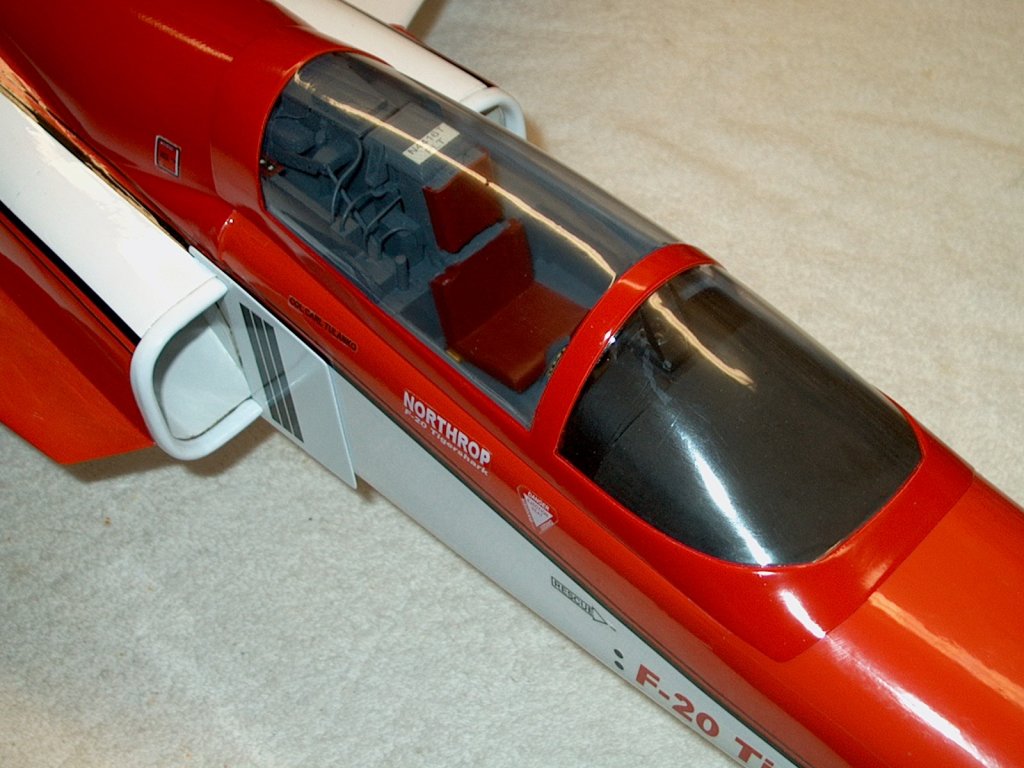
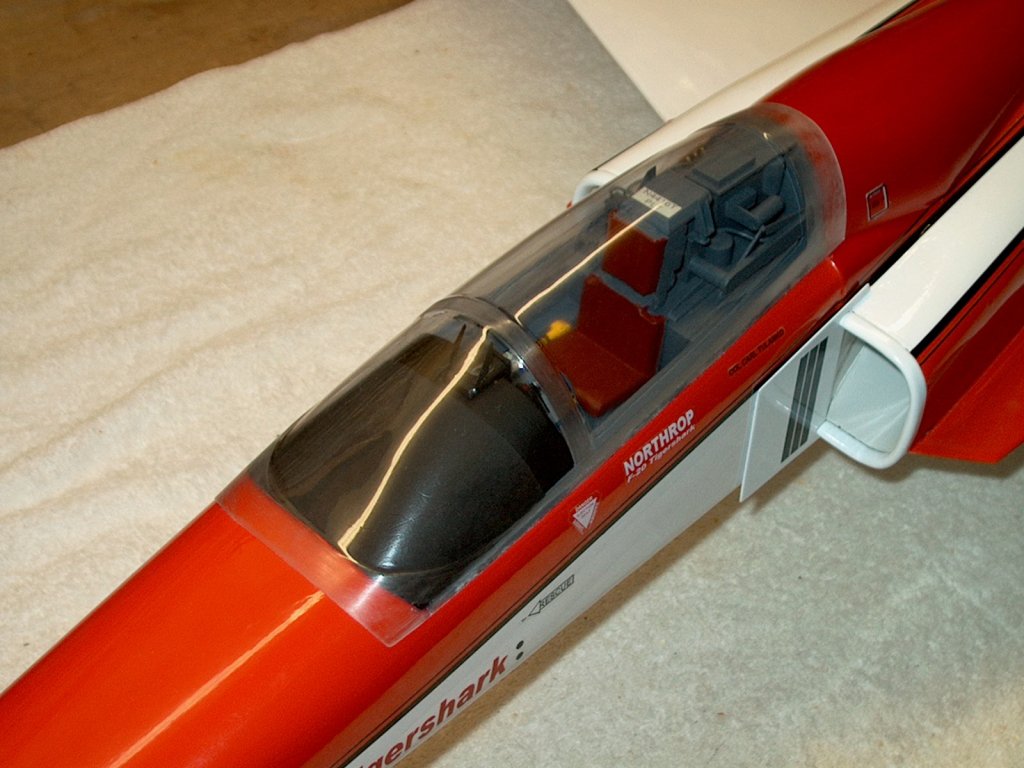
11 - Right side view shows the overall look
of the canopy mounted to the cockpit
| |
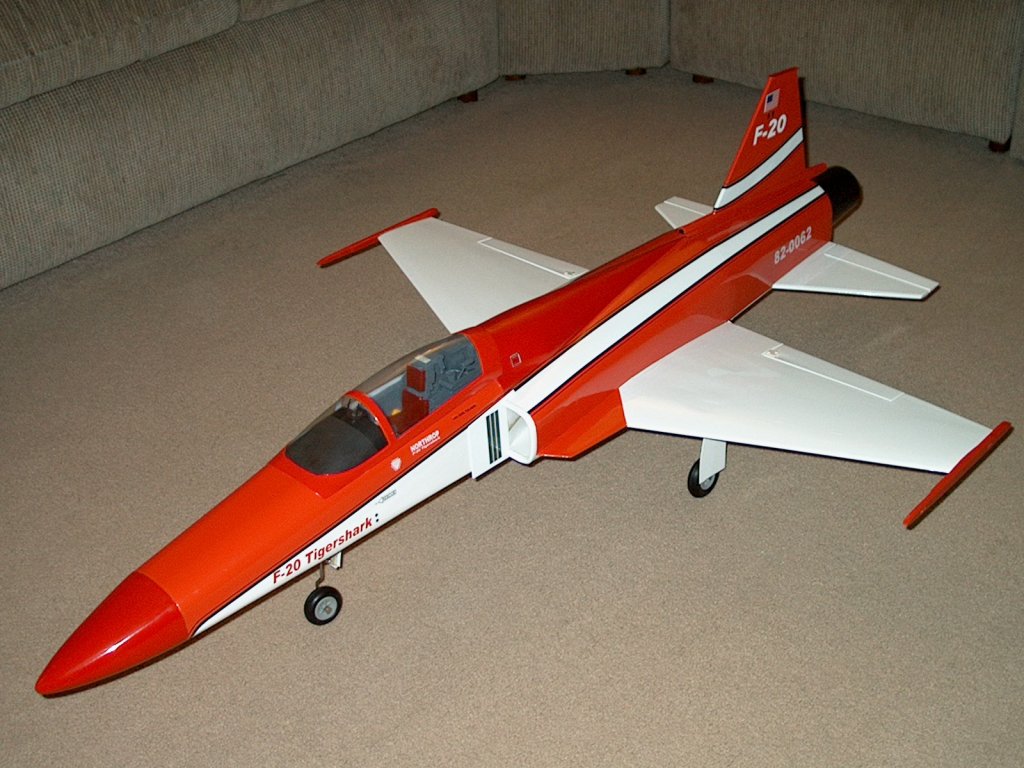
12 - This completes the mounting of the
canopy to the HET-RC F-20 Tigershark
| |